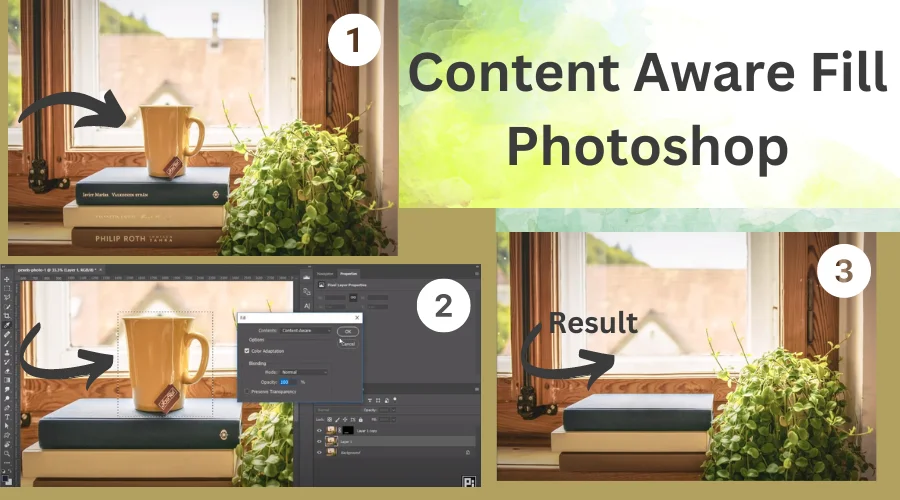
How To Do Content Aware Fill Photoshop (5 Easy Ways)
Everyone wants perfect photos for framing, photo albums, or other official documents. If you have to use Photoshop daily or for your official work. Then Content Aware Fill learn is essential for you. It will give you the perfect picture you need. Or if you are a professional photographer then one of the mandatory tools and methods is the Content Aware Fill.
Nowadays, the versions released near Photoshop 2023 Content Aware Fill are very easy. In the first version of Photoshop, the tools are very simple and we have to work with the subjects. Hiding and filling the gap with other pixels from the background requires a minimum skill in Content Aware Fill in Photoshop.
If you are new or interested in learning about Content Aware fill in Photoshop you are in the right place. Here we are going to learn how to use Content Aware Fill in Photoshop Step-by-Step.
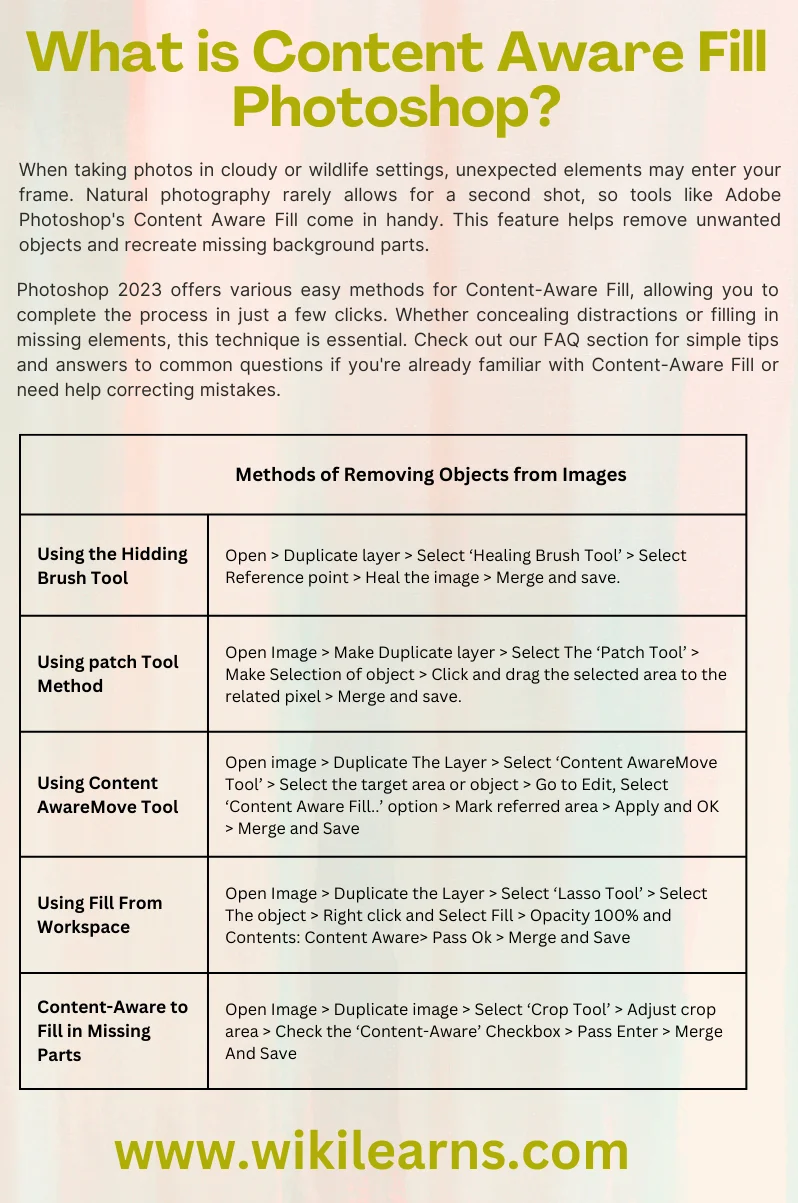
What is Content Aware Fill Photoshop?
Hiding the subject from the picture and maintaining the background constant. Extending the background or recreating the missing part of the photo or background is called Content-Aware Fill.
Methods of Content Aware Fill Photoshop
Methods of Removing Objects from Images | |
Using the Hidding Brush Tool | Open > Duplicate layer > Select ‘Healing Brush Tool’ > Select Reference point > Heal the image > Merge and save. |
Using patch Tool Method | Open Image > Make Duplicate layer > Select The ‘Patch Tool’ > Make Selection of object > Click and drag the selected area to the related pixel > Merge and save. |
Using Content-Aware Move Tool | Open image > Duplicate The Layer > Select ‘Content-Aware Move Tool’ > Select the target area or object > Go to Edit, Select ‘Content-Aware Fill..’ option > Mark referred area > Apply and OK > Merge and Save |
Using Fill From Workspace | Open Image > Duplicate the Layer > Select ‘Lasso Tool’ >Select The object > Right click and Select Fill > Opacity 100% and Contents: Content-Aware > Pass Ok > Merge and Save |
Content Aware Fill in Missing Parts | Open Image > Duplicate image > Select ‘Crop Tool’ > Adjust crop area > Check the ‘Content-Aware’ Checkbox > Pass Enter > Merge And Save |
Online Content-Aware Fill Photoshop
If you are afraid of Photoshop tools or don't have Adobe Photoshop software then you also can use Content Aware Fill online. You will find many free online websites and tools for Content Aware Fill online. Through these websites, you can use several AI tools like AI generators and AI Erasers for editing your photos.
There is a list of some websites for Content-Aware Fill online as follows,
- petapixel.com
- popartstudio.nl
- runwayml.com
- www.behance.net
Process of Content Aware Fill in Photoshop
There are several methods of Content Aware Fill in Photoshop. Let's learn them with some suitable examples for better understanding.
Using the Healing Brush Tool
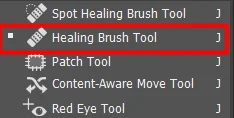
If you ‘Right Click on the ‘Patch too’ a dropdown list will appear, where you will find the ‘Healing Brush Tool’.
This is suitable if you need to hide some little textures or objects from your photo. Then you can use the Hidding Brush tool. As the name of the tool is “Healing Brush Tool” it will help you to hide unwanted objects in photos by replacing the background and adjusting the pixel. Remember this brush tool will work better with little objects in our pictures.
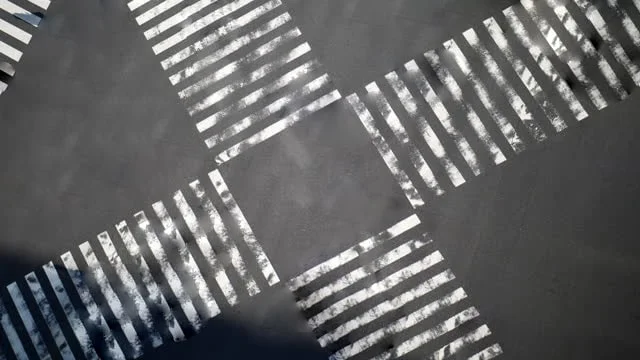
Take the picture below as an example.
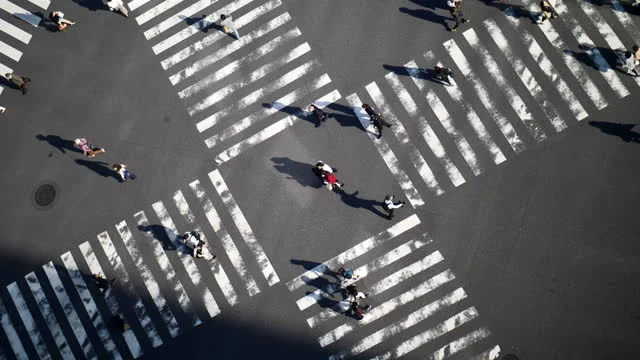
We want to remove all the people from That images so the output will be like this:
Method: open > Duplicate layer > Select ‘Healing Brush Tool’ > Select Reference point > Heal the image > Marge and save.
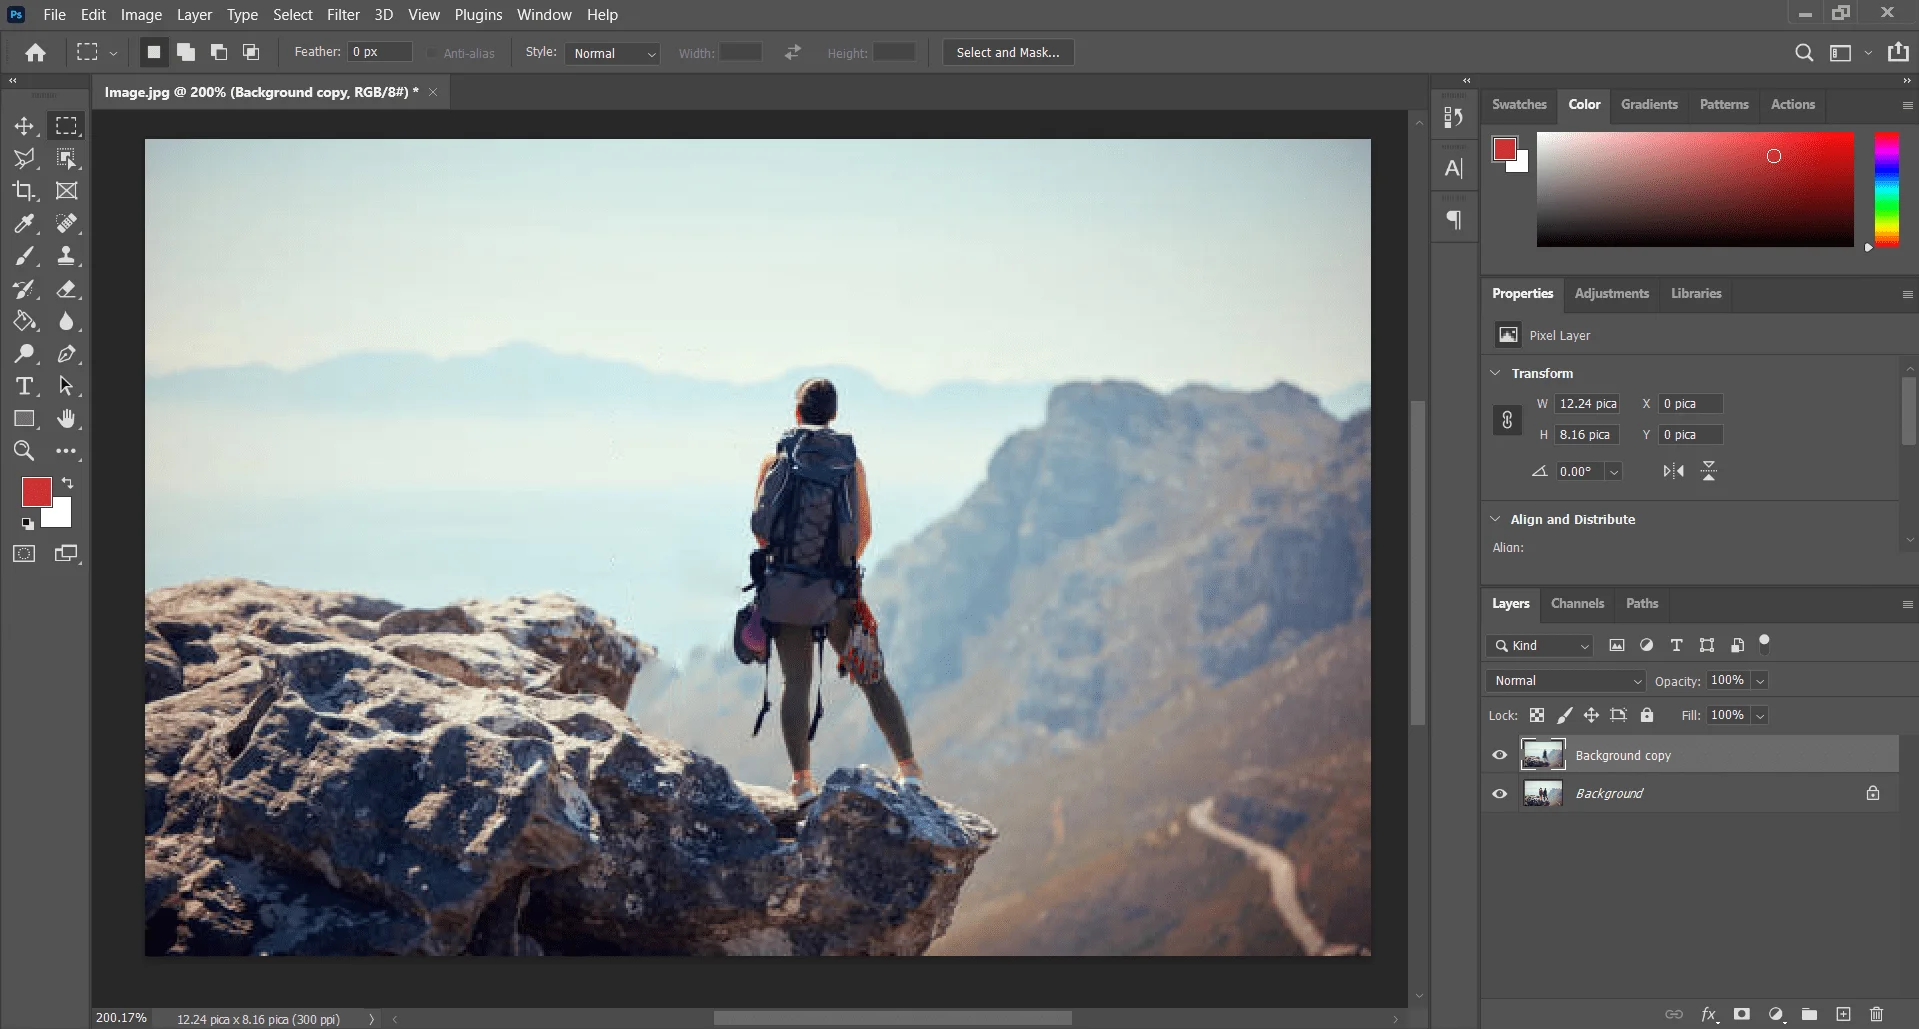
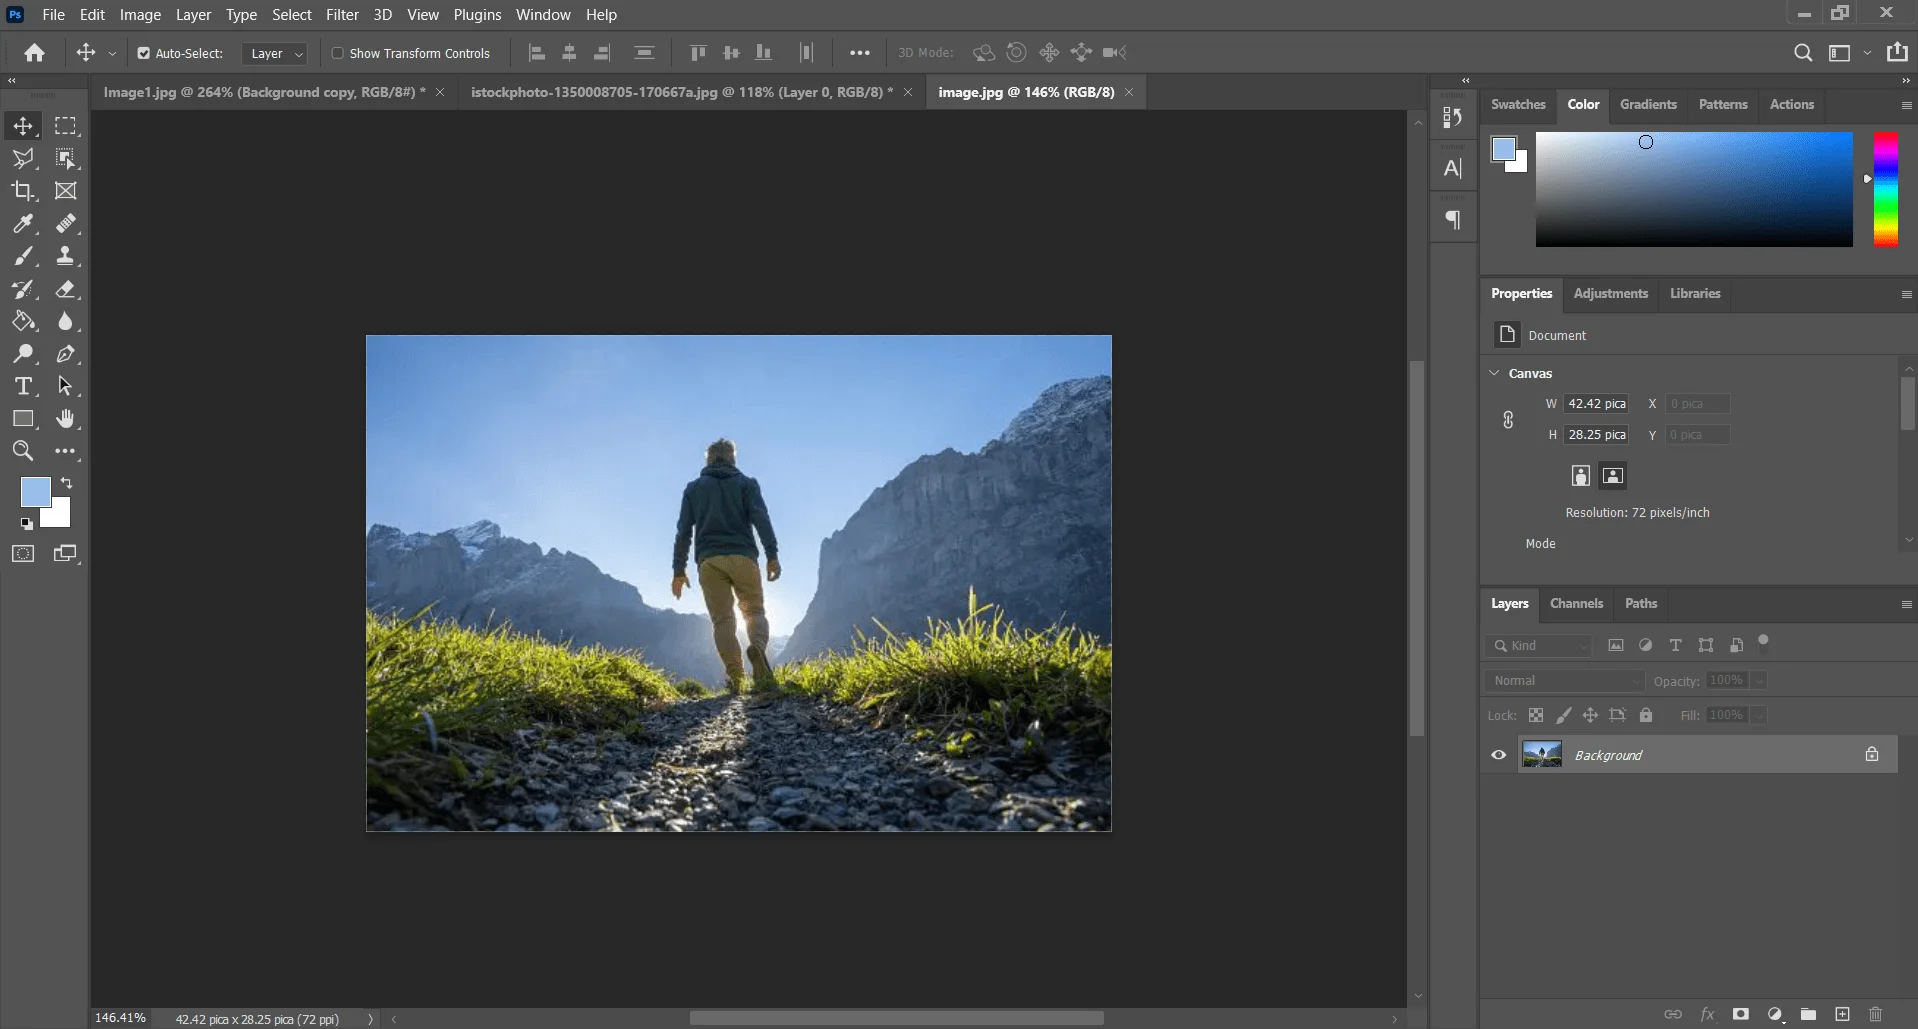
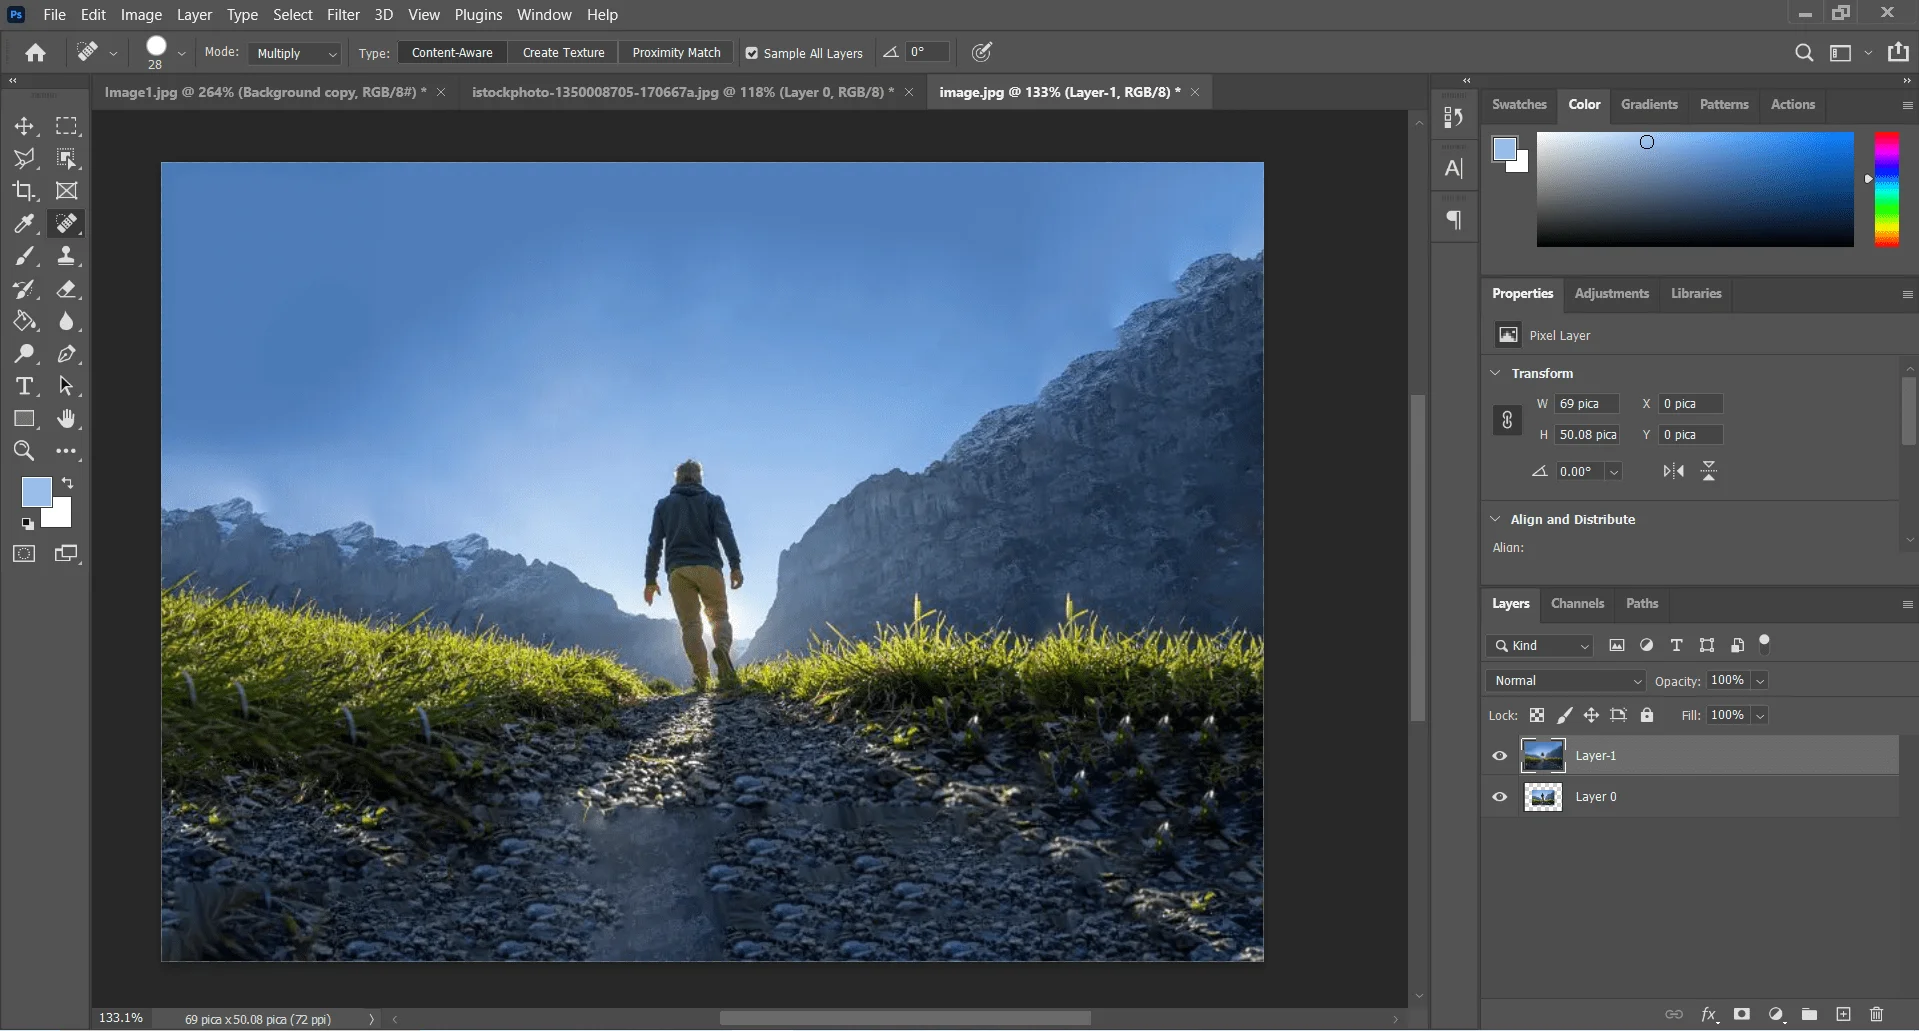
Step 1: Open the Image and Make A Duplicate Layer
Shortcut: Ctrl + J
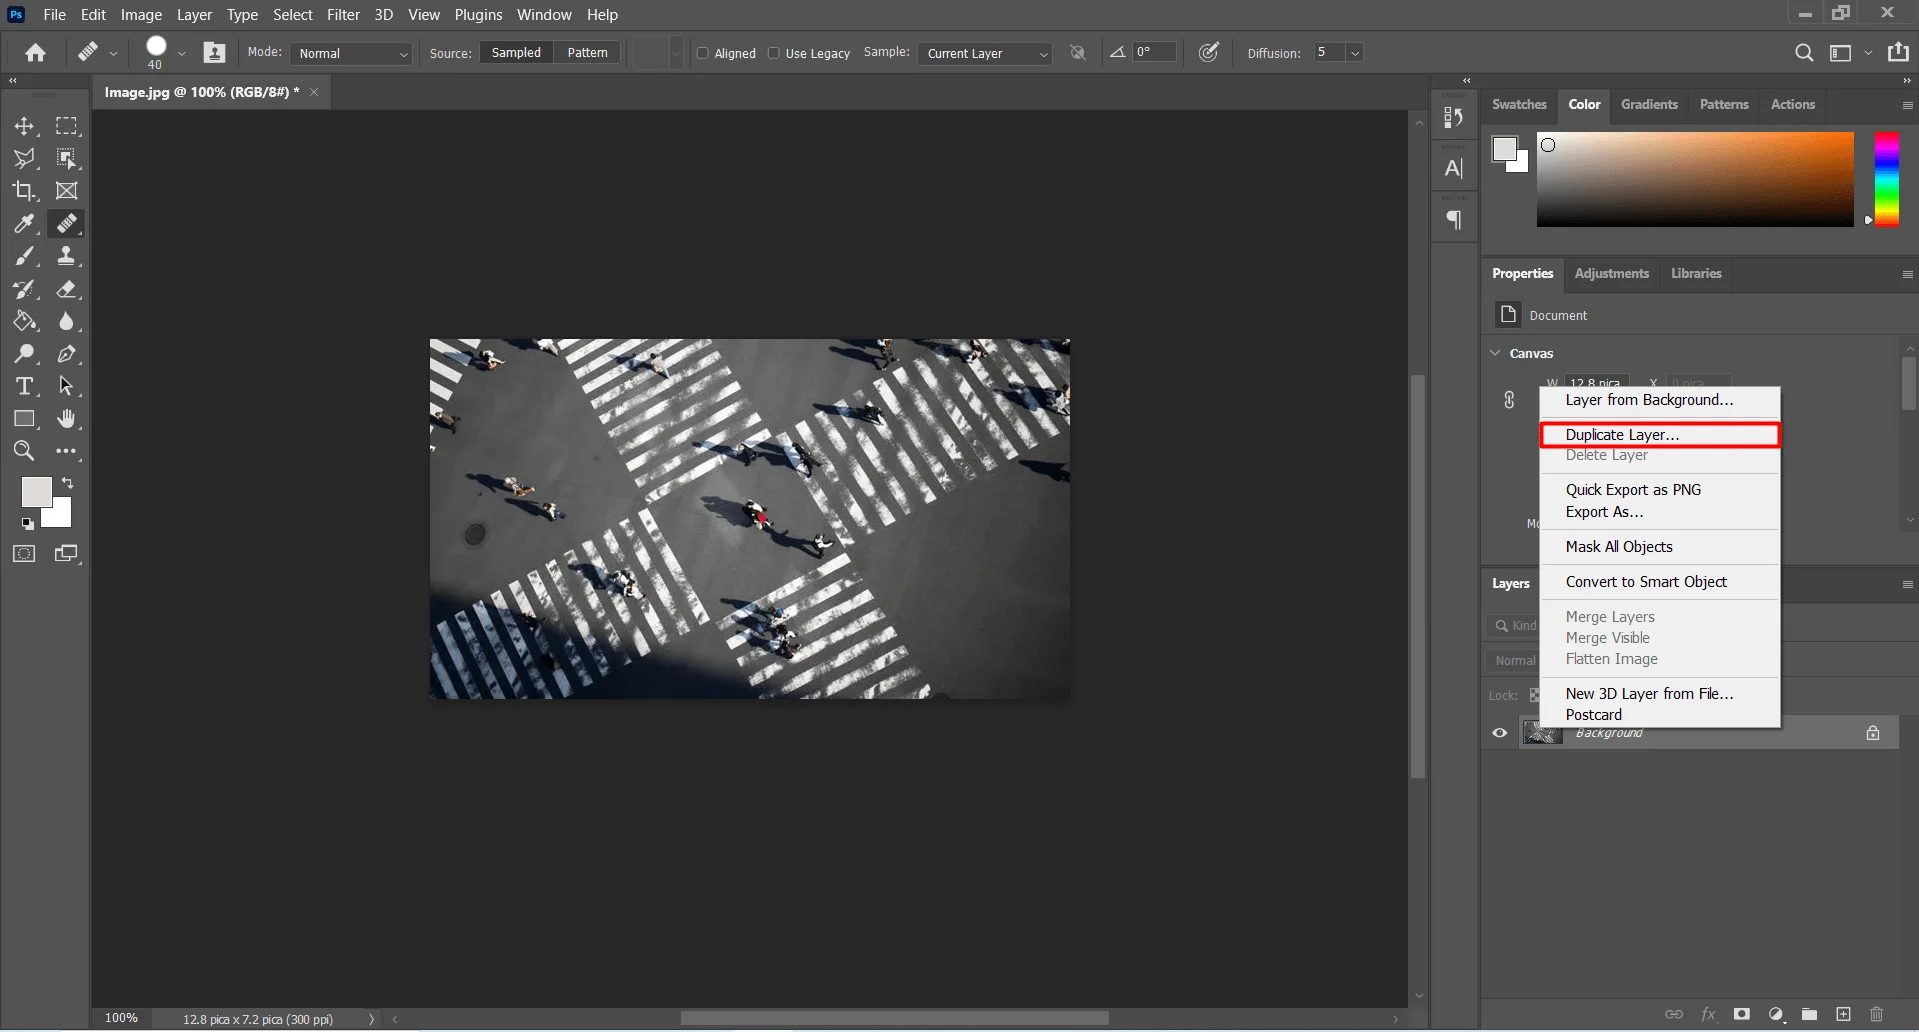
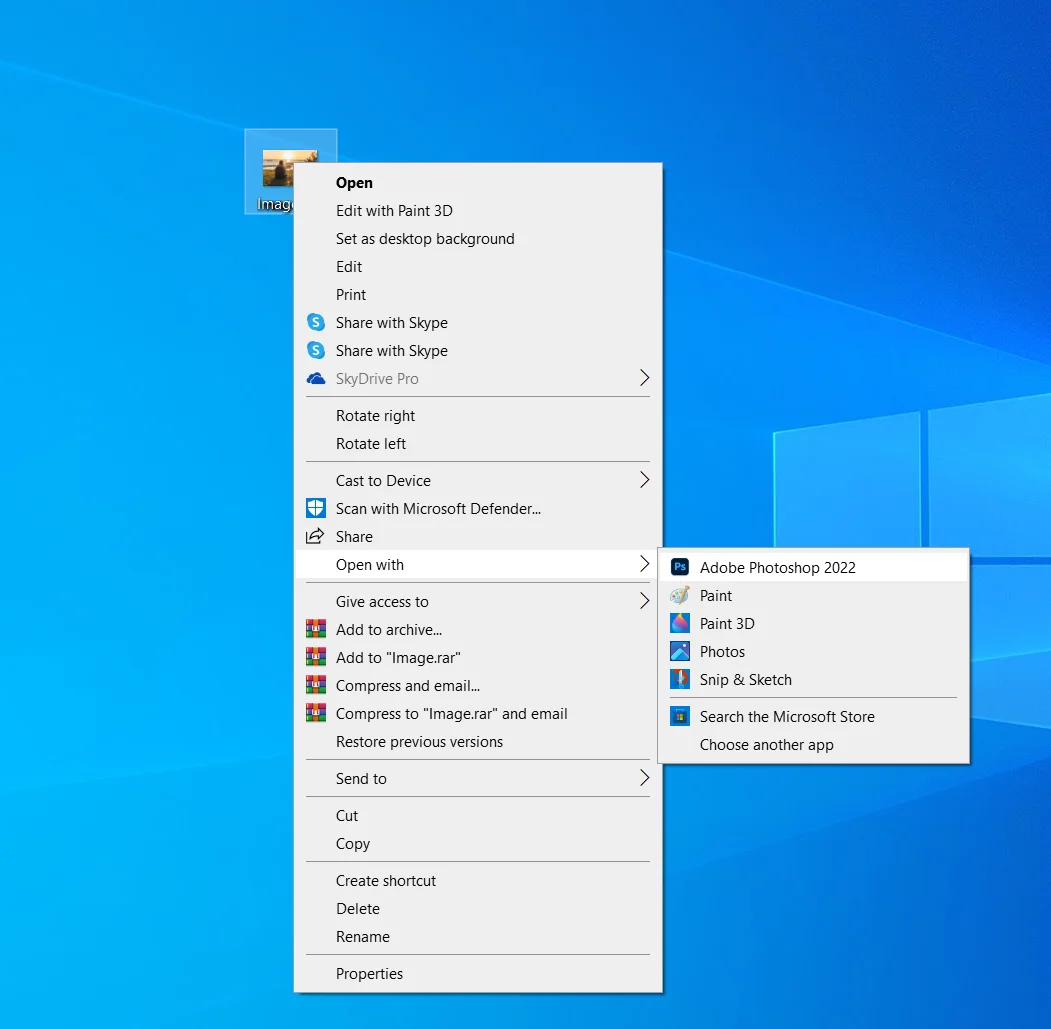
Open your desired image in our Photoshop software. To open an image in Photoshop software simply ‘Right click’ On the image and select ‘Open with’ from the dropdown menu. A sub_dropdown menu will appear now select the ‘Photoshop’ option.
It is very pathetic if you don’t keep a duplicate backup. And your editing becomes wrong and you are almost finished. Now you cannot recover this photo again. So it is important to keep duplicate backups if in any case needed. To make a duplicate layer of the photo, select the photo layer in the Layer Diloagbox.
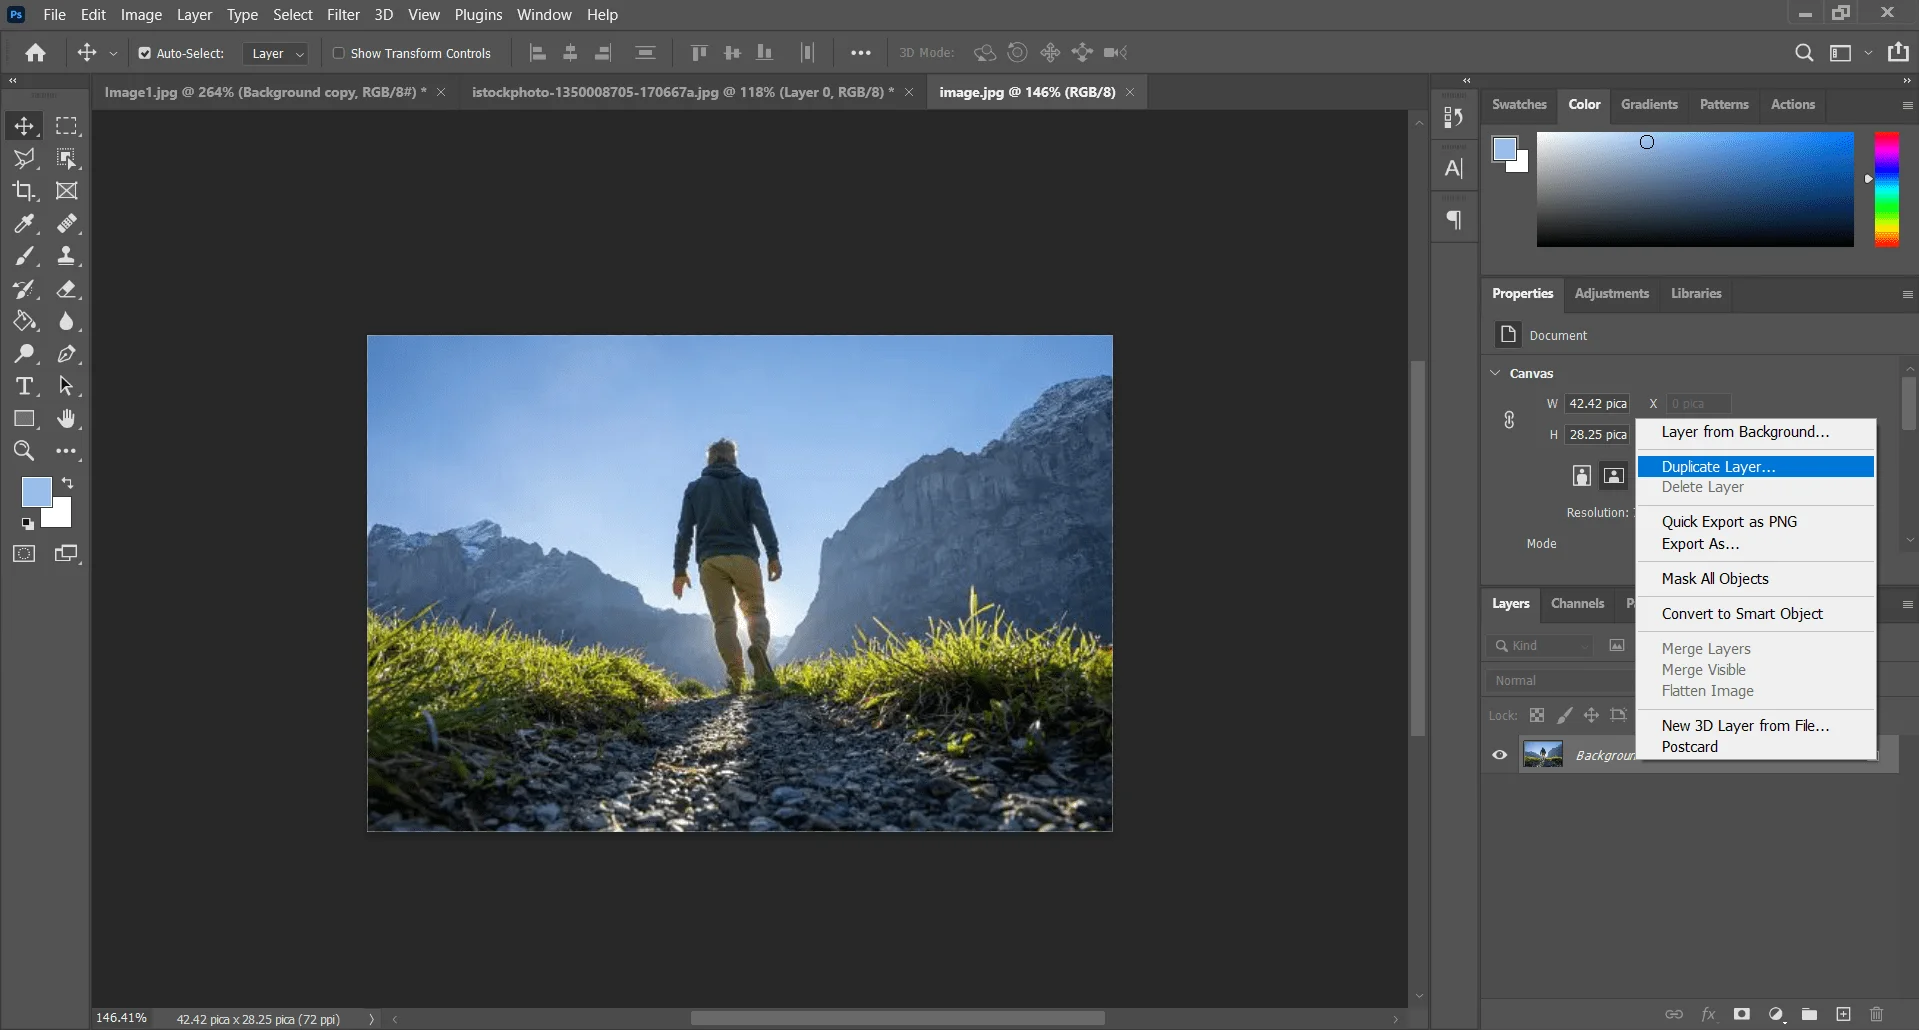
'Right Click' on a menu will appear, select 'Duplicate Layer' from the menu.
if you want you can also rename the layer. Simply double-click on the year name the name will become editable. Now you can rename the layer as you want. In this example, we rename this layer as 'Layer-1'.
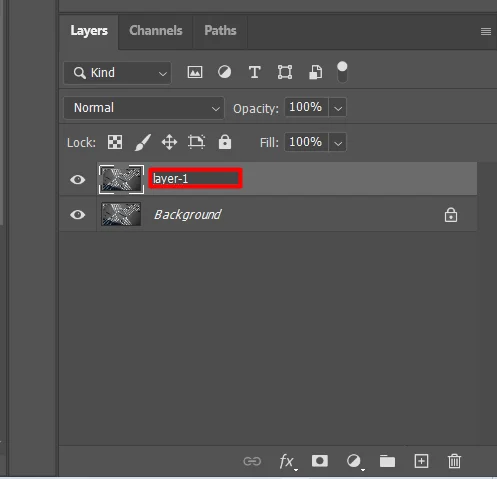
You can also make duplicate layers in a shortcut. Just simply pass CTRL + J or Command + J together.
Shortcut: Ctrl + j (win) or Command + J (Mac)
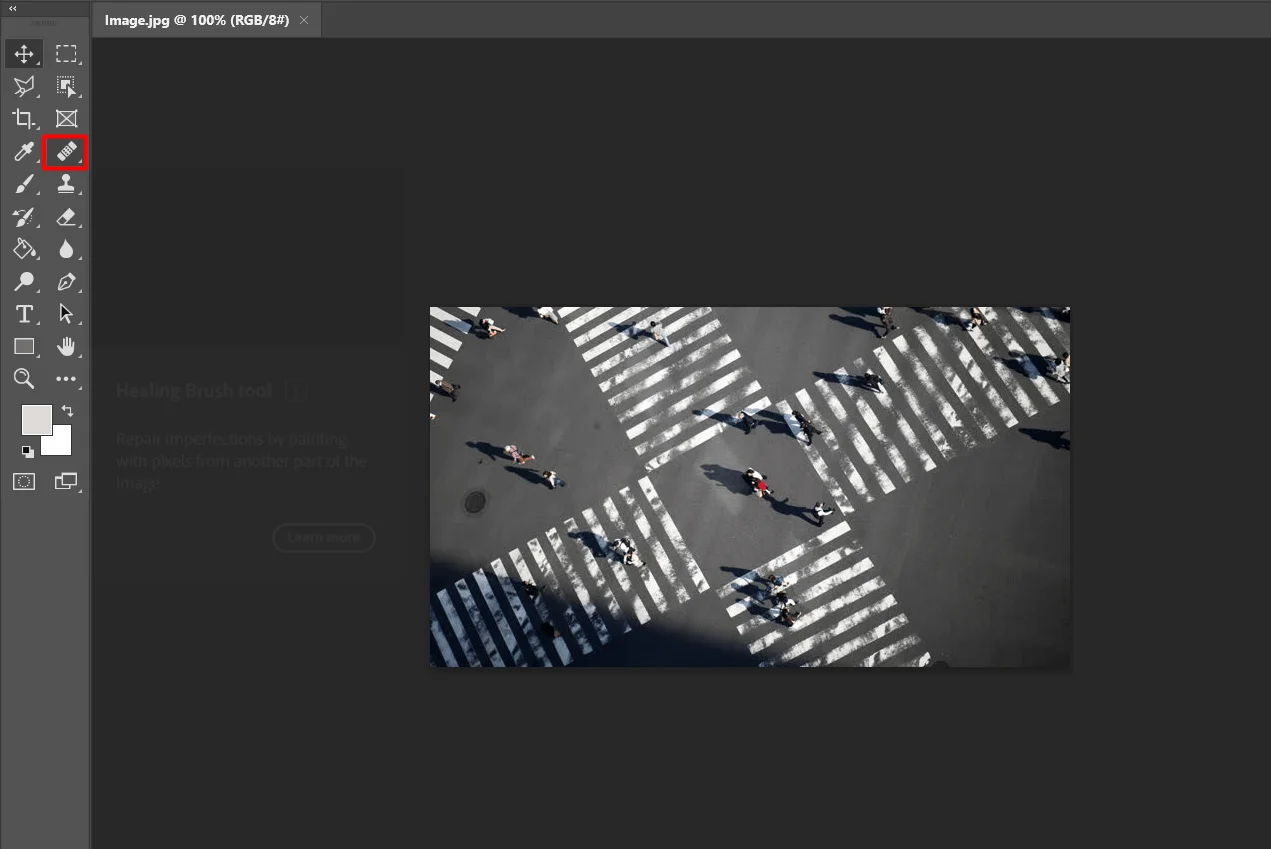
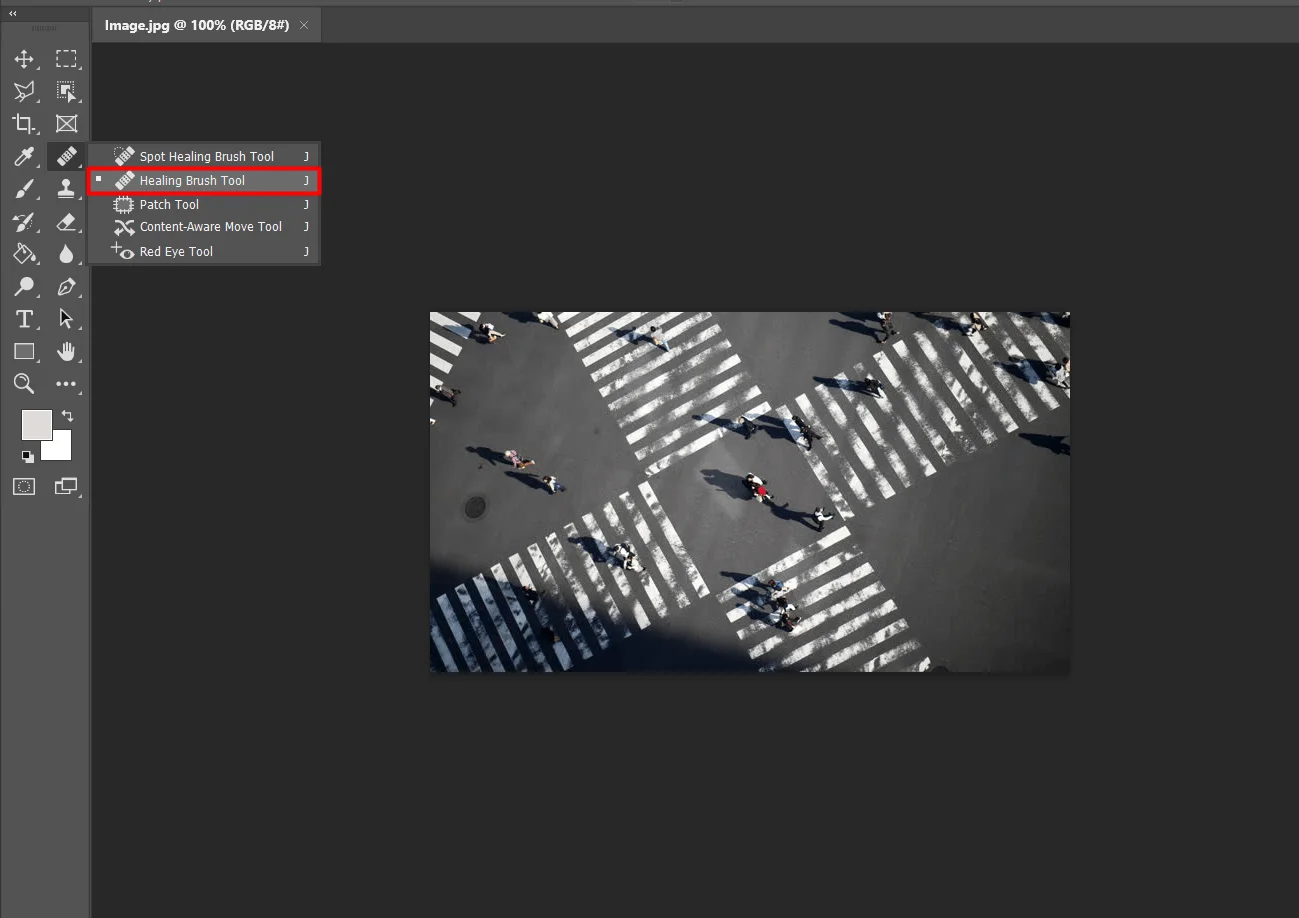
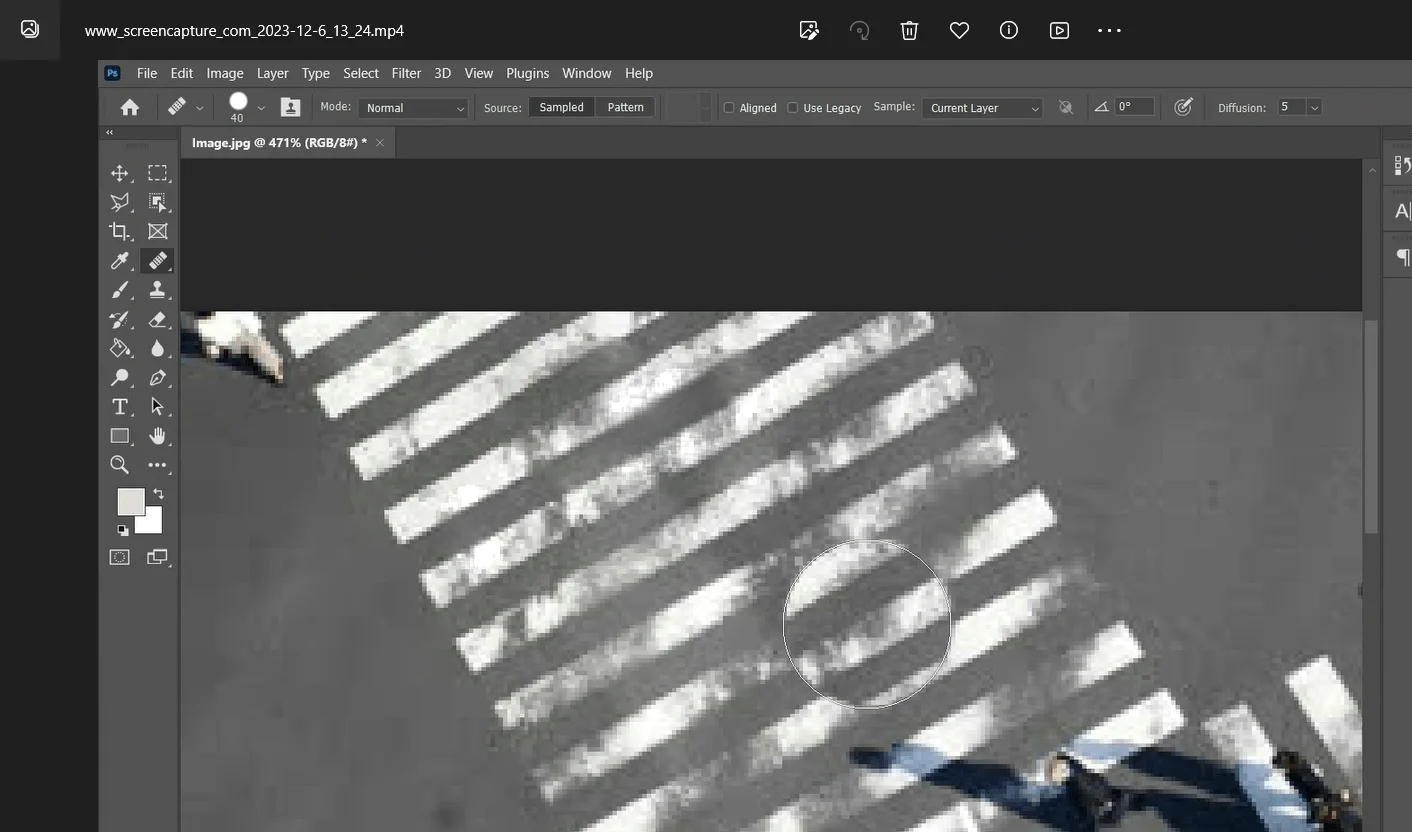
Step 2: Select the Healing Brush Tool
You can find the ‘Healing Brush Tool’ in the toolbar in your Photoshop software. Right-click on the ‘Patch Tool’.A list of the relative brush tools will appear then select the ‘healing brush tool’. Or you can pass the latter ‘J’ the Patch tool will select. Now ‘Right Click’ on the ‘Patch Tool’ and select ‘Healing Brush Tool’.
Shortcut: J
Step 3: Define the Source point
Shortcut: Alt + left click
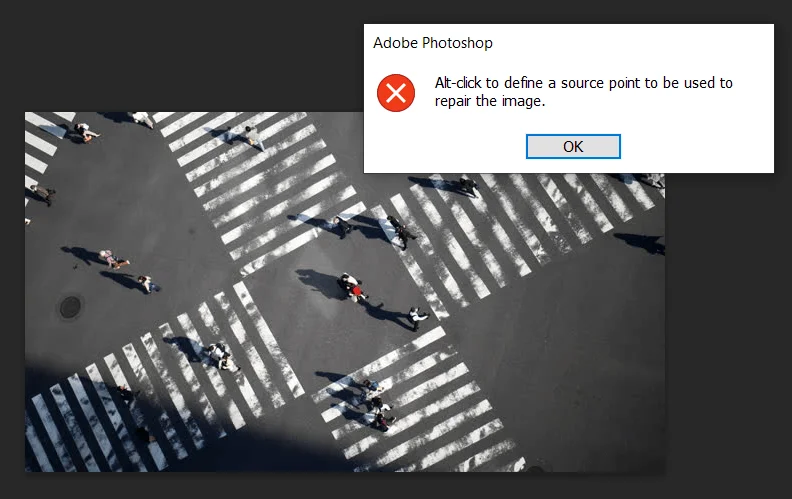
If you select the ‘healing brush tool’ and try to apply it. An alert prompt will show, which will tell you to define the source point to heal the image.
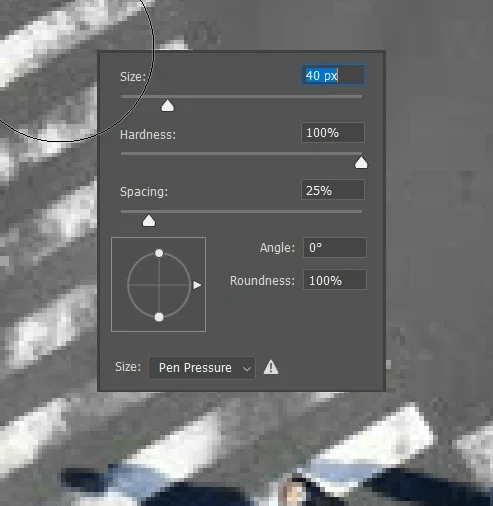
First, you have to adjust your brush size. Because you will not want to affect other objects in the photo when you heal one object of one part. In this example, ‘40 px’ will be preferable.
Now you can select the source point. Keep in mind which point you are selecting as the source point. The background or texture should be the same for both the parts ‘the source point’ and ‘the part which will be healed’. To select the source point press the ‘ALT’ key on your keyboard the brush cursor will change to the pickup cursor.
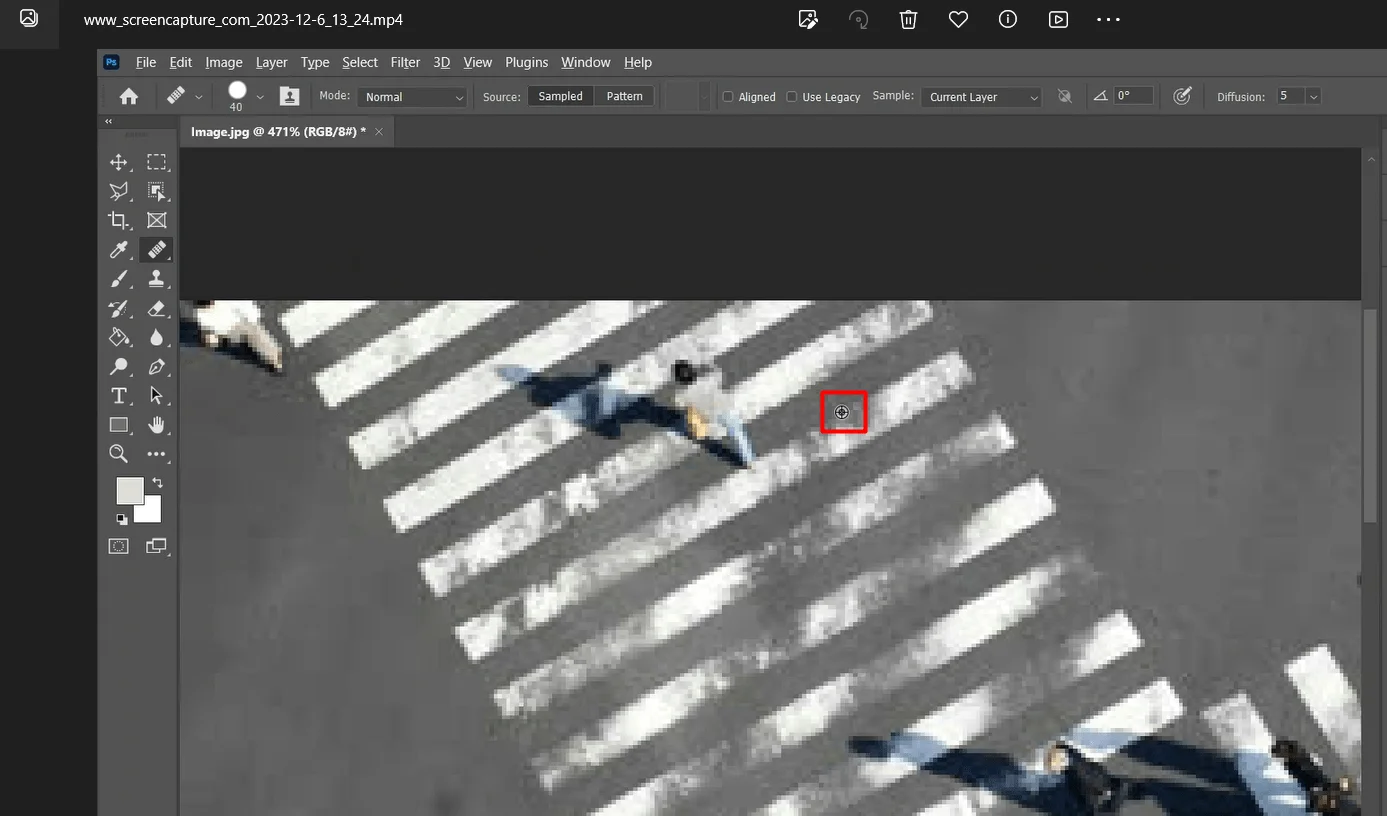
Now you move your pickup cursor and click the background or the texture that you want to heal. Now you can heal your image as the part you select as a source point. If you click and move the brush tool the pointer will appear at the source point and that will move all so. The healing part will heal as the pointer points to the pixel.
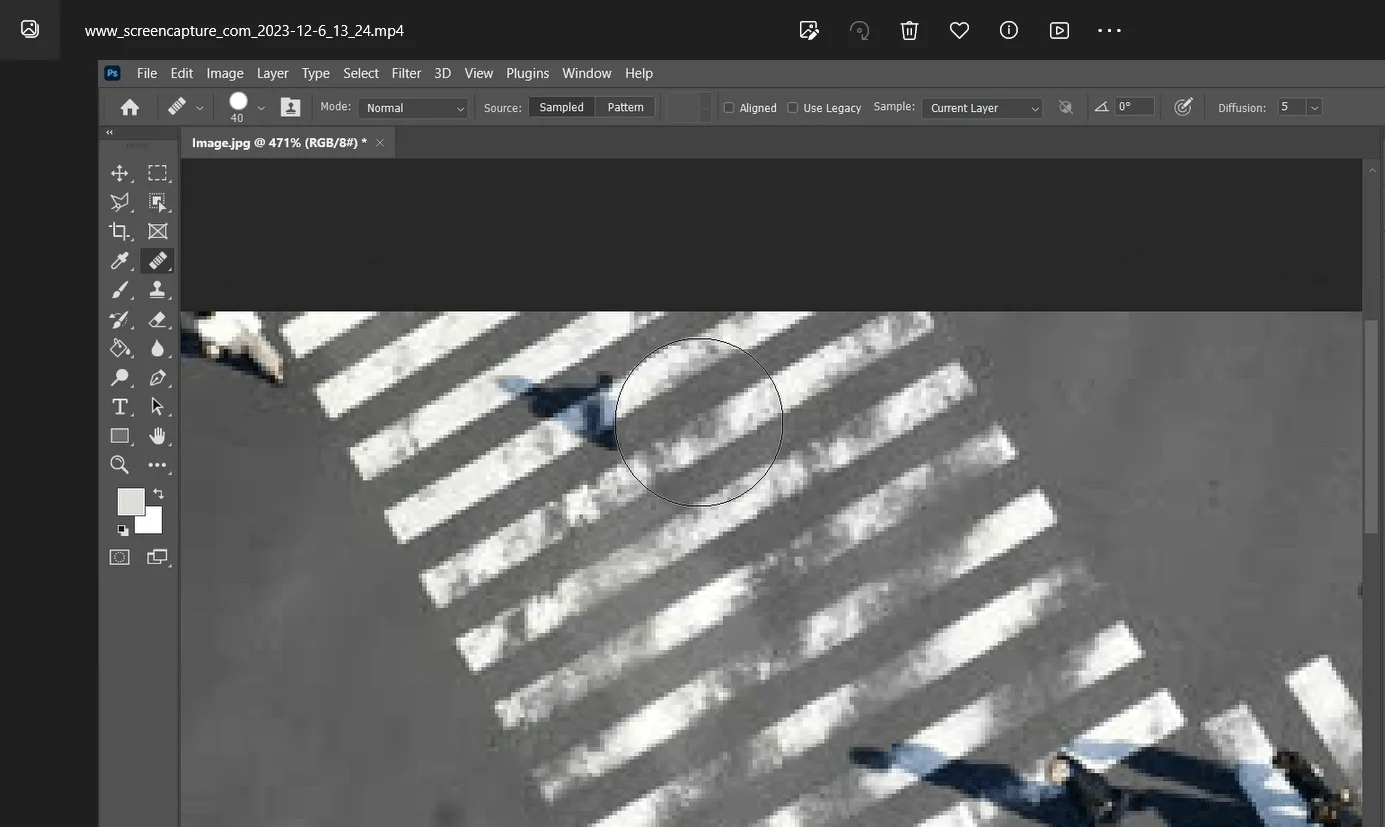
Now selete and heal your image as long as you are not satisfied with the result. If you are satisfied with the result then save the image.
Step 4: Merge and Save the image
MergeShortcut: Ctrl + Shift + E
Save Shortcut: Ctrl + Shift + S
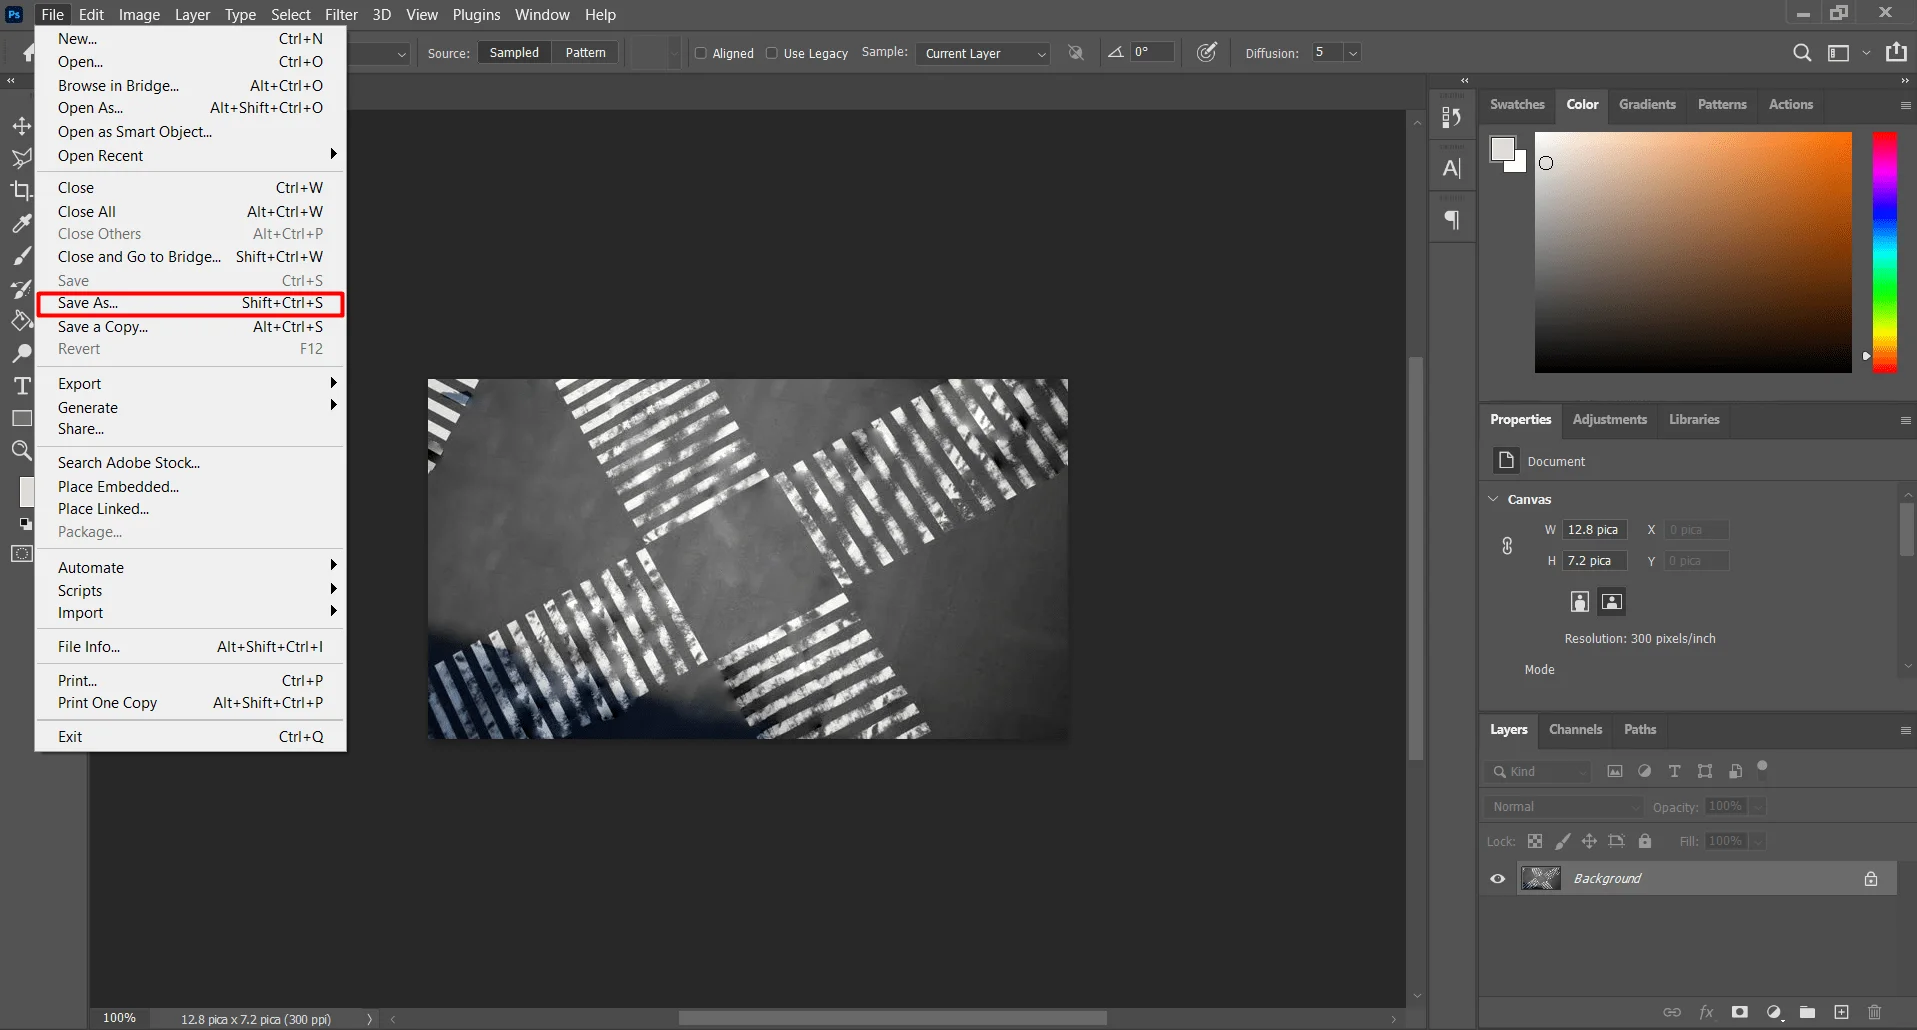
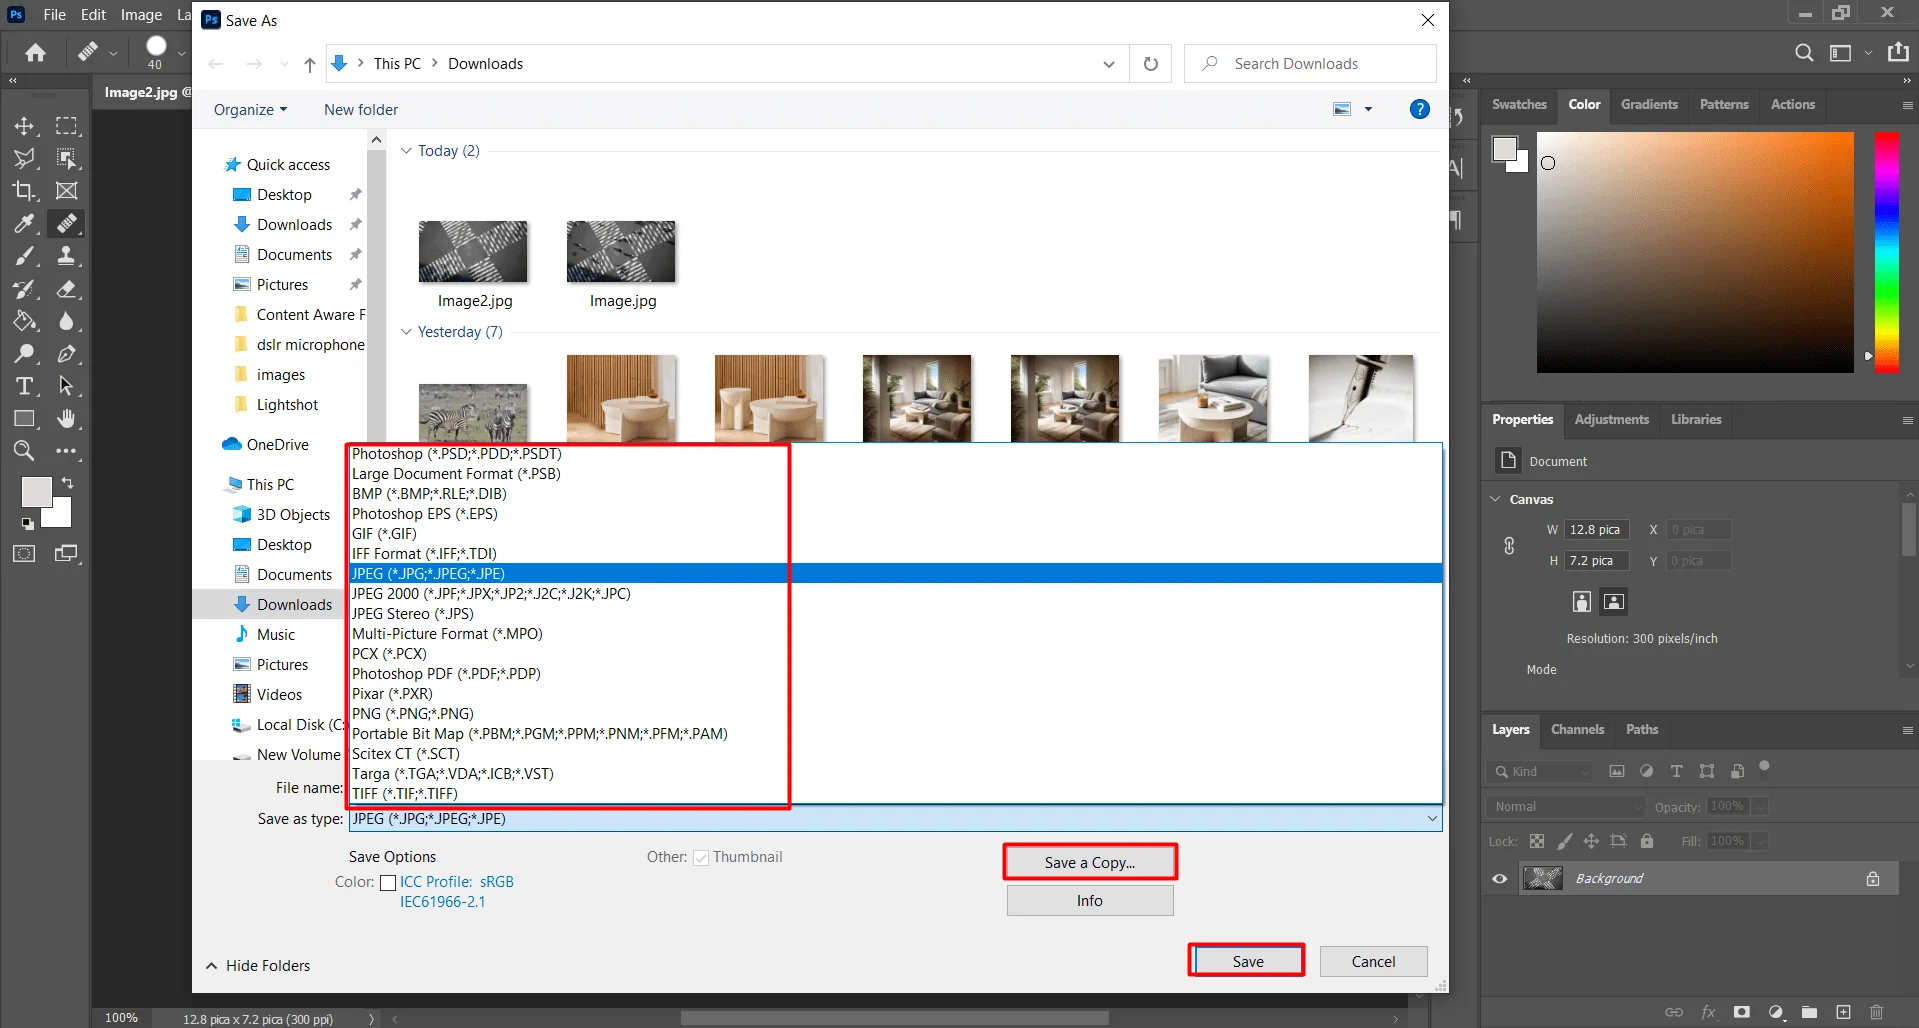
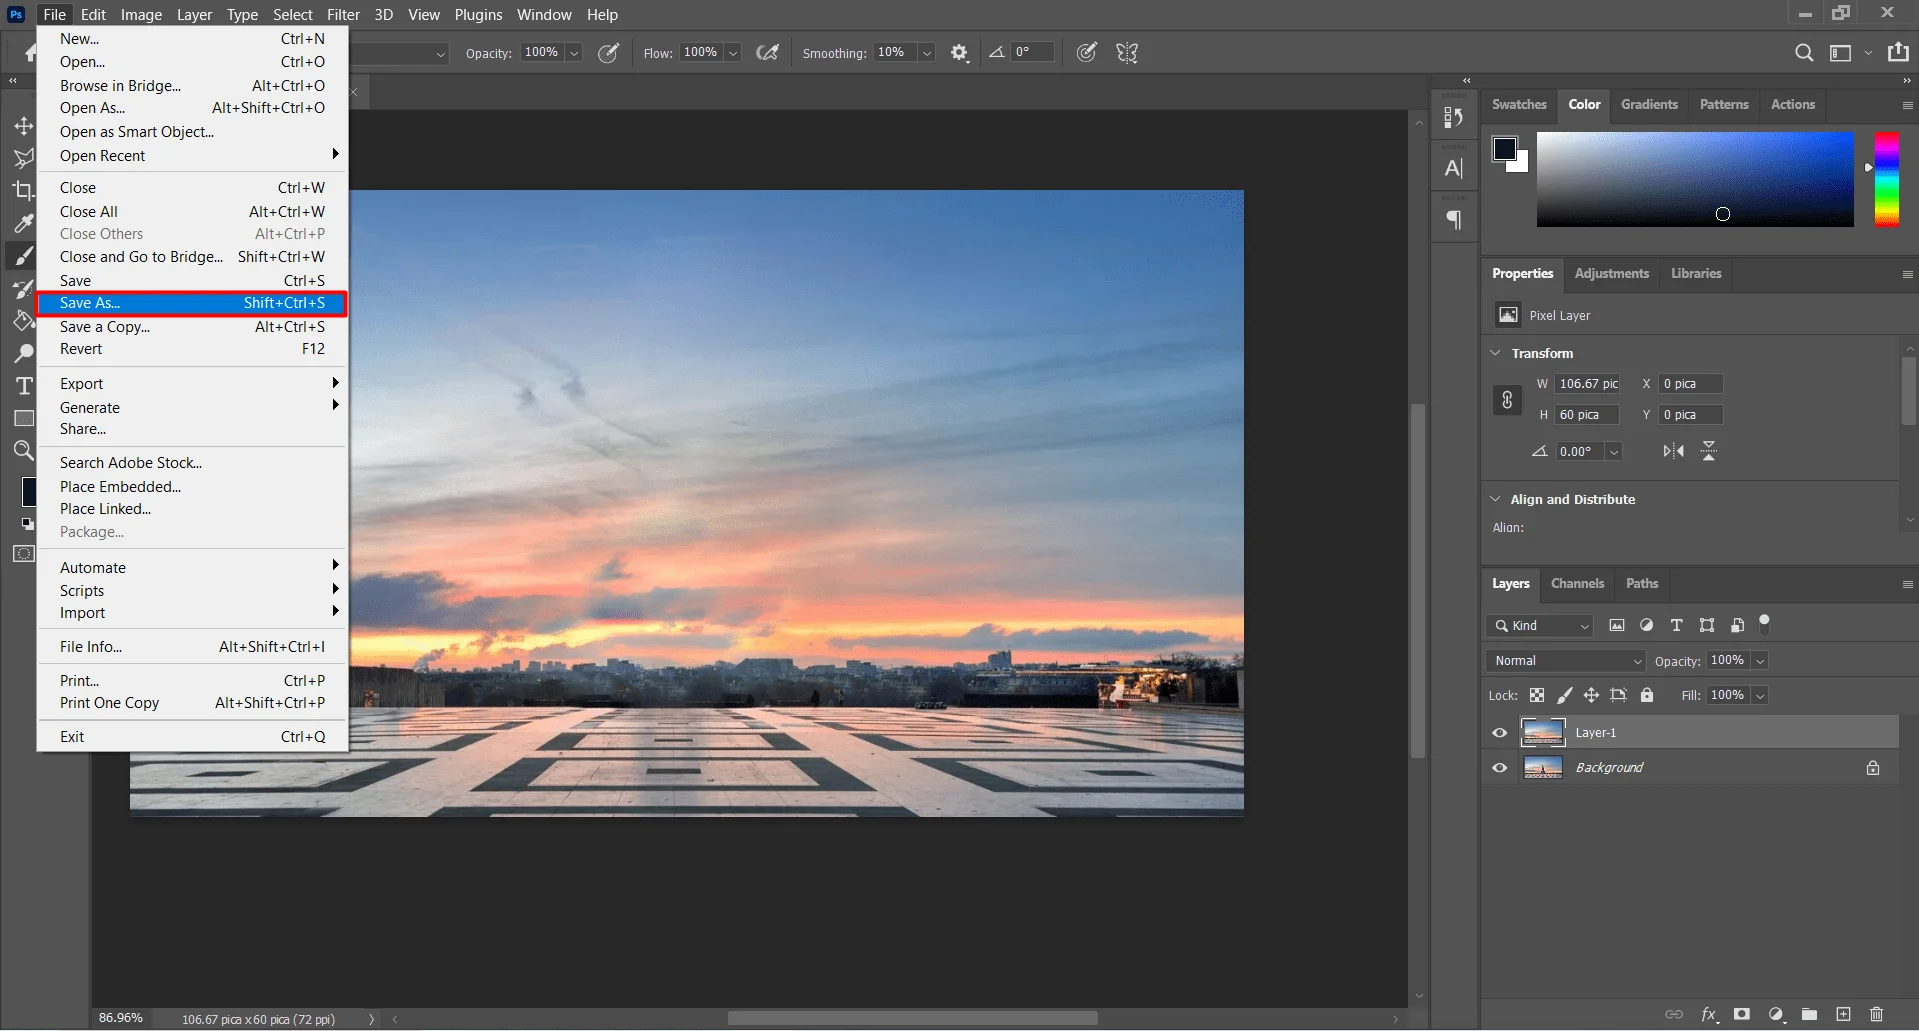
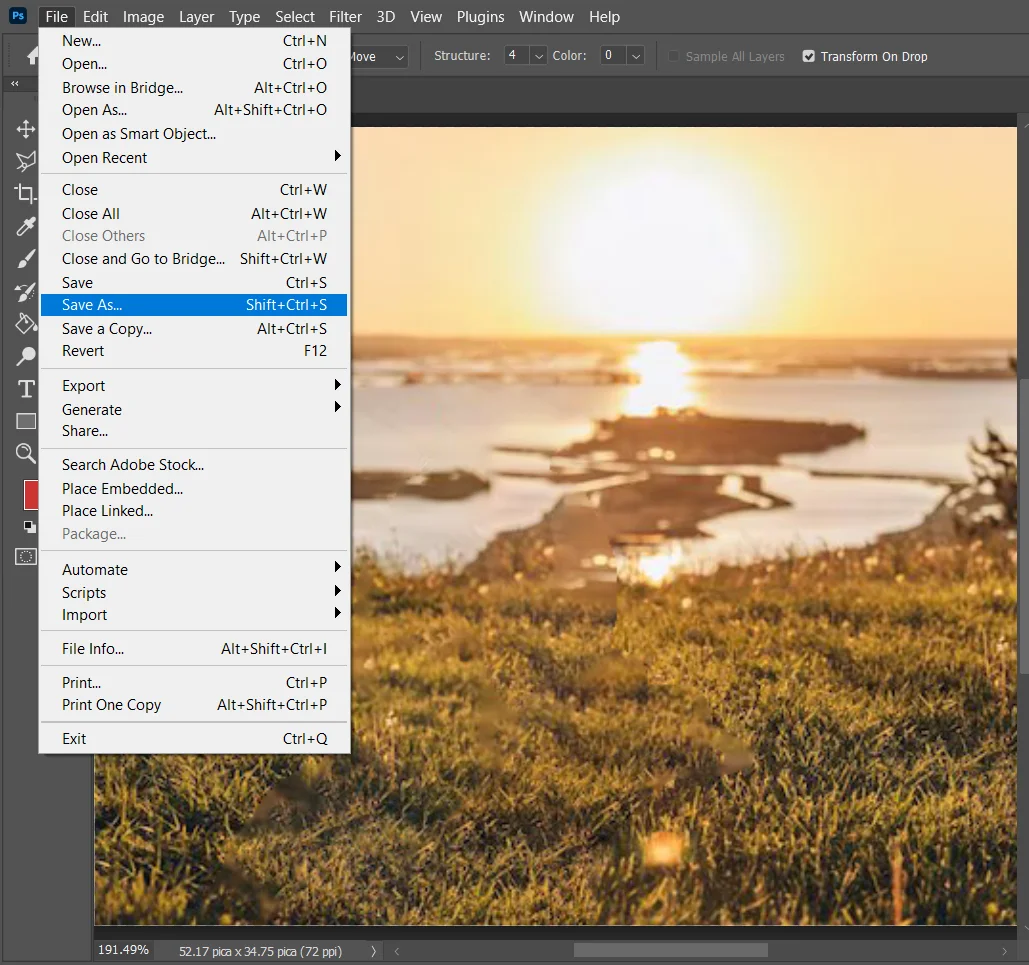
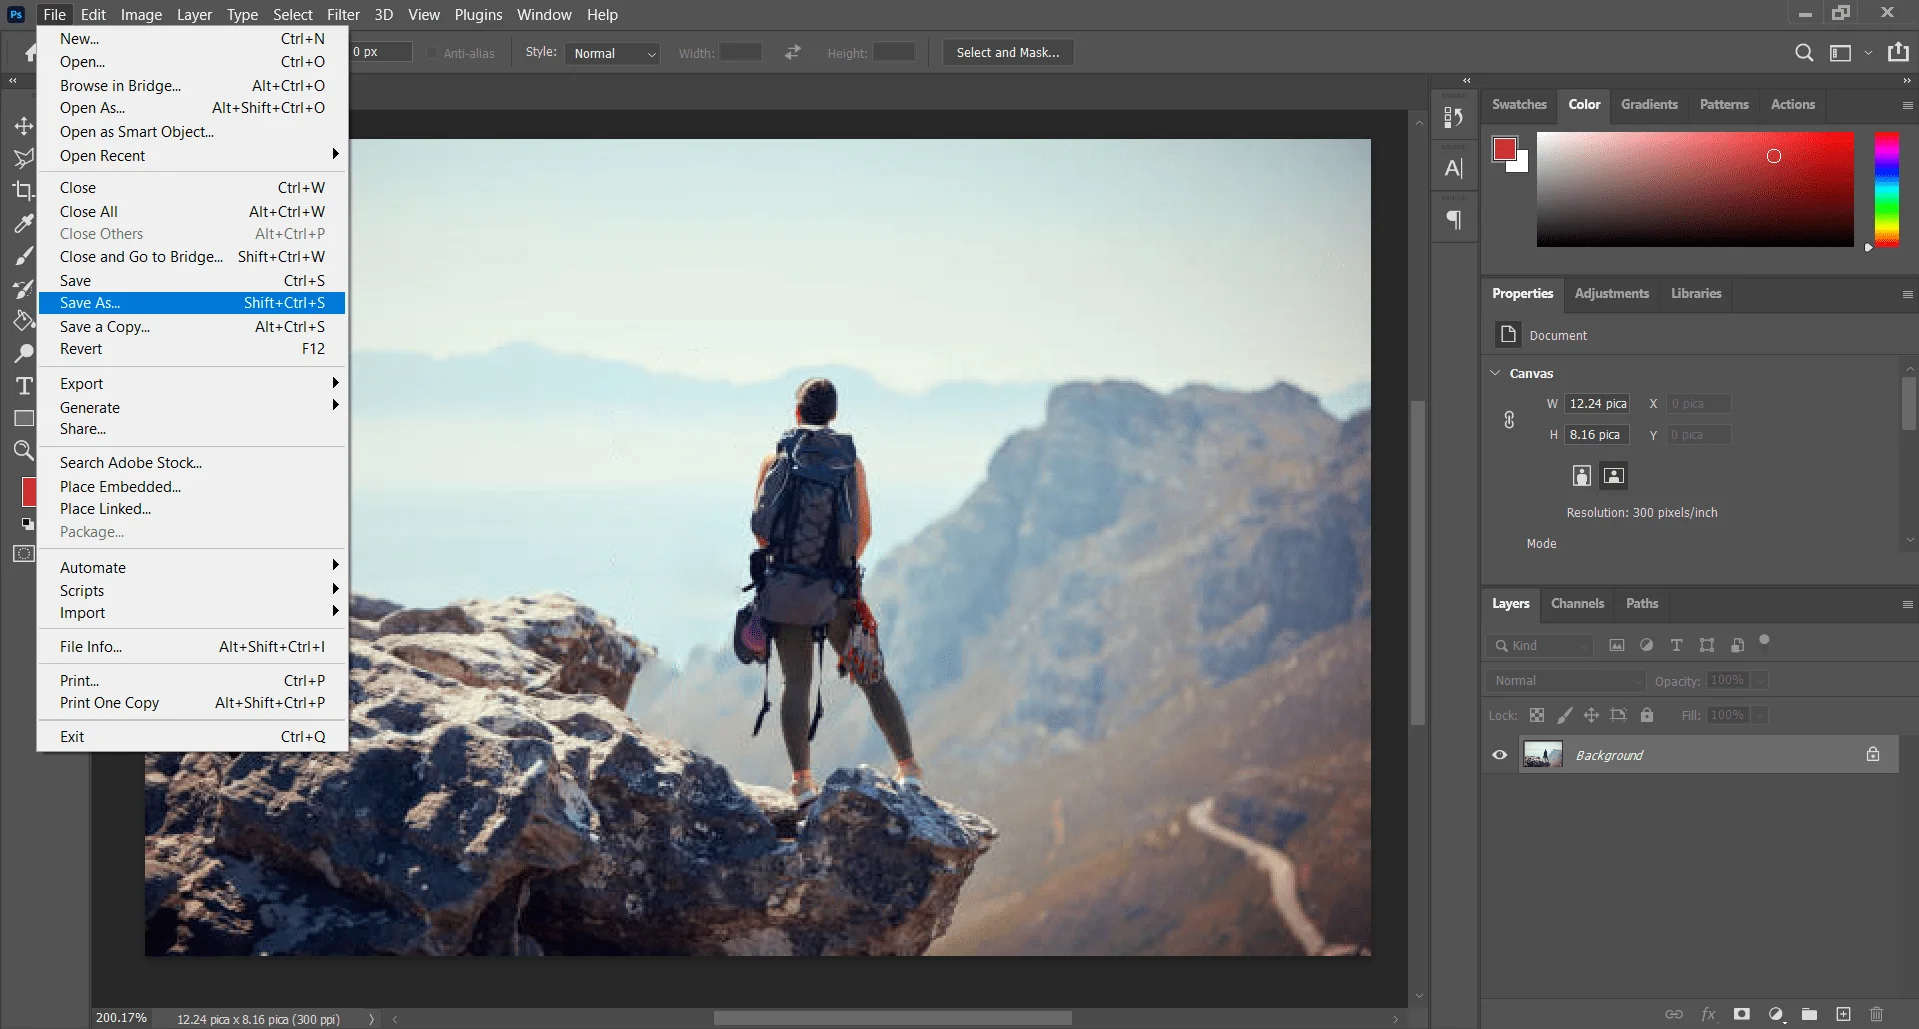
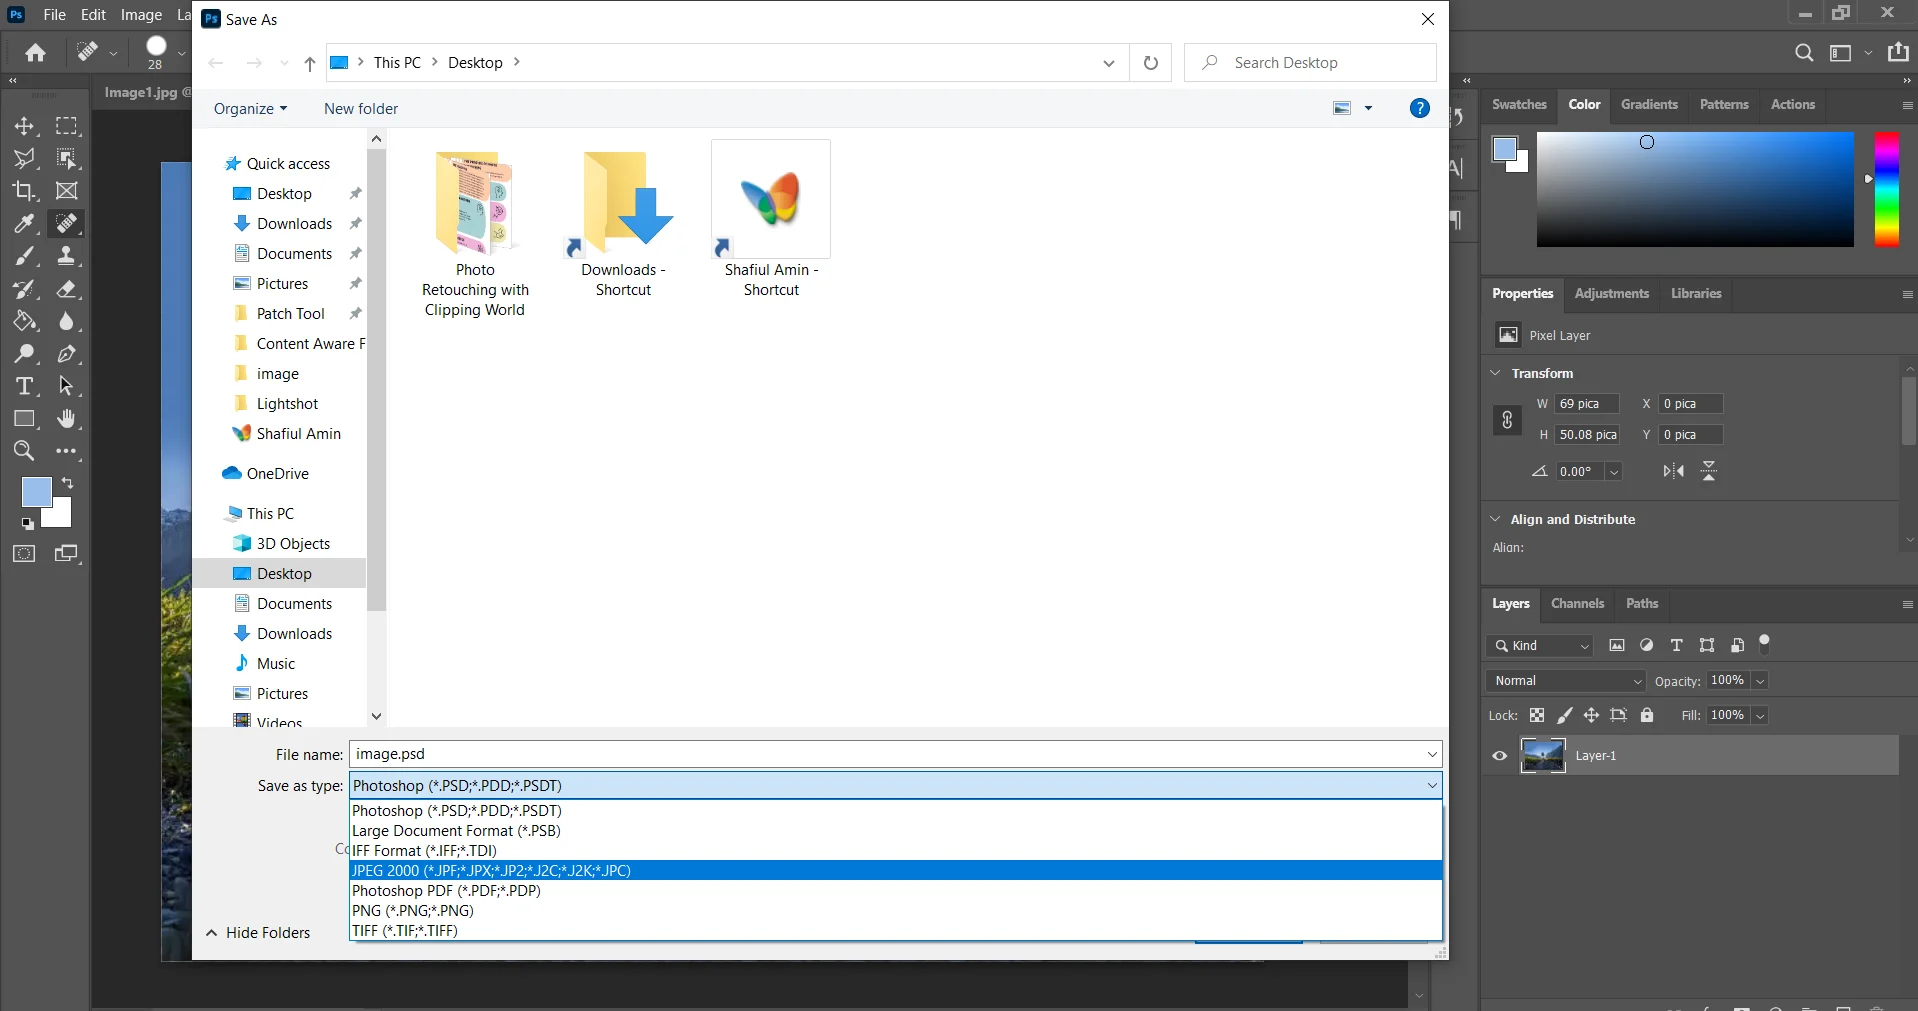
Tot merge press ‘Ctrl’, ‘Shift’, and ‘E’ together on your keyboard. And then to save the image go to the ‘File’ on the Top menu. Select ‘Save As’ a dialog box will appear select the image format you want to save your image.
If you want to save as a copy the pass ‘Save a Copy’ button. Or pass the ‘Save’ button to save our edit.
Caution: Keep in mind when you want to heal a large area with the ‘Healing Brush Tool’. If the source pointer points to different texture pixels the image could be destroyed.
Using the Patch Tool Method
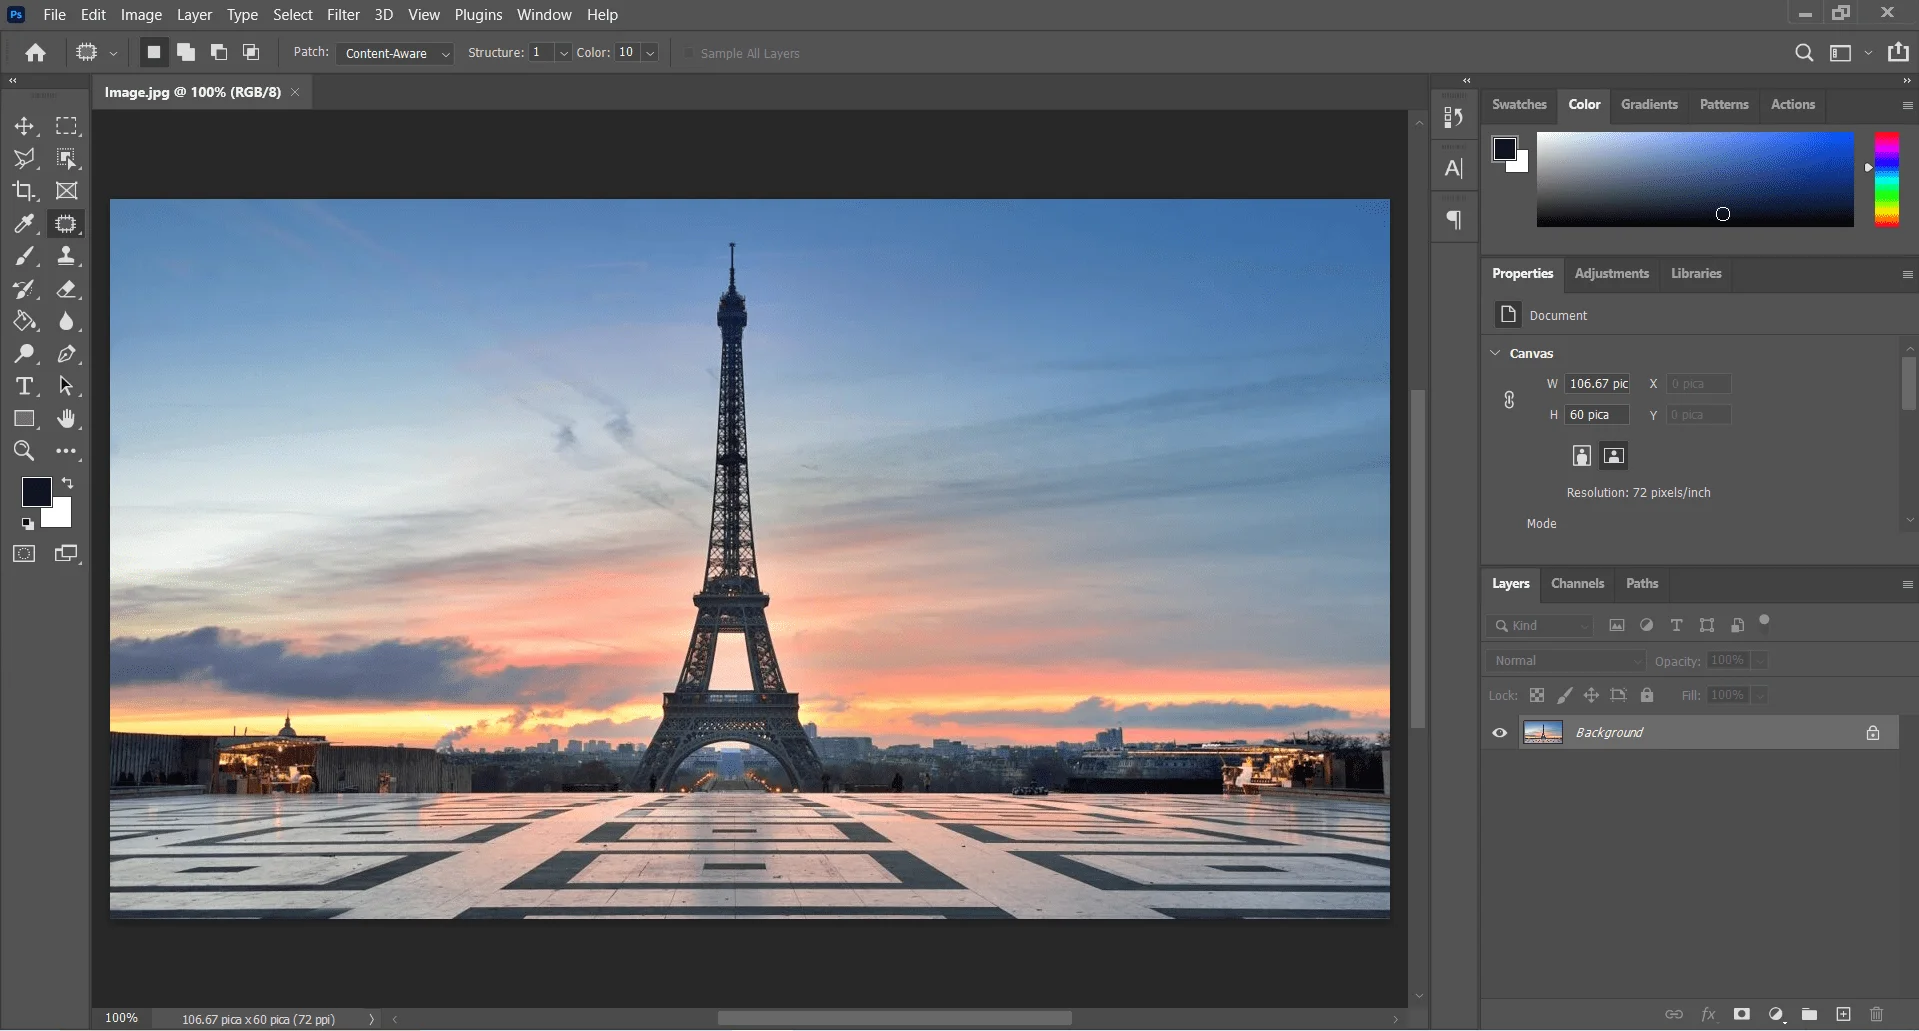
This is one of the most popular methods for Content in Photoshop. This method is popular because of its AI mechanism which will give you such a fine result. Which will satisfy you very well. The At Content Aware Fill Photoshop 2023 will give you more satisfying results. Let's take a picture for example as below:

Now let's try to vanish the famous ‘Eiffel Tower’ from this photo. The output result for the Content Aware Fill in Photoshop will be as follows,

Method: Open Image > Make Duplicate layer > Select The ‘Patch Tool’ > Make Selection of object > Click and drag the selected area to the related pixel > Merge and save.
Step 1: Open the Image in Photoshop
To open an image in the Photoshop photo editing software go to the Desire image folder and select the image. Now ‘Right Click’ on the image a dropdown menu will appear go to ‘Open With’.
Now Sub-Dropdown menu will appear select ‘Adobe Photoshop’ from the software list available on your PC. The image will open in ‘Adobe Photoshop’.
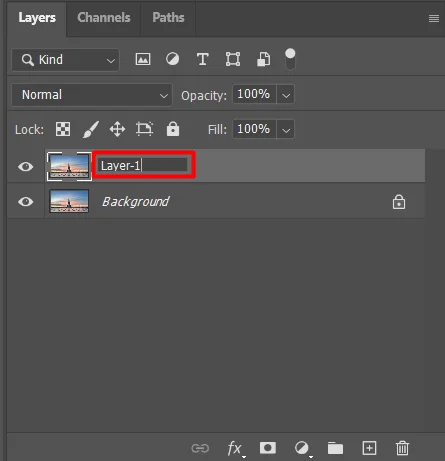
Step 2: Make A Duplicate Layer and Rename
Shortcut: Ctrl + j
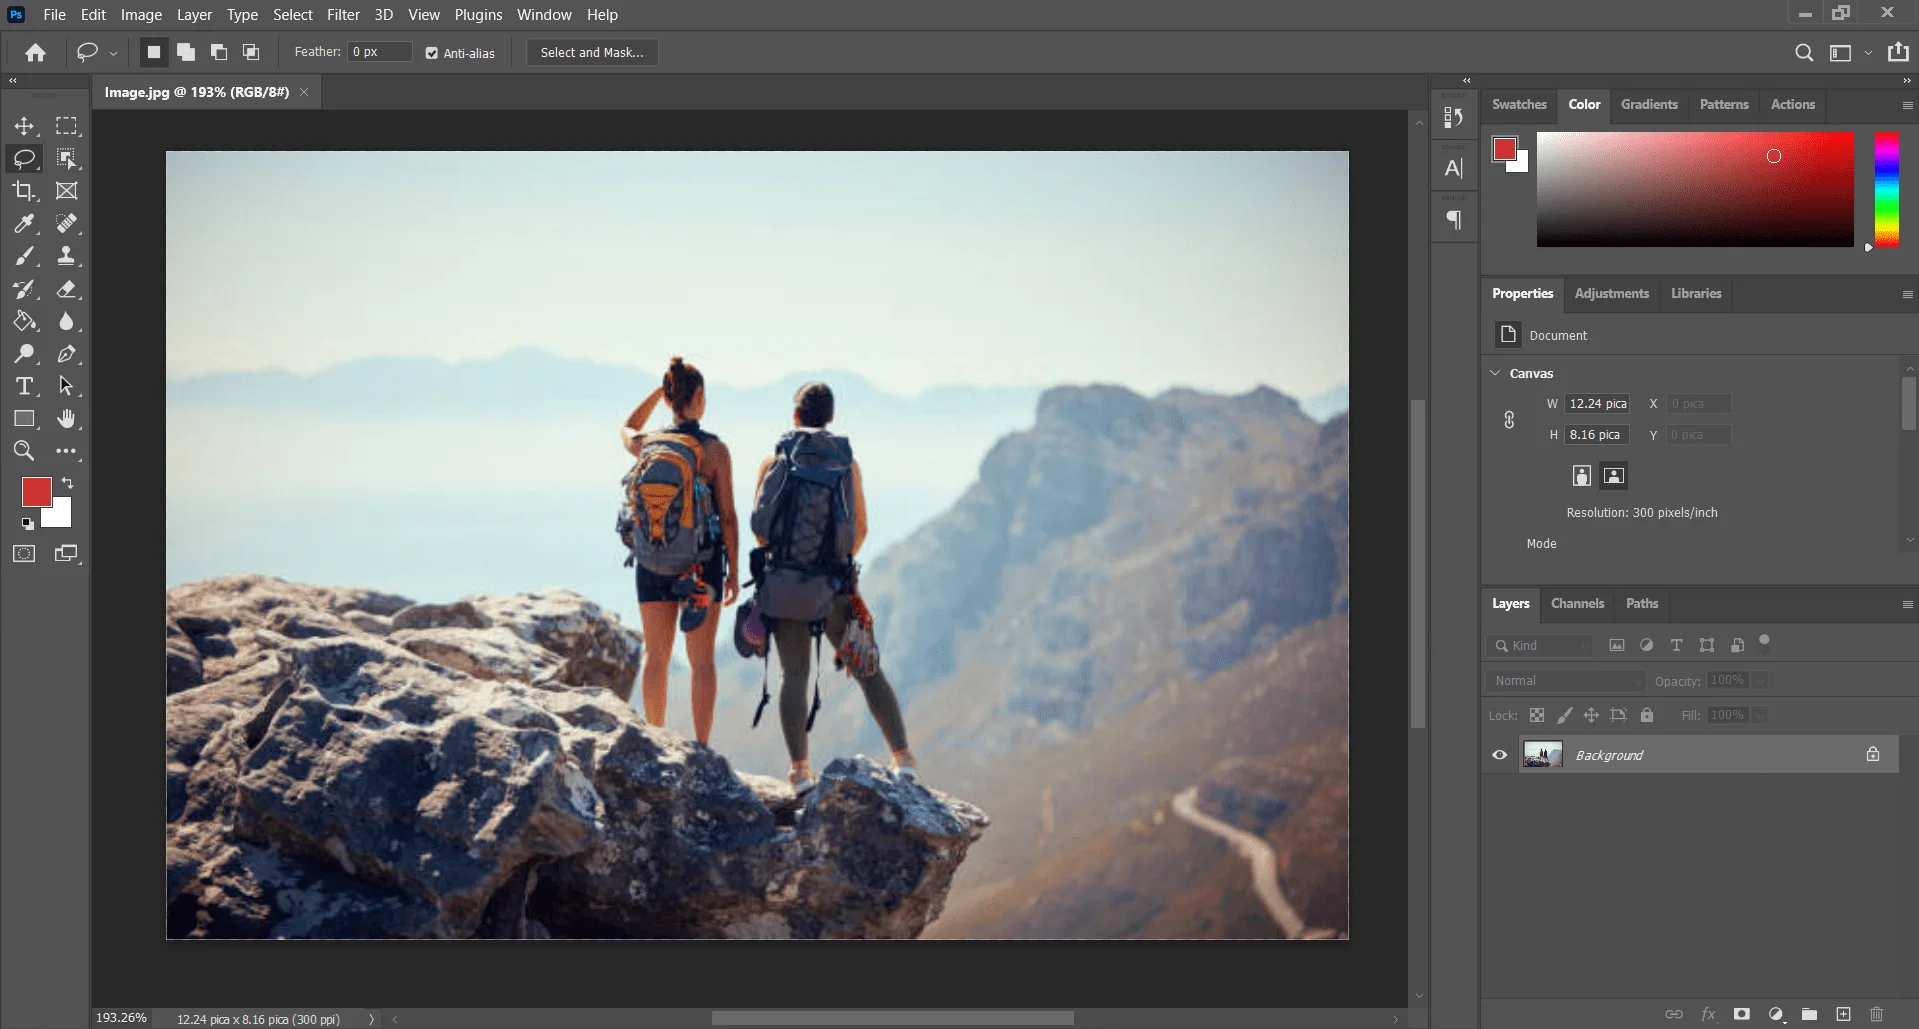
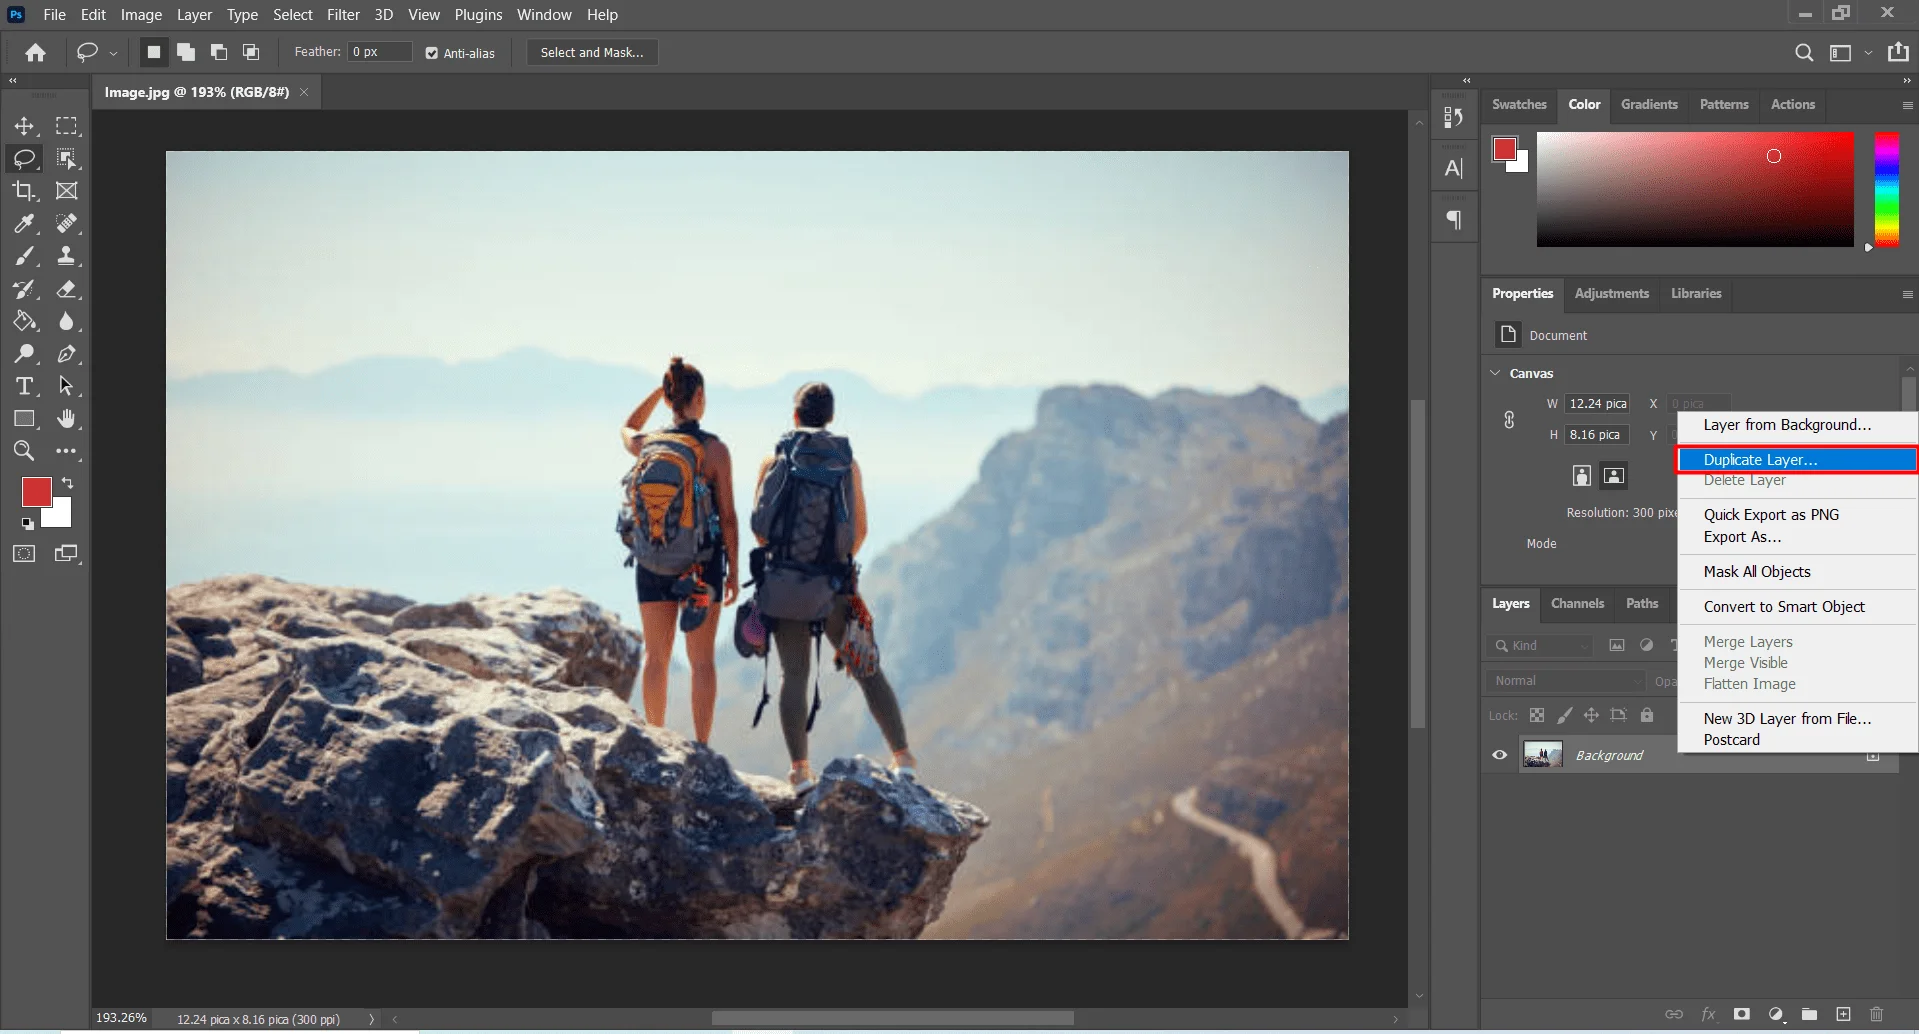
You can make a duplicate layer of the image that you open now. The opening image will show as a background layer in layer penal. Select that layer and ‘Right Click’ on it.
A Dropdown menu will appear now click on the ‘duplicate layer’ a duplicated background layer will created as a ‘Background copy’ name. You can also make duplicate layers in a shortcut. Just simply pass CTRL + J or Command + J together.
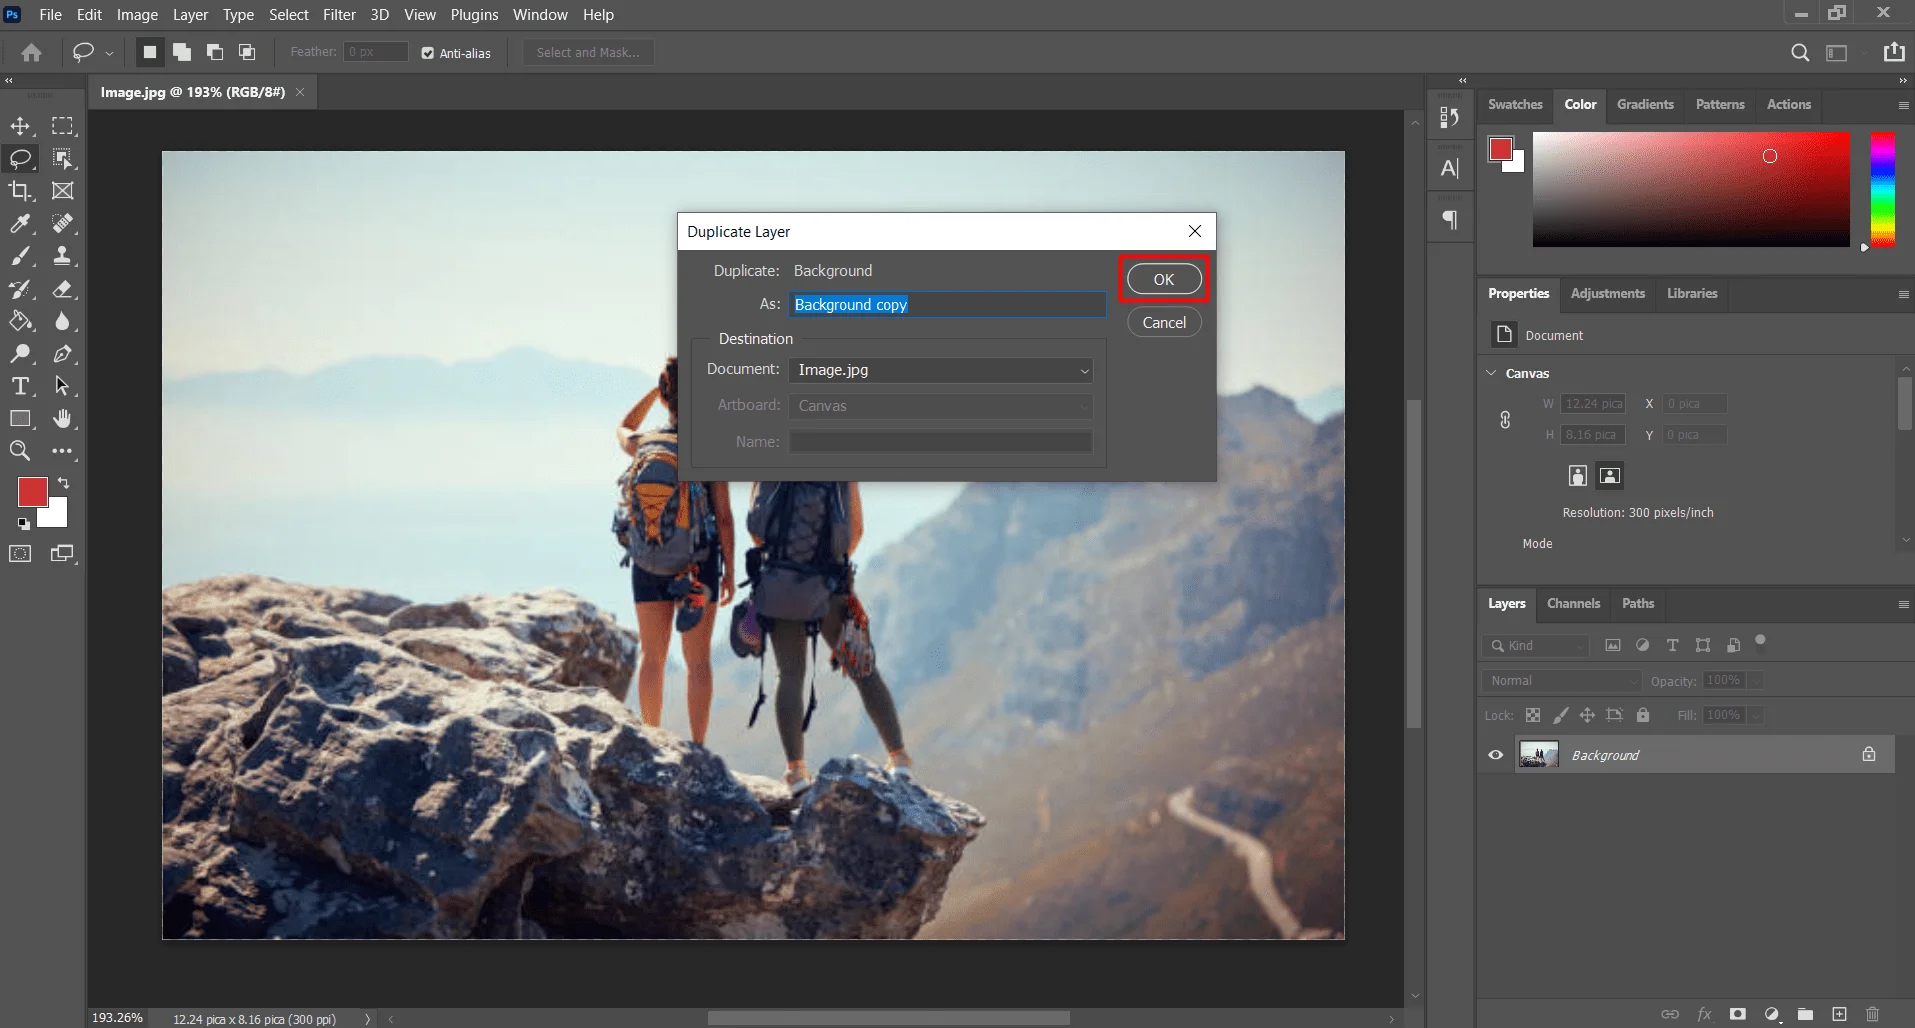
You also can rename the new ‘Background copy’ layer. Just you have to double-click on the name ‘Background copy’. The name will become editable, and you can then edit the name. We name the duplicated layer as ‘Layer-1’.
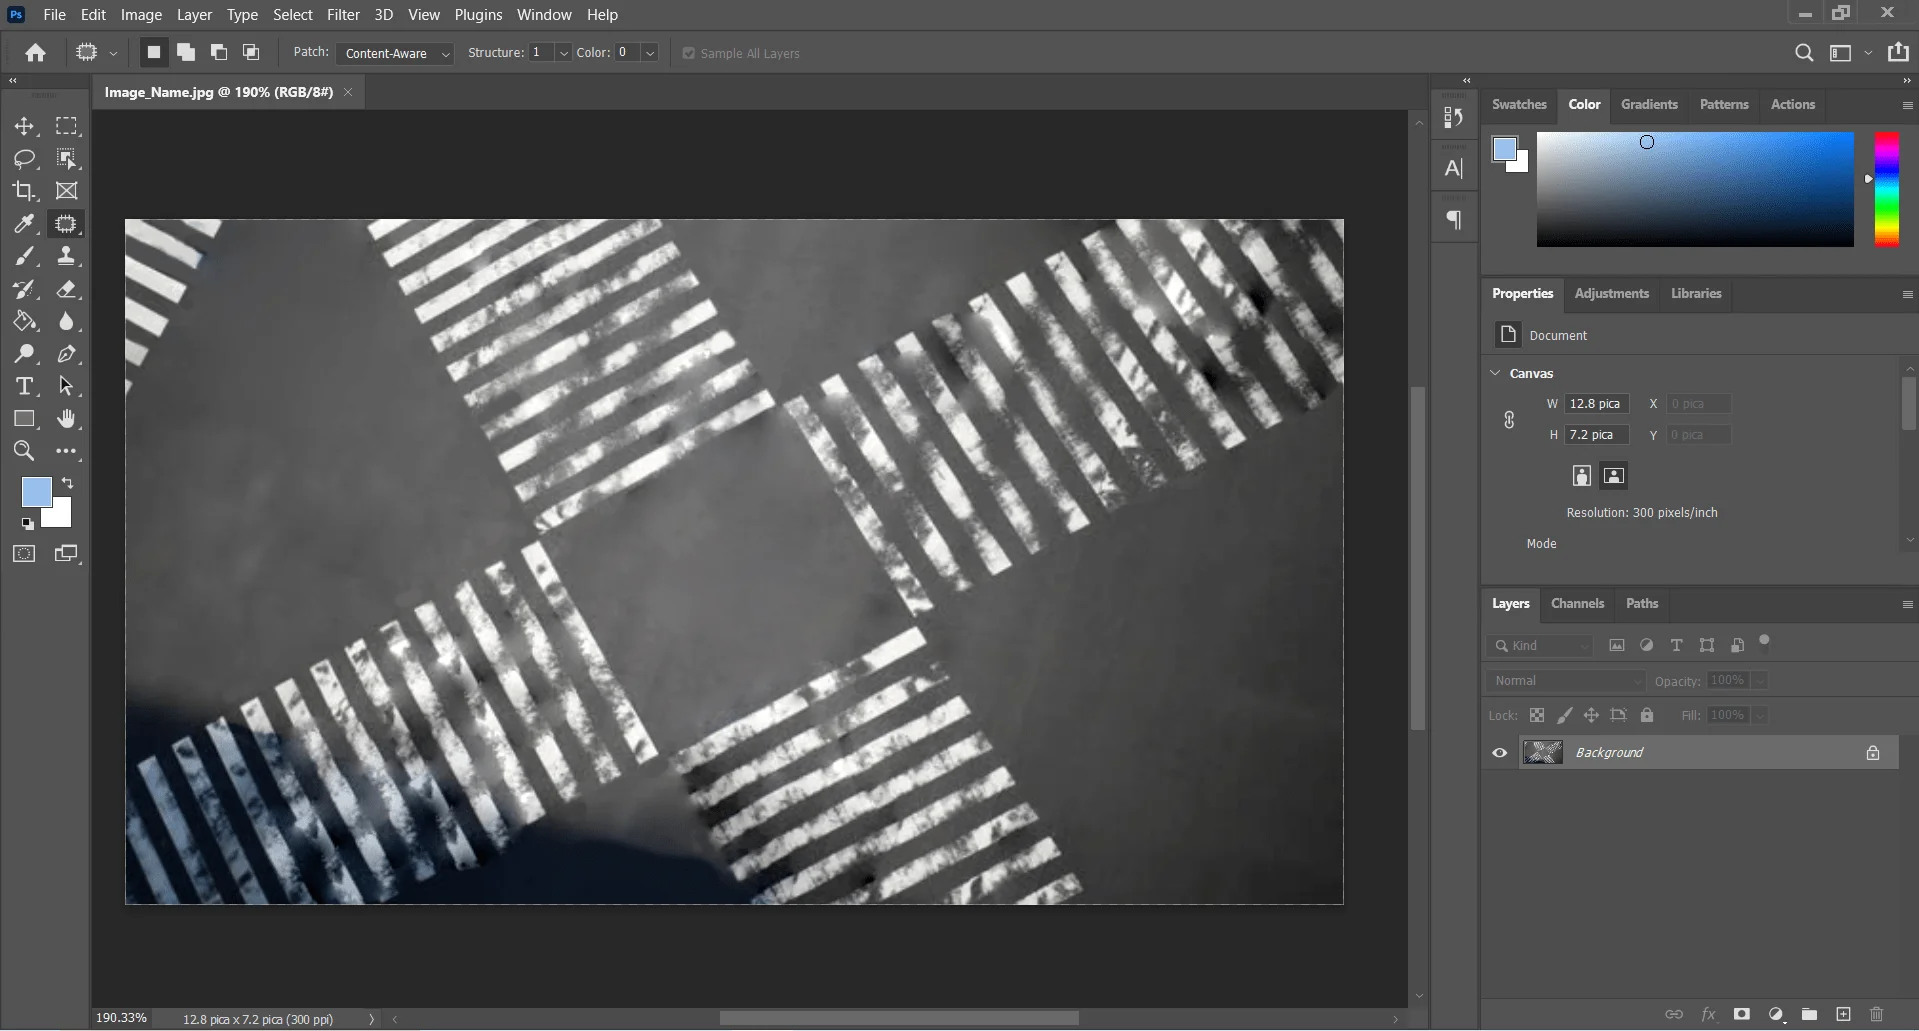
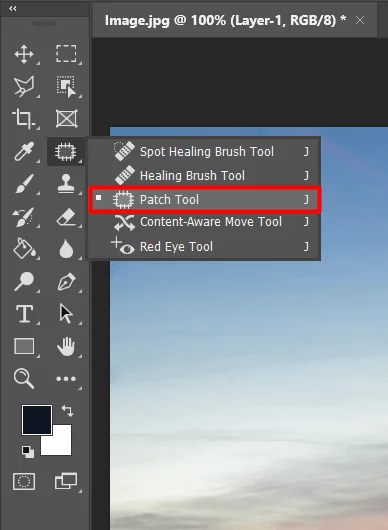
Step 3: Select the Tool and Make
Shortcut: J
Now select the ‘Patch Tool’ from the toolbar. If you cannot see it on the toolbar don’t worry. Pass ‘J’ the ‘Path Tool will selected. Otherwise, the Prass ‘J’ tool will become selected most probably it will be the ‘Healing Brush Tool’.
If want to learn about the ‘Healing Brush Tool’ you can read our first method of Content Awarein Photoshop 2023.
Now ‘Right Click’ of the selected tool a dropdown menu will appear with a list of brush tools. Now from the list of the Brush select the ‘Patch Tool’.
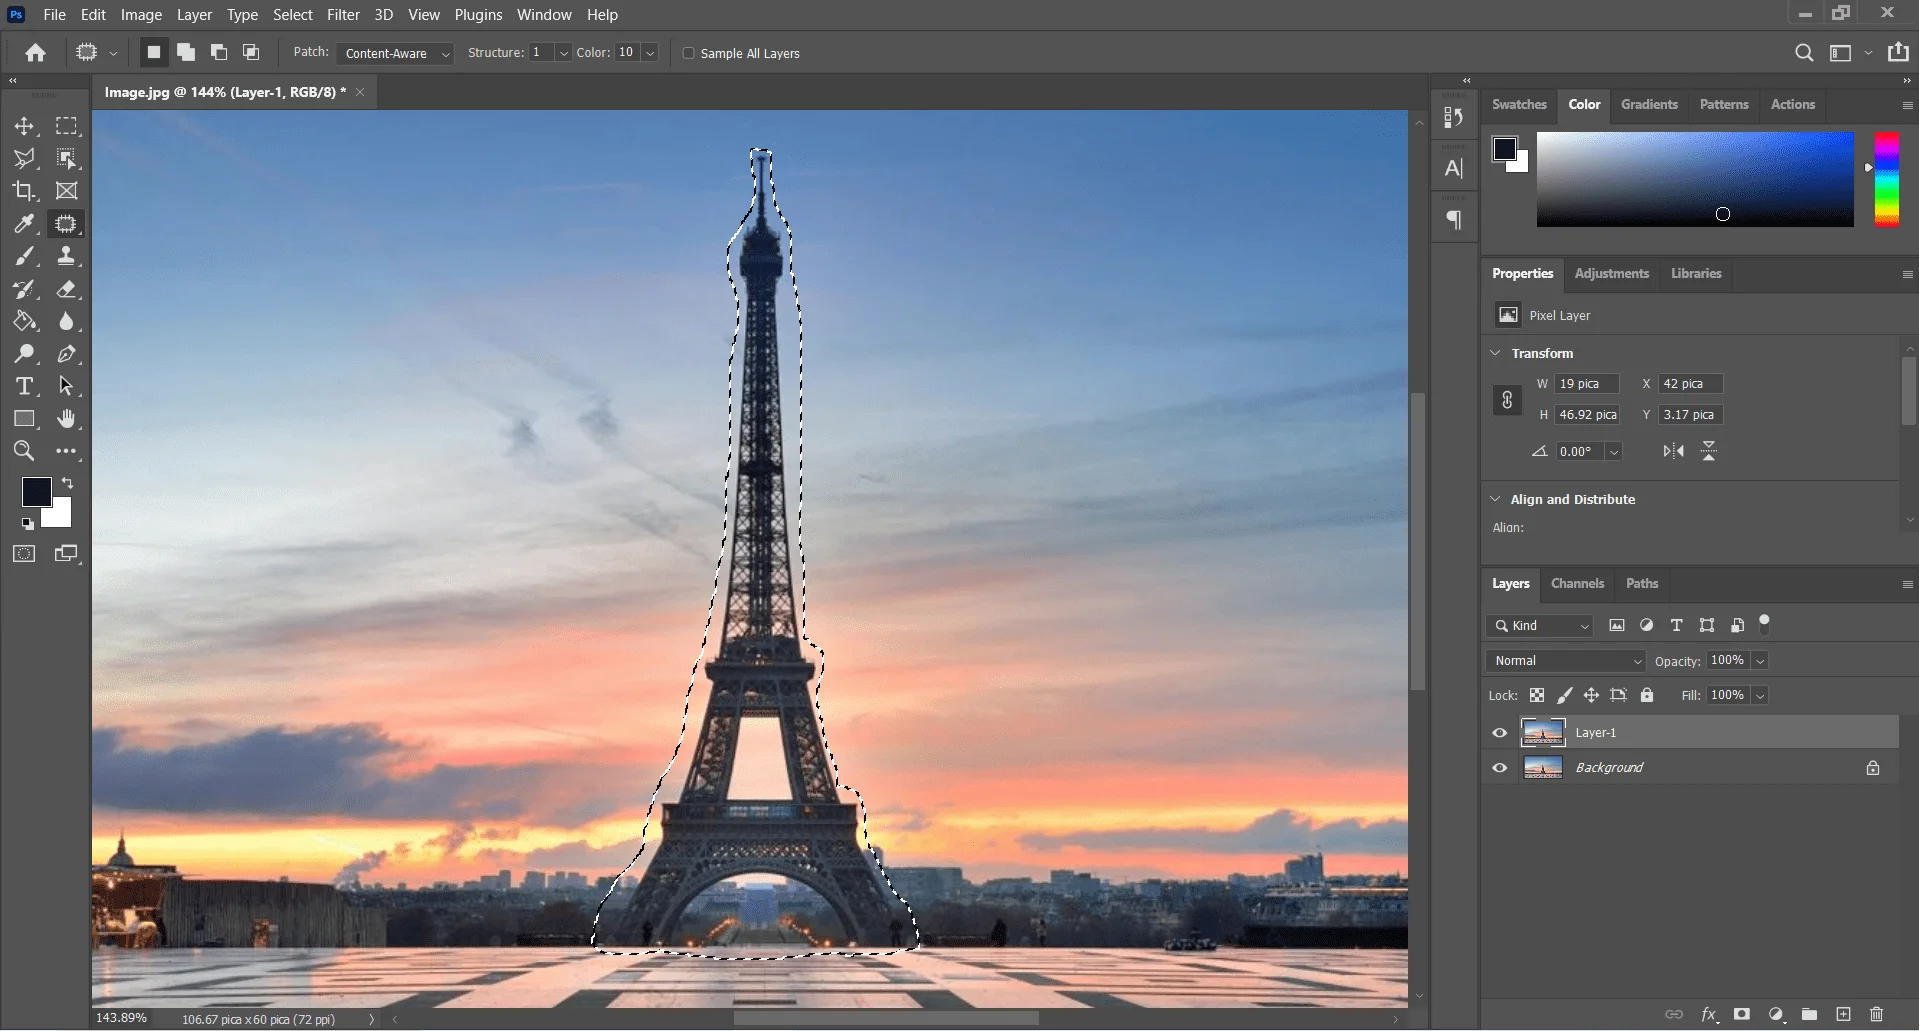
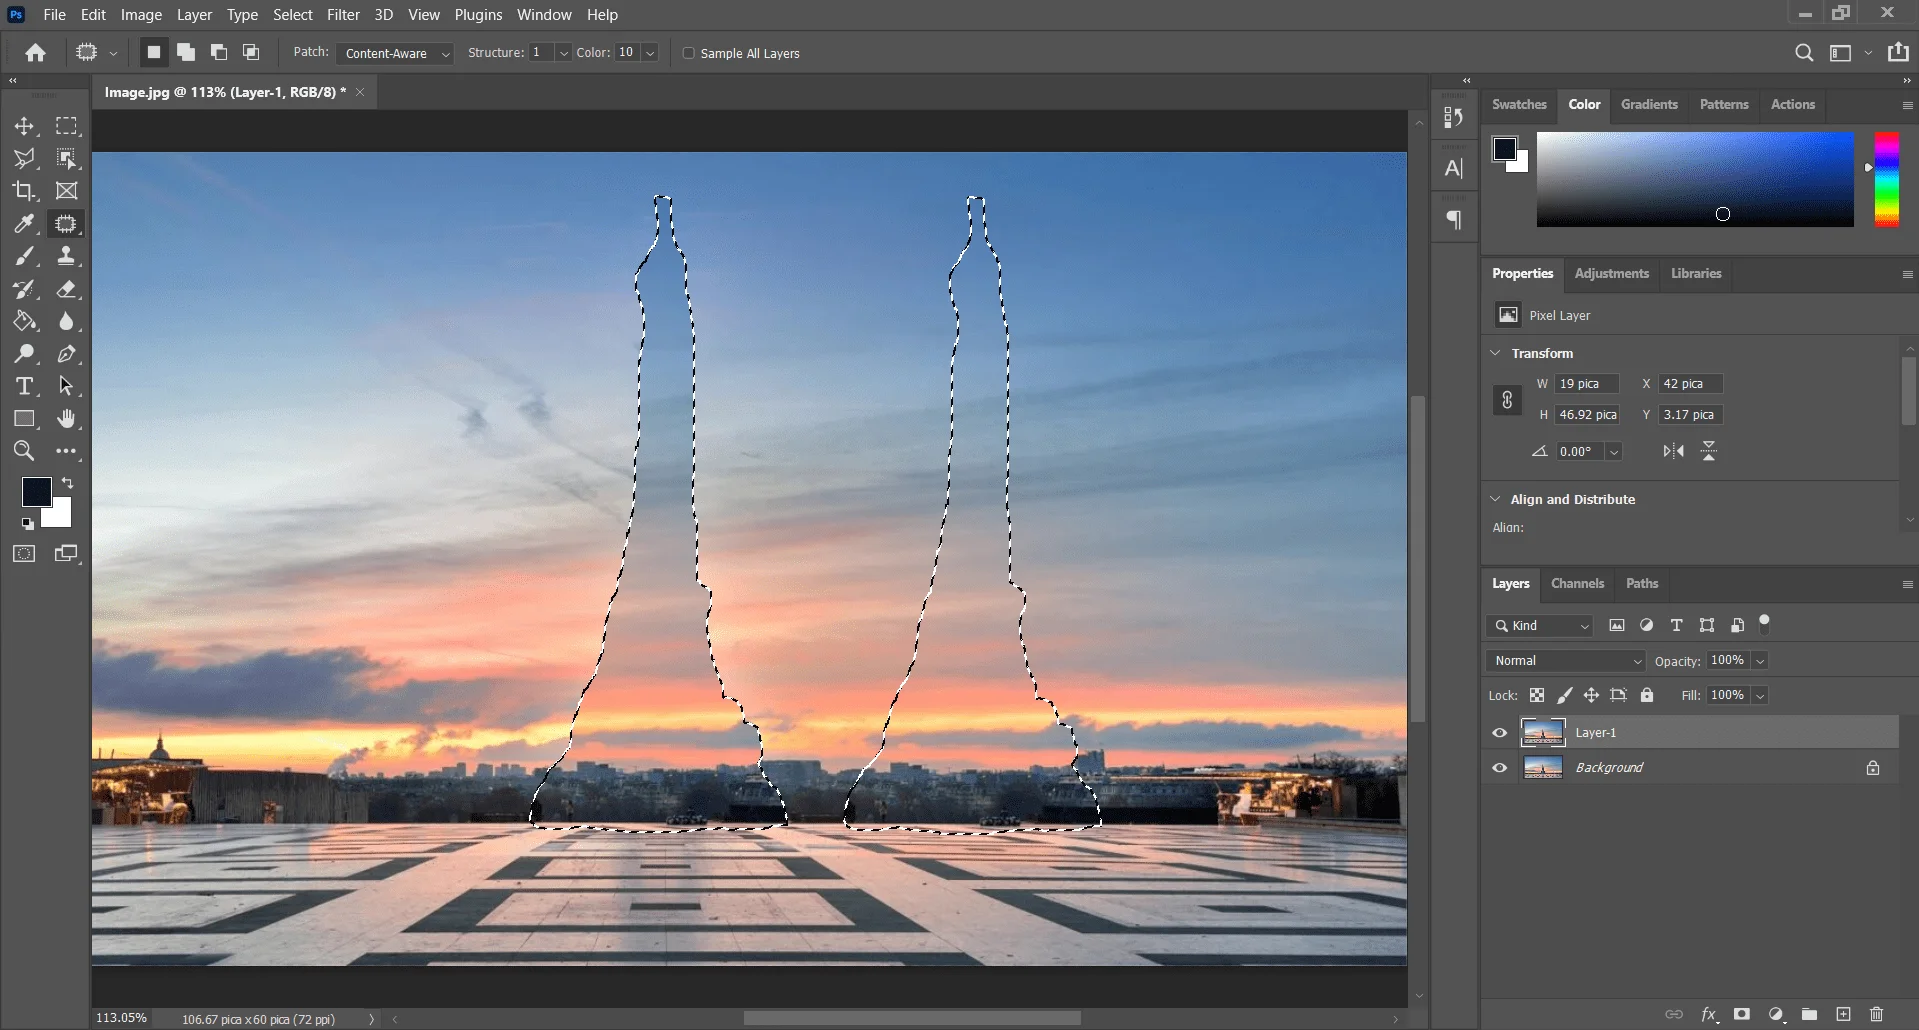
Step 4: Make a Selection around the Object
Now make a selection around the object that you want to remove from the picture. You do not have to make a pixel-to-pixel correct selection of the object. Just make a lossy selection around the object. As in the following image,
When you select the texture make sure Content Aware is selected on the top option bar.
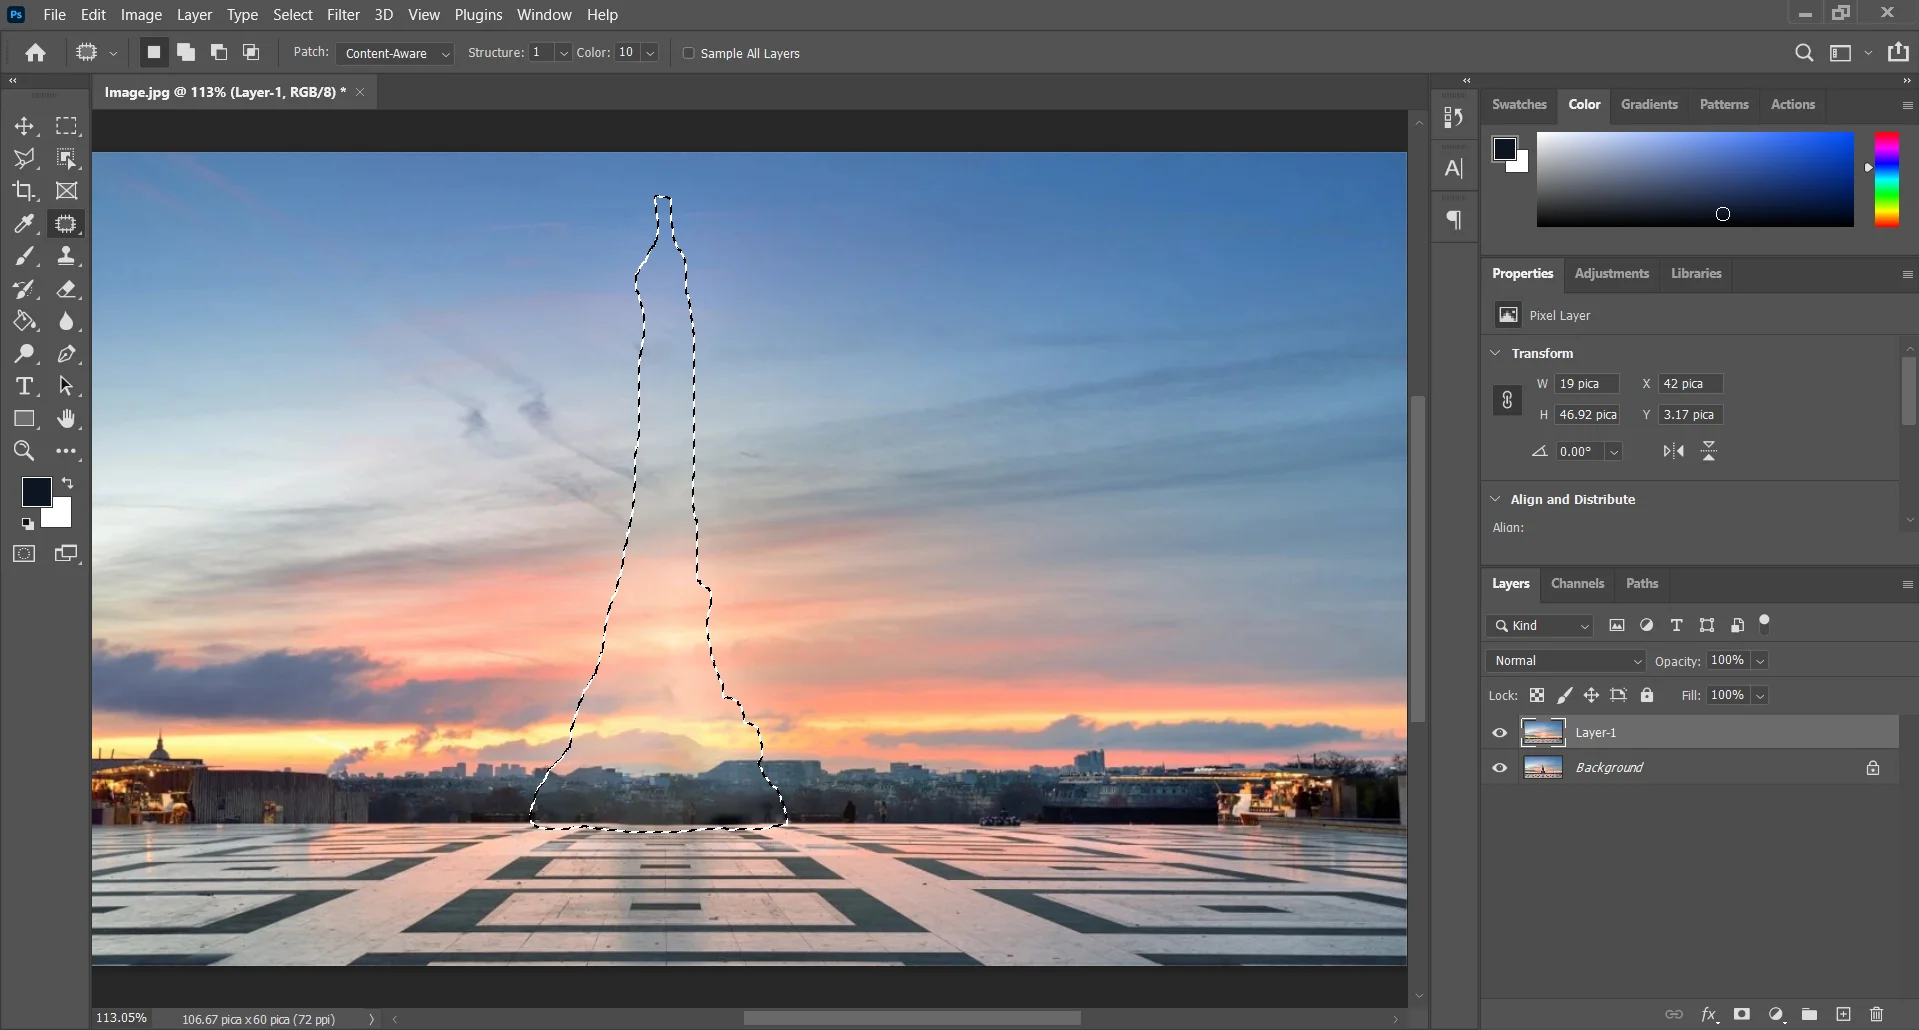
Step 5: Drag To Fill Selection
Now click on the texture that you made now and hold then drag it to the relevant area or pixels. Through which will want to fill the selection area.
If you are satisfied with the result then leave the mouse button. And see the magic, the object is gone, and the selected area adjusts the pixels automatically.
There are also some options in the ‘Options Bar’ Which are patch, ‘Structure’, ‘Color’, and ‘Sample All Layers’
Patch
Choose Content Aware to select the Content Aware option.
Structure
Enter a value between 1 and 7 to specify how closely the patch should reflect existing image patterns. If you enter 7, the patch adheres very strongly to existing image patterns. If you enter 1, the patch adheres very loosely to the existing image patterns.
Color
Enter a value between 0 and 10 to specify the extent to which you want Photoshop to apply algorithmic color-blending to the patch. If you enter 0, color blending is disabled. A Color value of 10 applies maximum color blending.
Sample All Layers
Enable this option to create the result of the move in another layer using information from all layers. Select the target layer in the Layers panel.
There are some examples for more understanding:
Structure:1 Color:0

Structure: 1 Color: 5

Structure: 1 Color: 10

Structure:4 Color: 0

Structure: 4 Color: 5

Structure:4 Color: 10

Structure:7 Color: 0

Structure:7 Color: 5

Structure:7 Color: 10

Step 6: Give a Finishing Touch and Save
Merge Shortcut: Crt + Shift + E
Save Shortcut: Ctrl + Shift + S
Now if you want to make the image more realistic you can use a brush and give some finishing touch. You reuse the process for the edges if you feel these need some finishing touch.

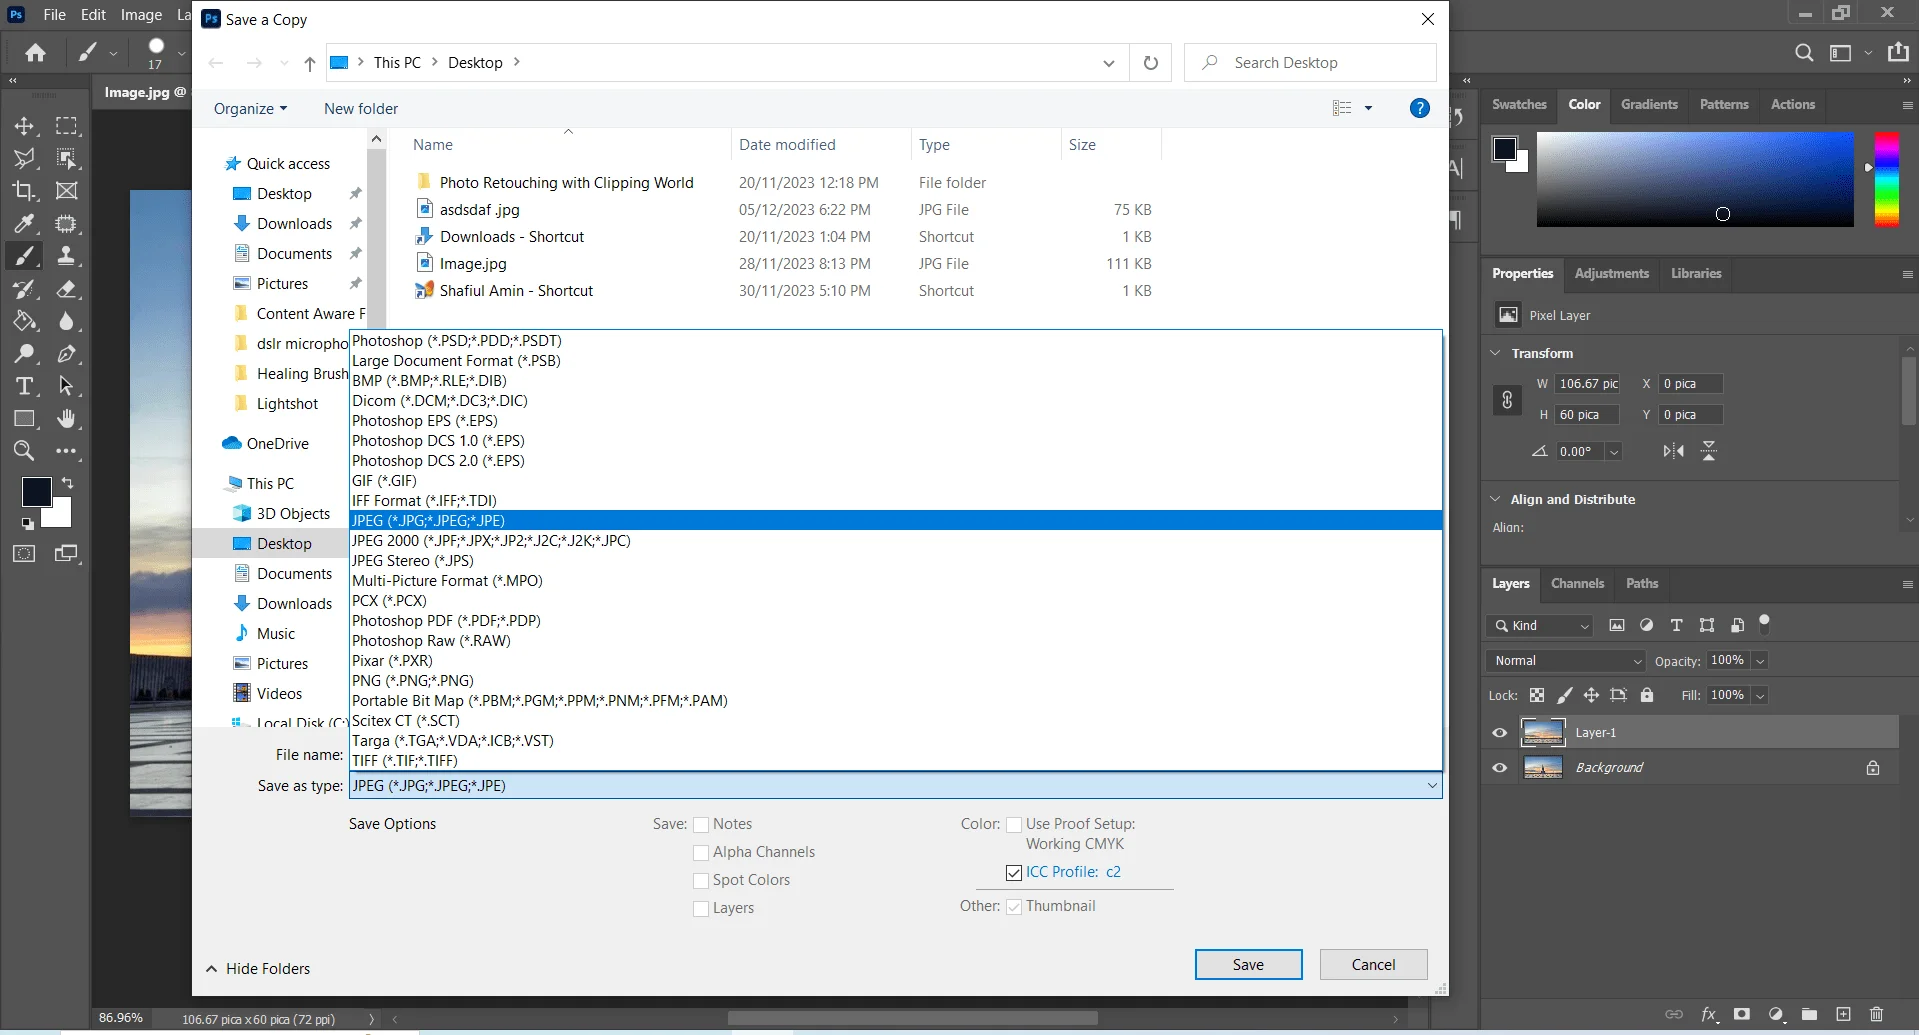
Now if you are satisfied with the result save the image in the format you want. To save the photo go to file in the main menu. A dropdown menu will appear, and select ‘Save As’ a saving dialog Box will appear.
Set the name of the image in the ‘File name’ box and format in the ‘Save as type’ box. Then click on the save button.
Using Content AwareMove Tool
Contenet-Aware is one of the easiest methods using the Content AwareMove Tool. This method is very easy just because of the AI Cnotent-Aware Fill in Photoshop. When you use the Content-Ware move Tool for Content Awarein Photoshop you do not need to be master in the Content Awarescale.
If you know the names of the tools and brush then you can use the Conten-Aware Move Tool methods. And if you are a beginner in Content Aware Fill in Photoshop don’t worry we are here to help you.
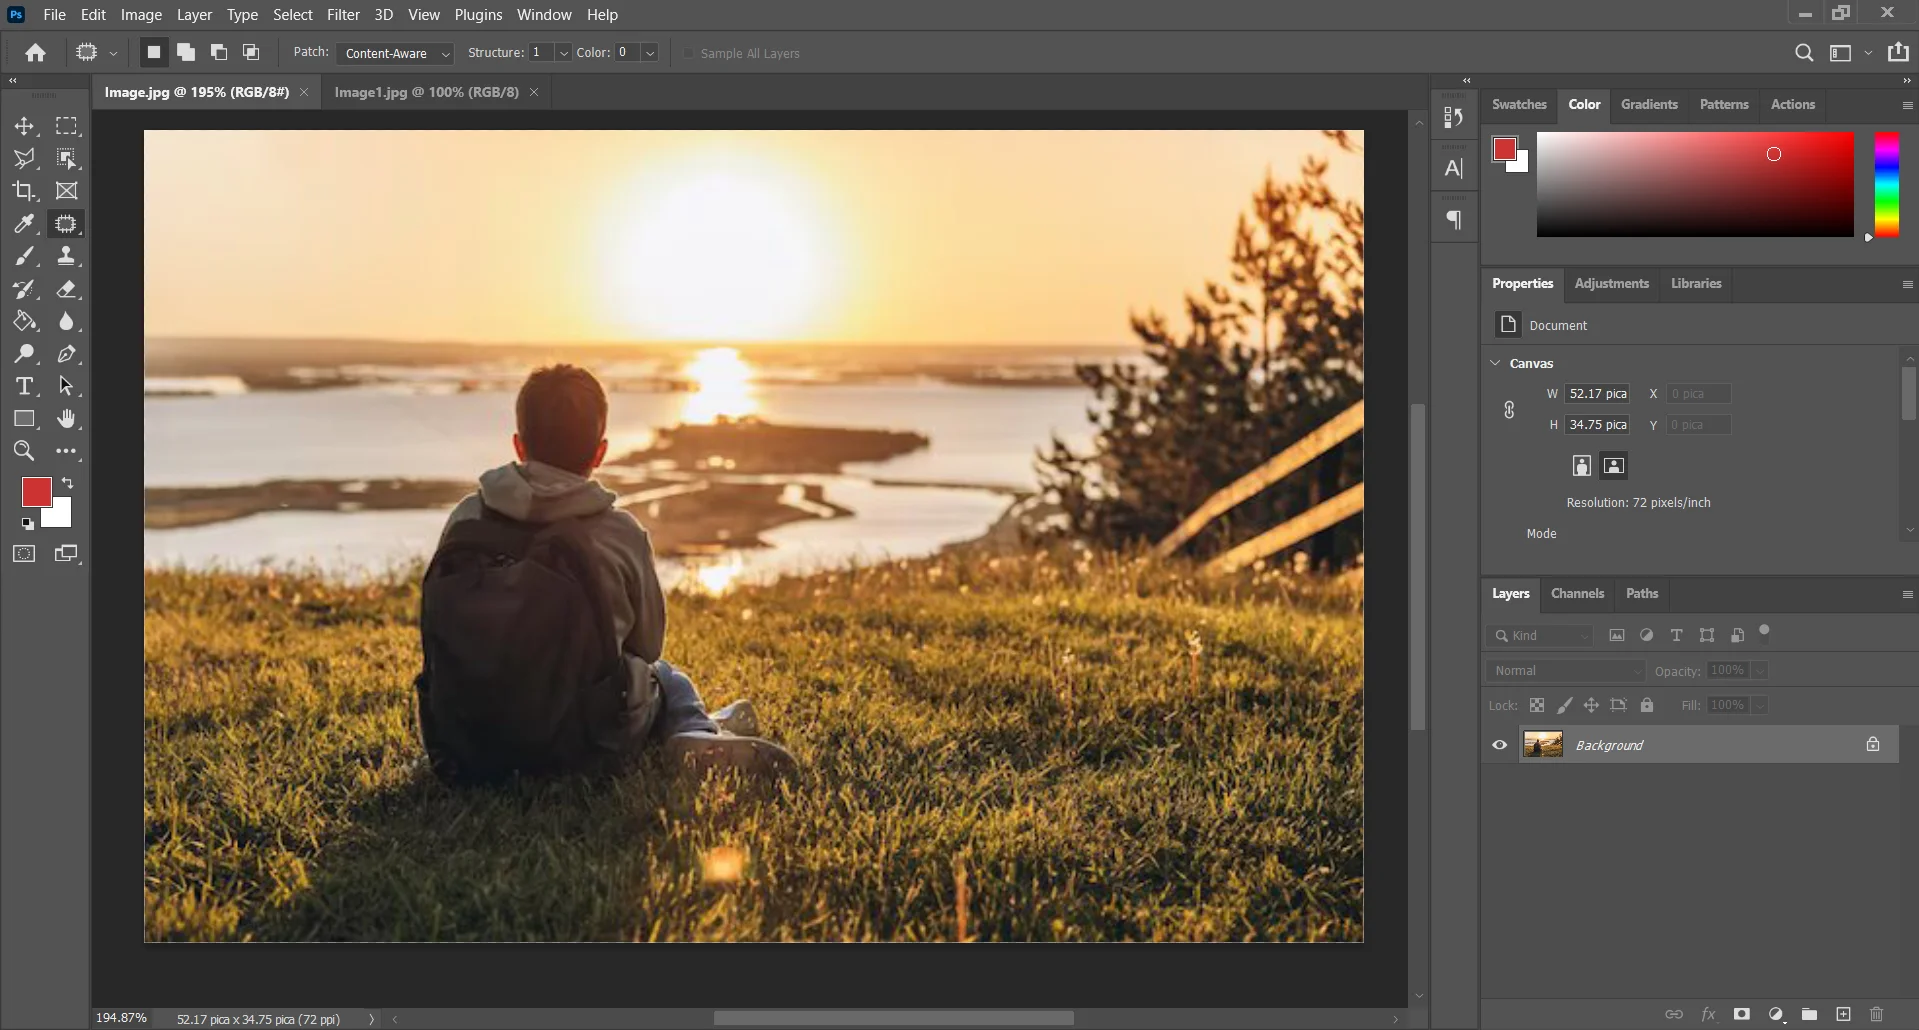
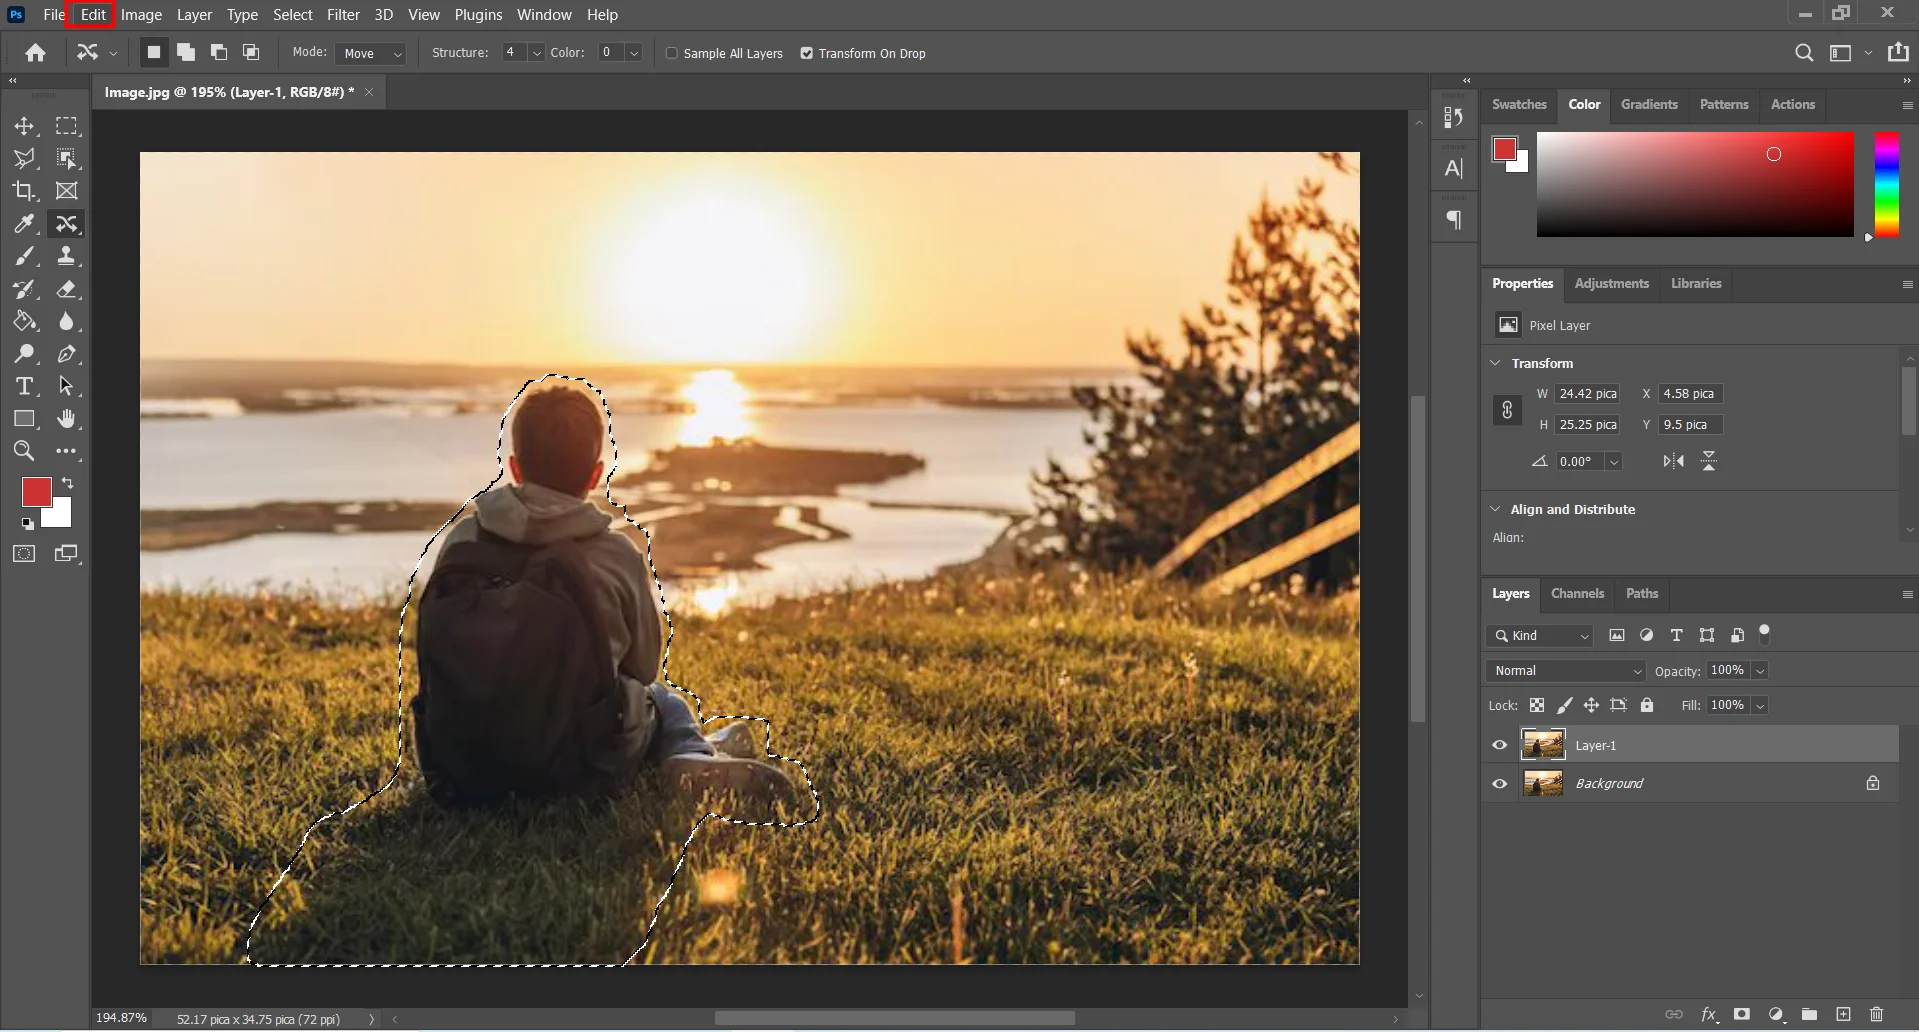
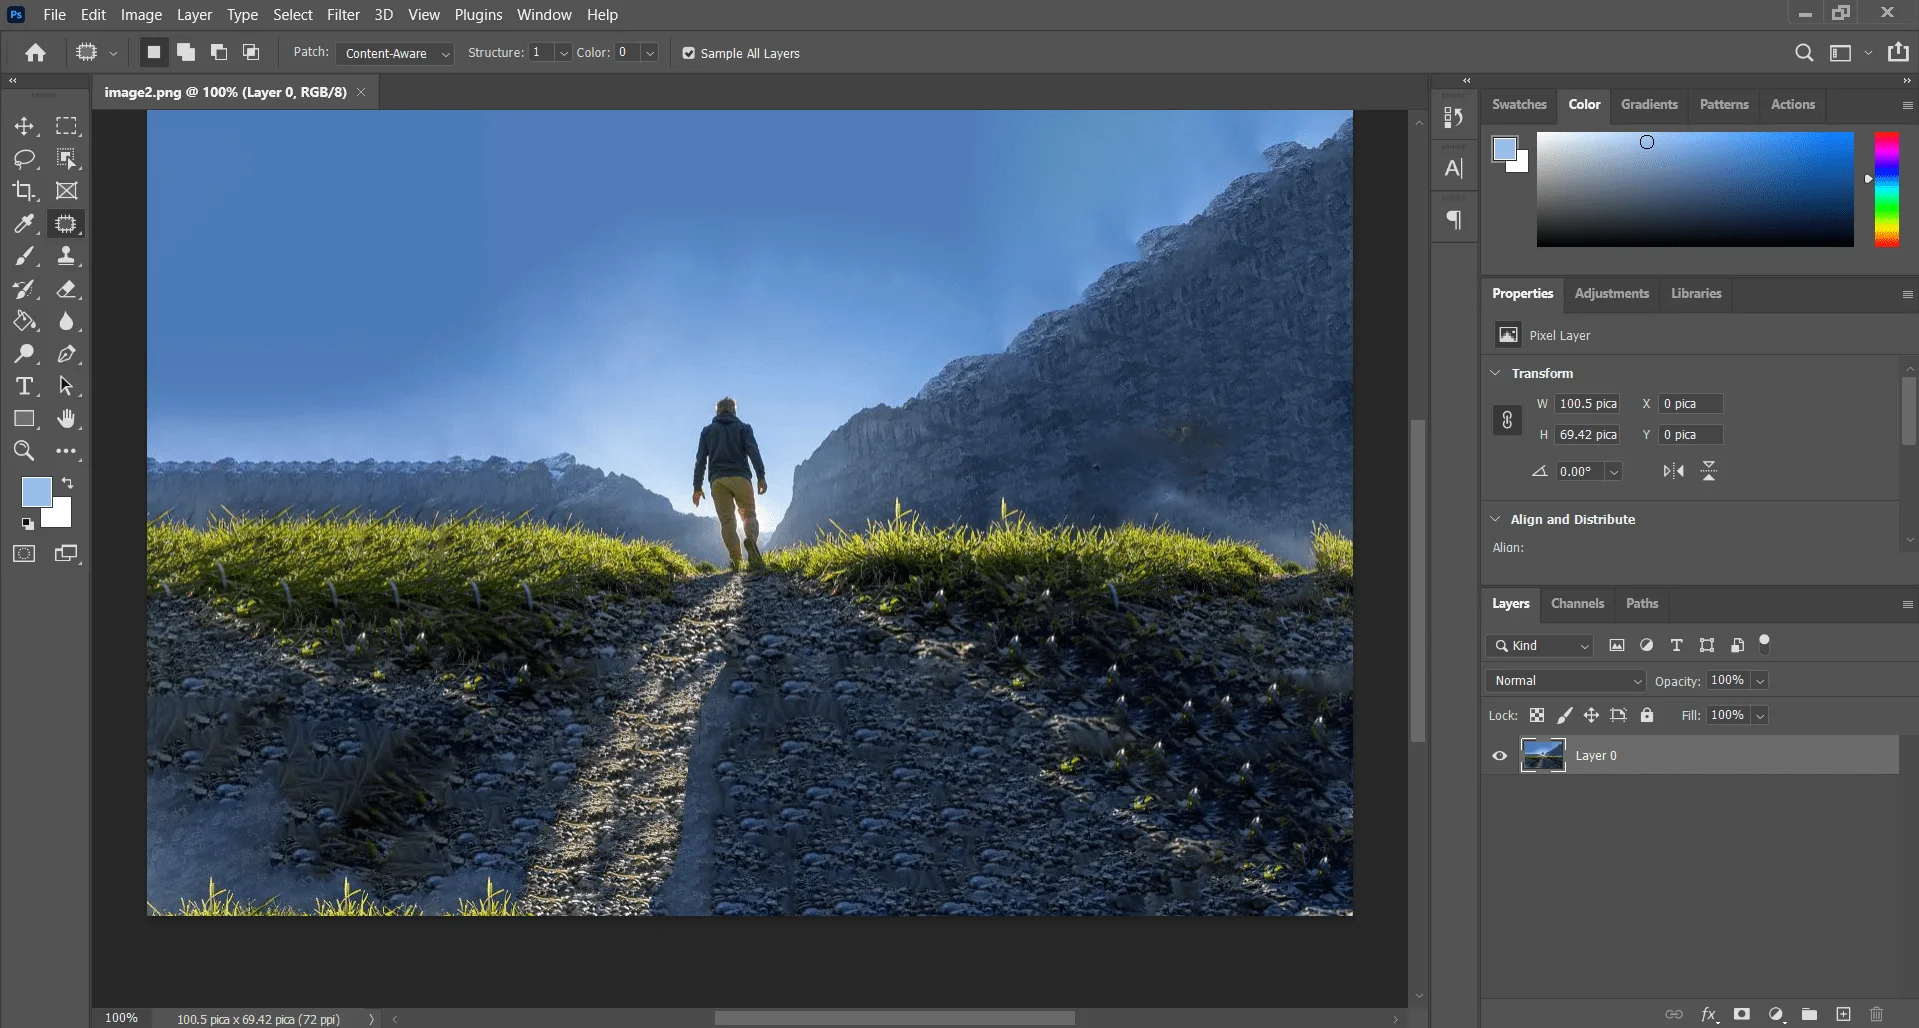
So let’s learn how to use Content Aware Fill in Photoshop with an example. Let’s take the following photo as an example.

Will just need the natural view so we have to remove the boy sitting peacefully in the picture. The output result will be like this:

Method: Open image > Duplicate The Layer > Select ‘Content AwareMove Tool’ > Select the target area or object > Go to Edit, Select ‘Content-Aware Fill..’ option > Mark referred area > Apply and OK > Merge and Save
Step 1: Open the Image in Photoshop
Go to the folder where your image exists. Select the image and ‘Right Click’ on it a Dropdown menu will appear select Open with. A second Dropdown menu will appear with an AI software list of photo views and editing. From the list select ‘Adobe Photosho’.
Your photo will open in Photoshop. You can zoom the photo for better views. There is a shortcut for ‘Zoom In’ and ‘Zoom Out’ in Photoshop. Pass ALT and hold and round your mouse while. For ‘Zoom In’ round the while upward and for ‘Zoom Out’ round the while downward.
Step 2: Make a Duplicate Layer and Rename
Shortcut: Ctrl + J
Keeping a duplicate of your image in the Photoshop layer panel is a good practice. In case of need, you can reuse the main image. To duplicate your image you just pass ‘Ctrl’ and ‘J’ on your keyboard together. You can also make a duplicate layer manually by selecting the layer and ‘Right Click’ on it.
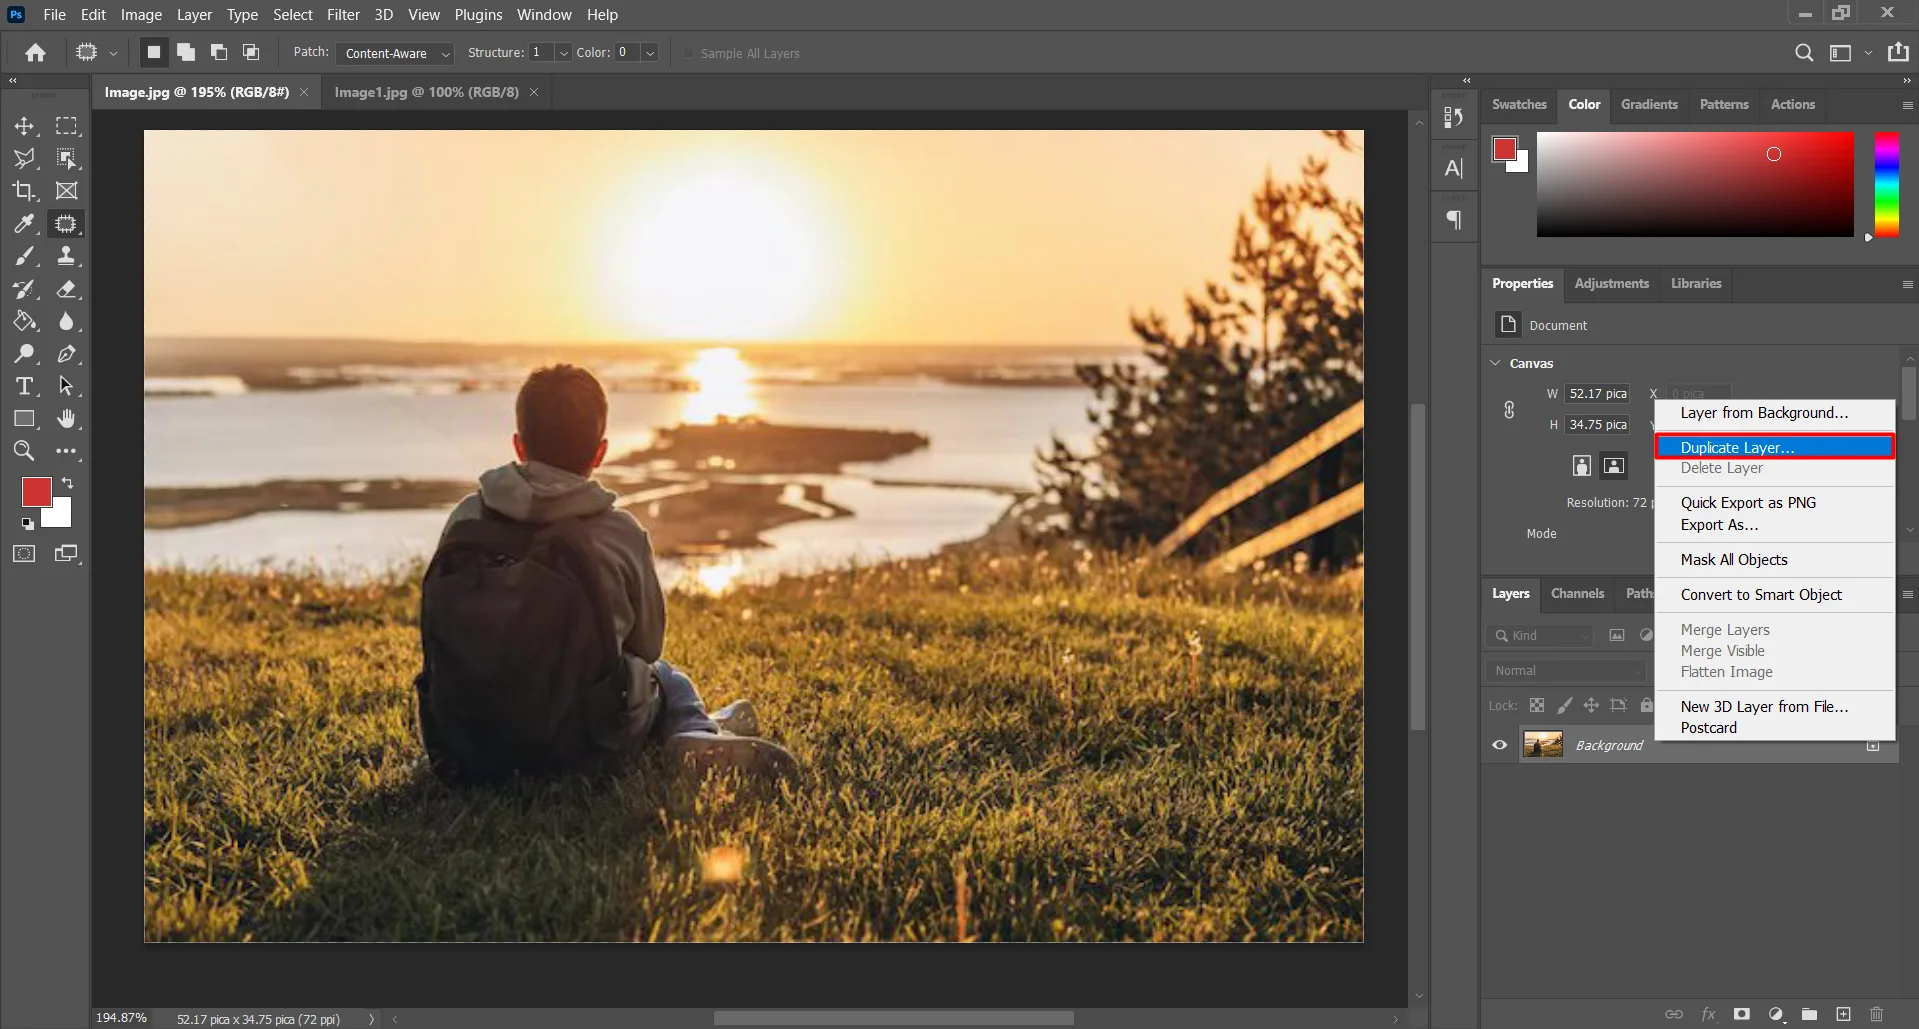
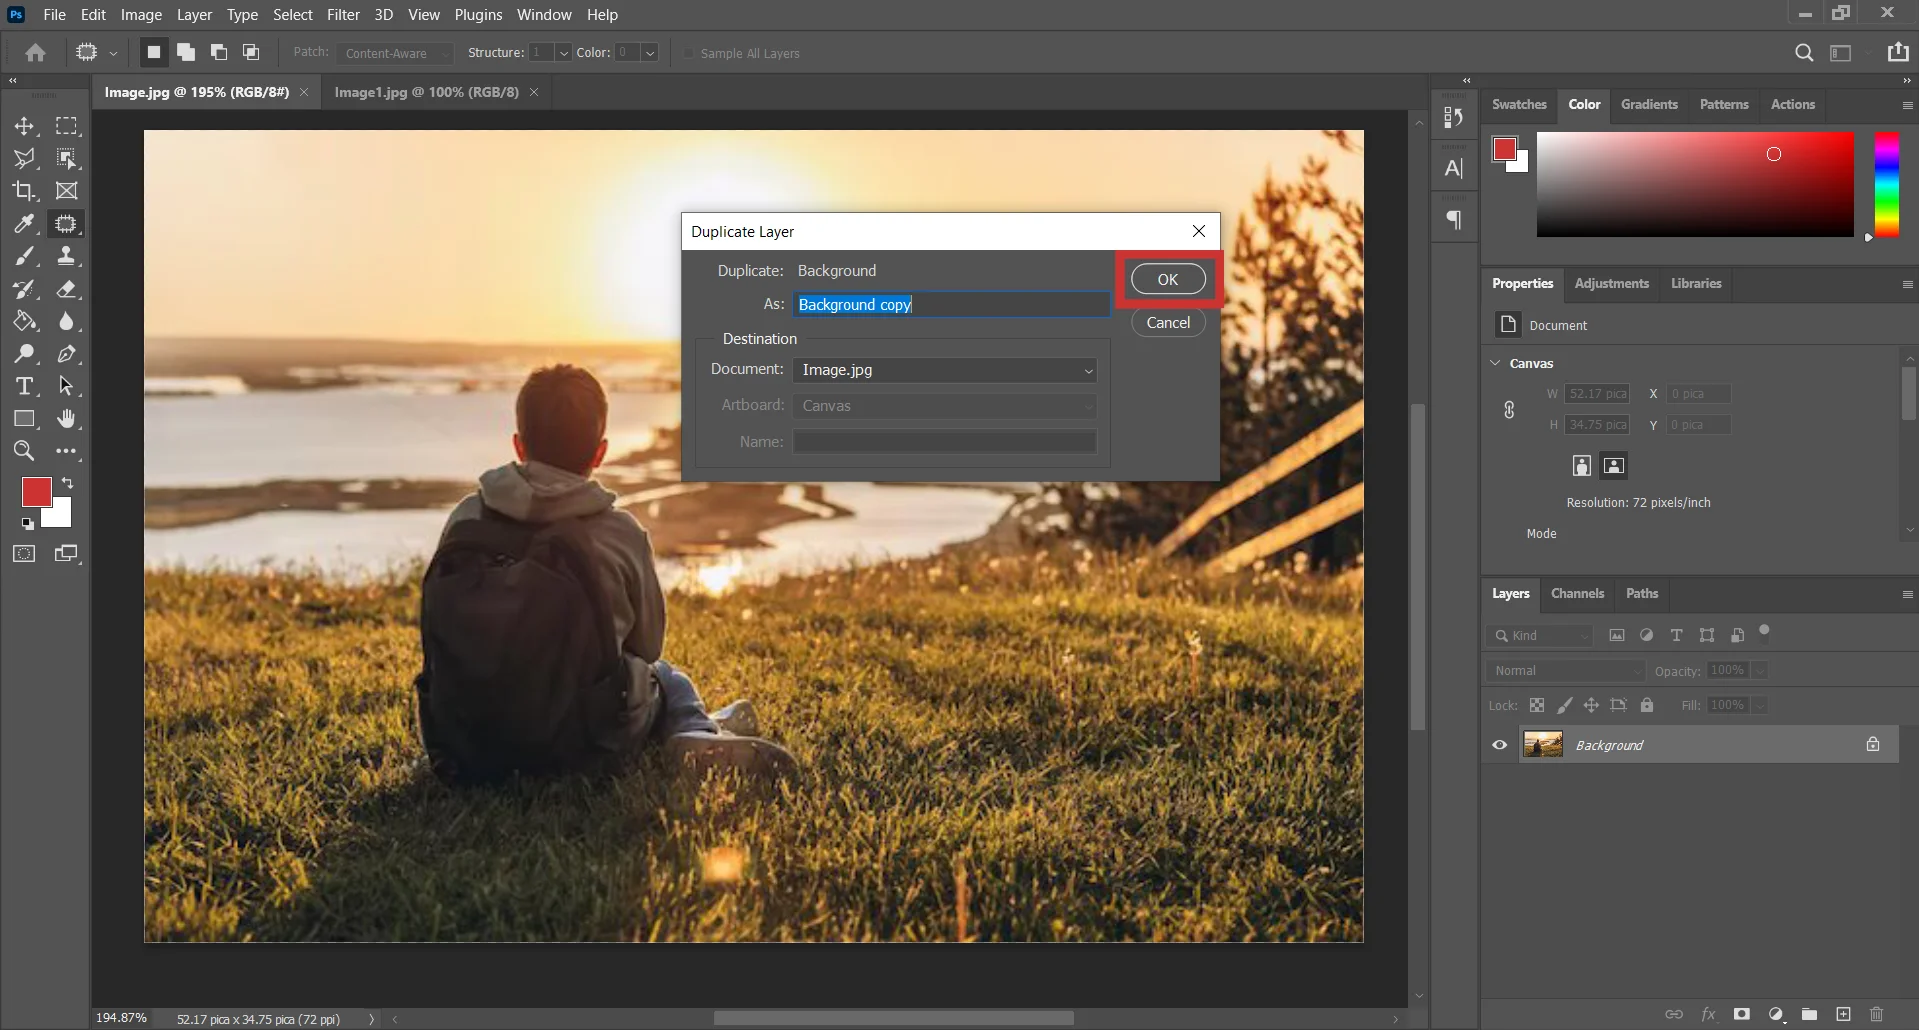
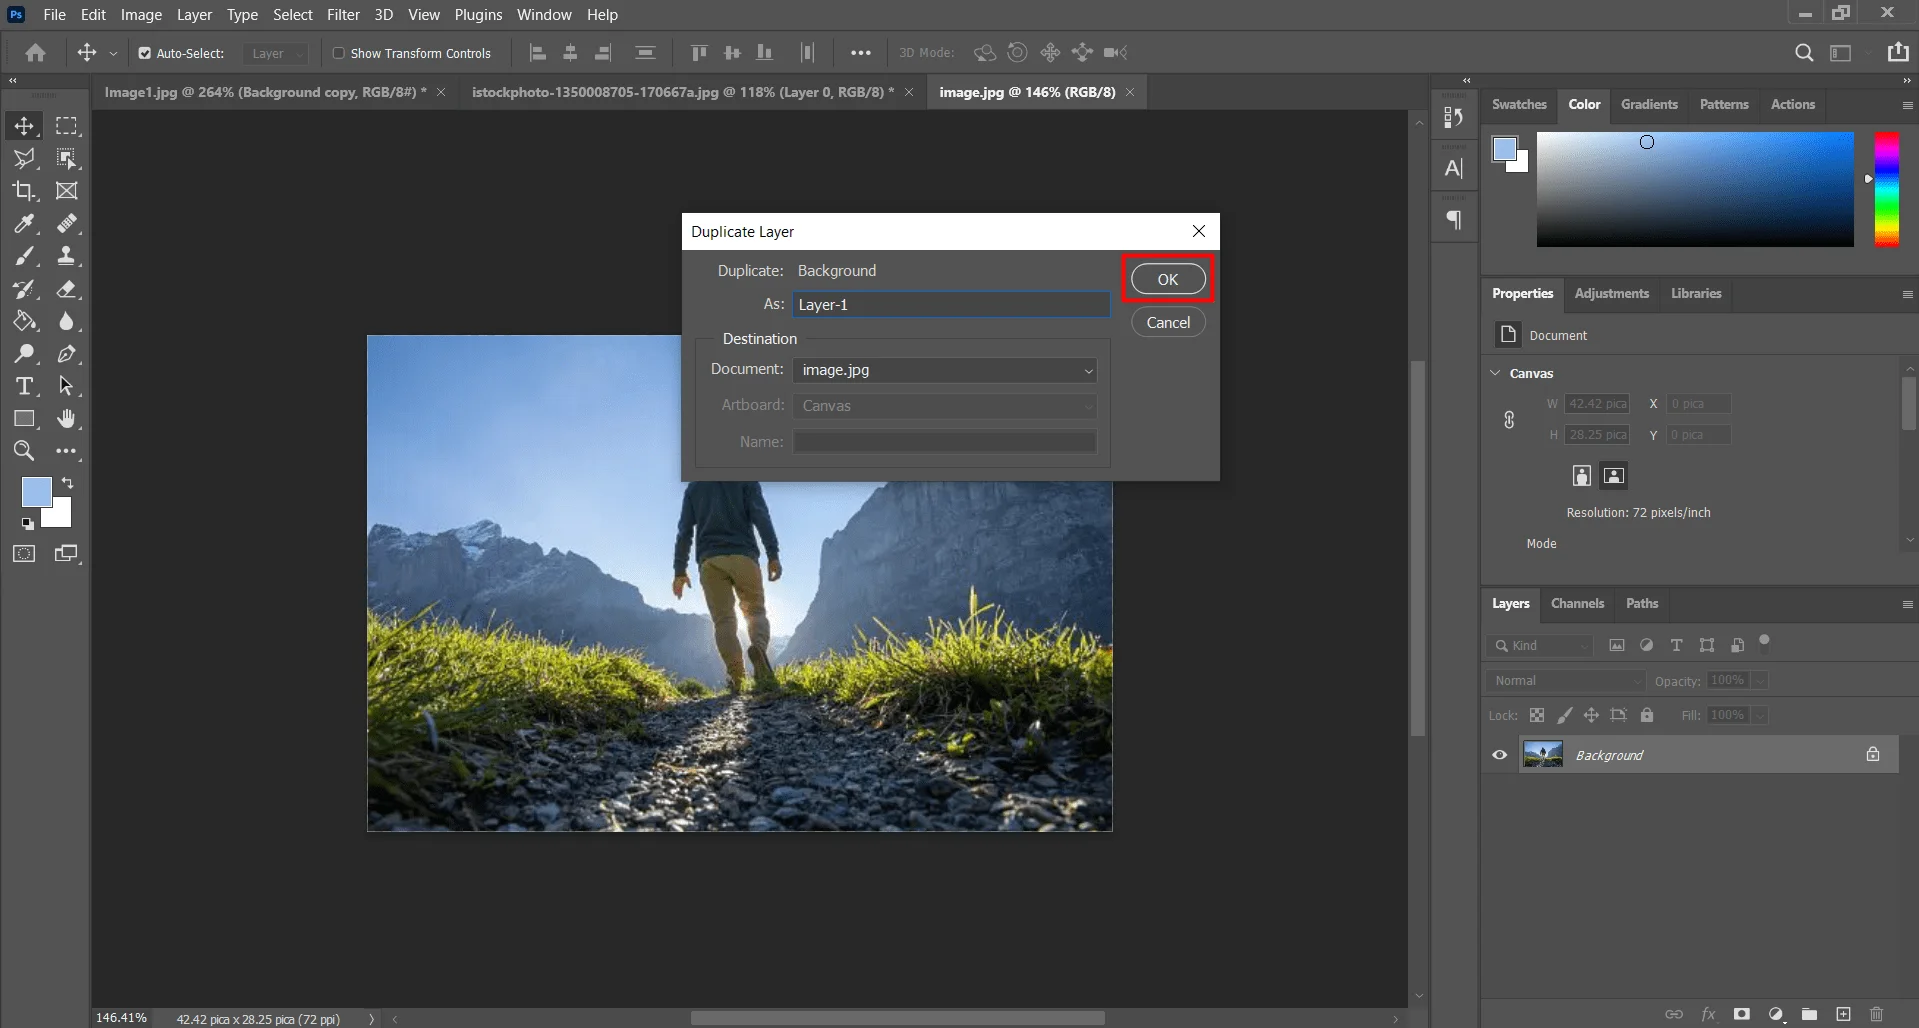
You will see a dropdown menu appear click on the duplicate layer. A dialog box will appear on the screen where you can rename the layer. If you want to give a name to the new duplicate layer click the As box erase the default given name type as name as you want then click on the ‘OK’ button.
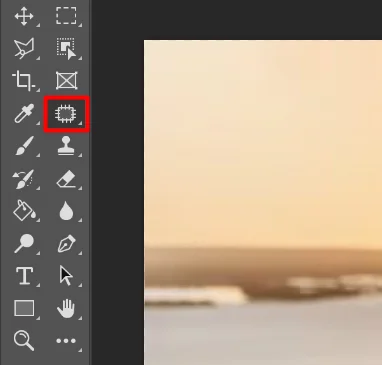
Step 3: Make a Selection of Target Object
Shortcut: J
First, select the ‘Conten-Aware Move Tool’. If you cannot see it in the toolbar don’t worry. Just pass ‘J’ on your keyboard. A brush tool will select most probably it will be ‘Patch Tool’.
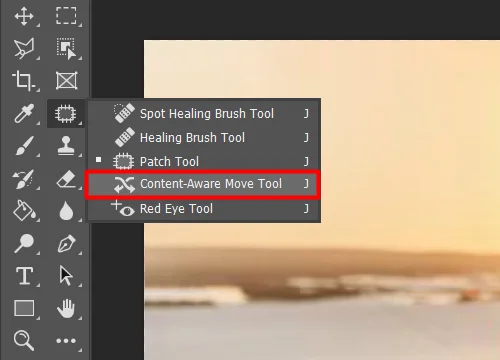
Now ‘Right Click’ on it, a dropdown menu will appear with a list of the related brush tools. Select the ‘Content Aware Tool’ from the list.
Mark the Object
Now draw a lossy selection around the object that you want to hide from the image. You don’t have to draw a pixel-to-pixel correct selection of the object you just need the select the image. Don’t worry about the background. The AI Content Aware Fill Photoshop will be done rest of the work.

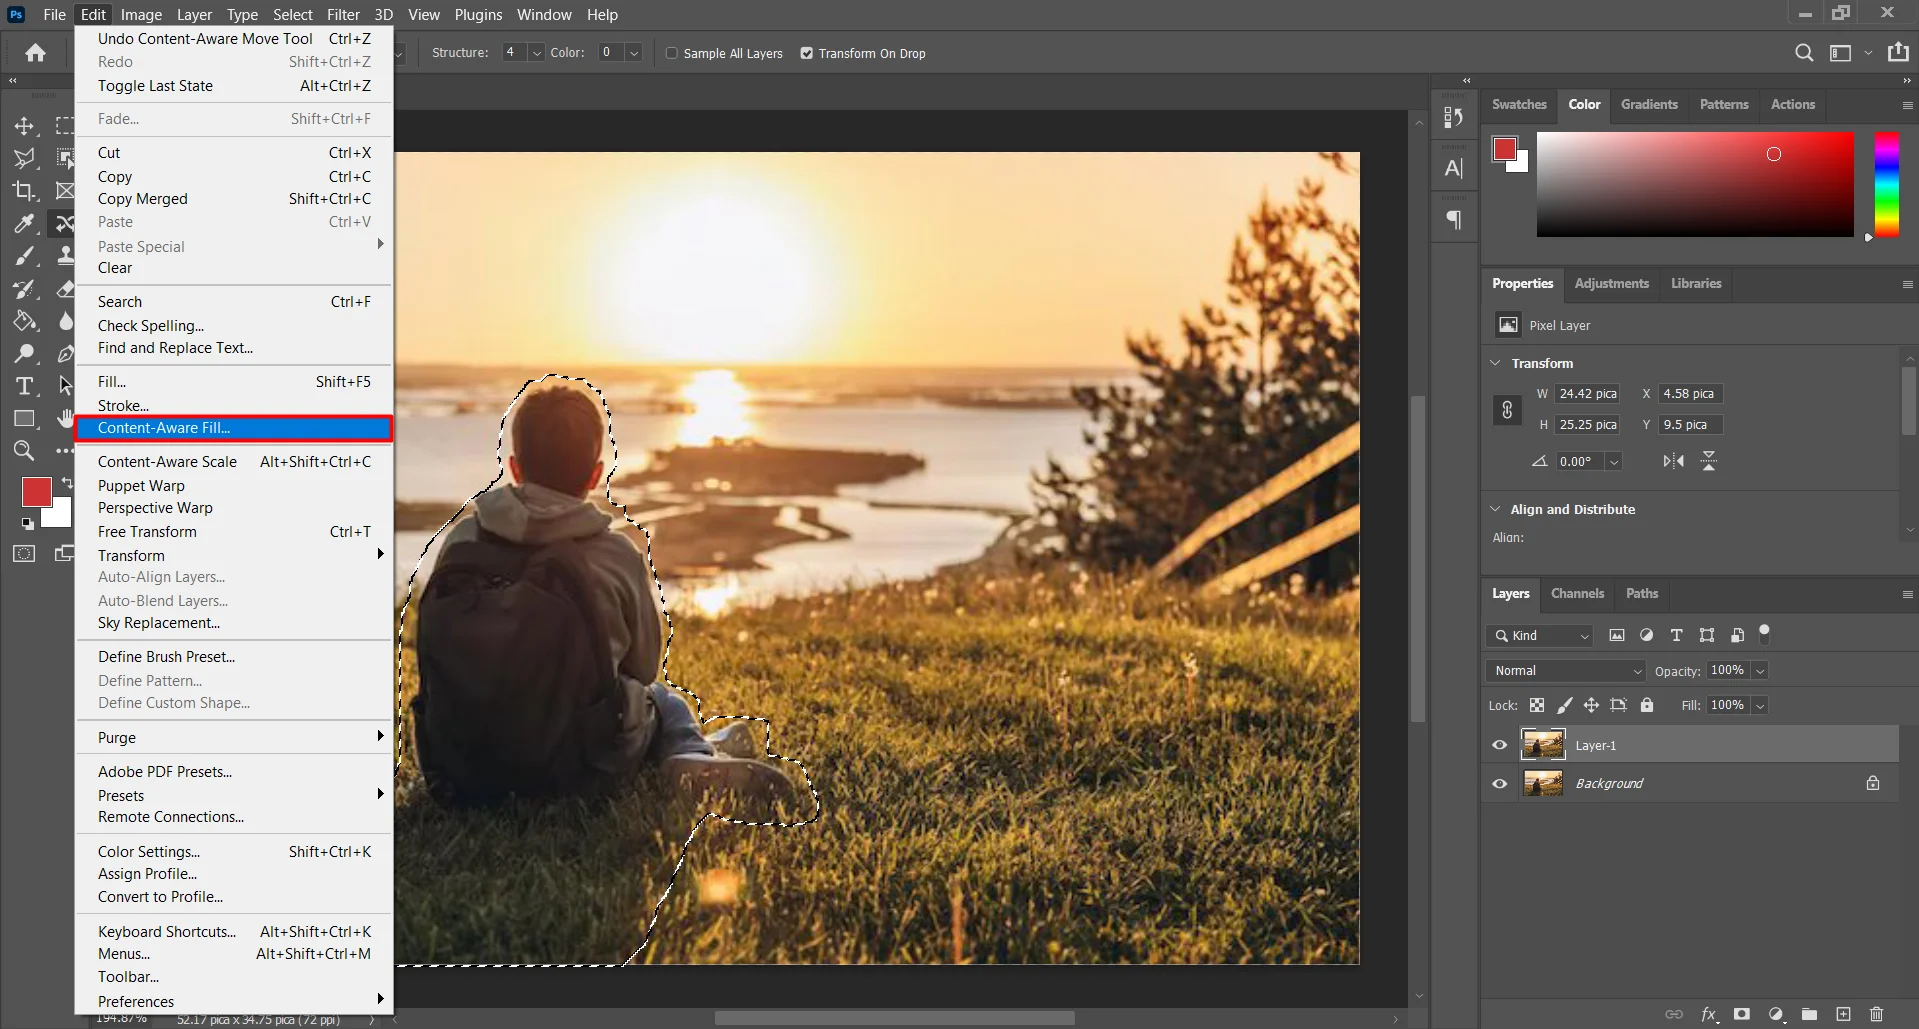
Now go to the top menu and select ‘Eidt. A dropdown menu will appear on the screen. From the menu select ‘Conent Aware Fill’.
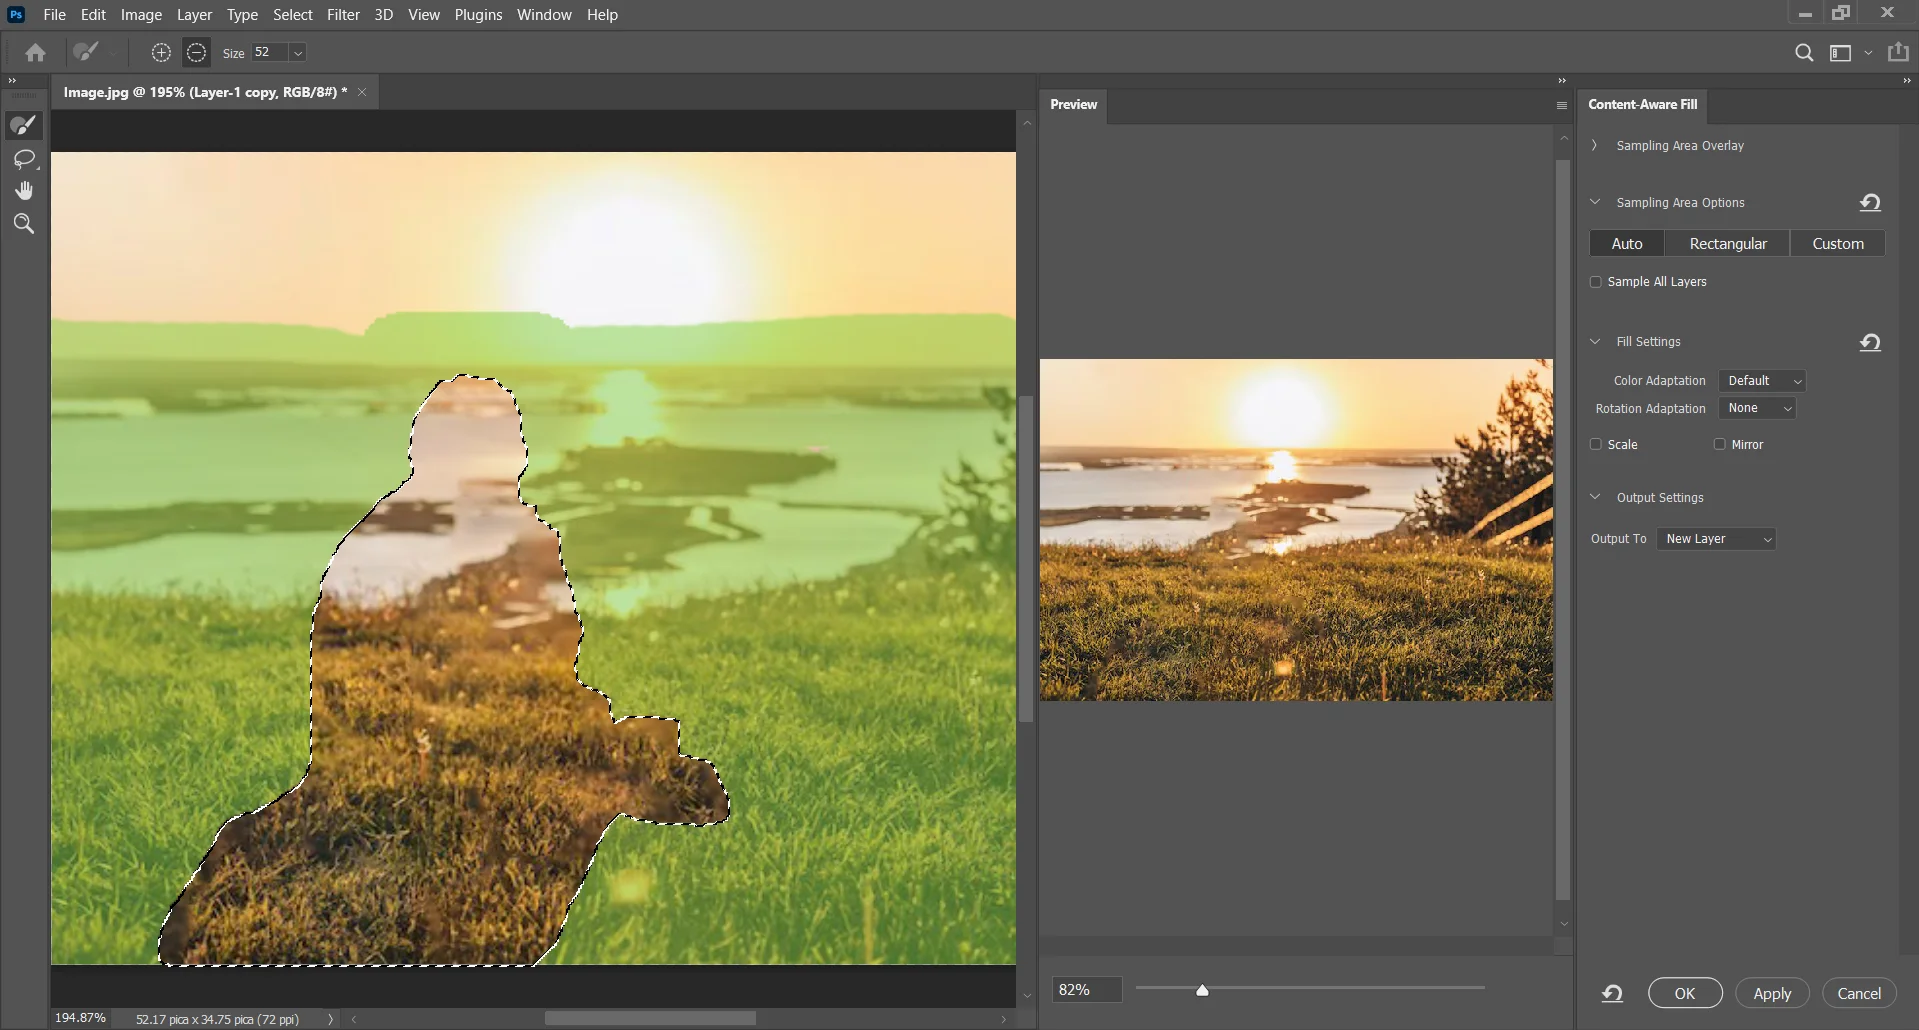
Besides the object that you select rest of the image or some art of the image will marked or highlighted with a green mark. Don't worry about your image you are going right.

What is the Green Mark?
The green mark refers to the pixels of the area that are highlighted in ‘Photoshop’. ‘Photoshop’ will create the background for the selected area and AI Content Aware Fill Tools of Photoshop will adjust the pixels of the edges. You can also mark the area in which you want to use Photoshop as a reference.
To select Pass ‘Shift’ then click and drag on outside of the selection together. Also for deselecting pass ‘Alt’ then click and drag on the targeted highlighted area that you want to unmark. There is an option ‘Sampling Area Option’ here, ‘Auto’ is selected by default. If ‘Auto’ is selected then ‘Photoshop’ will select a related reference area on its own. You can also select ‘Rectangular’ or ‘Custom’.
If you select ‘Rectangular’ the mark will be selected rectangularly. If you select the ‘Custothe m’ option you can select any area you want to select as a reference.
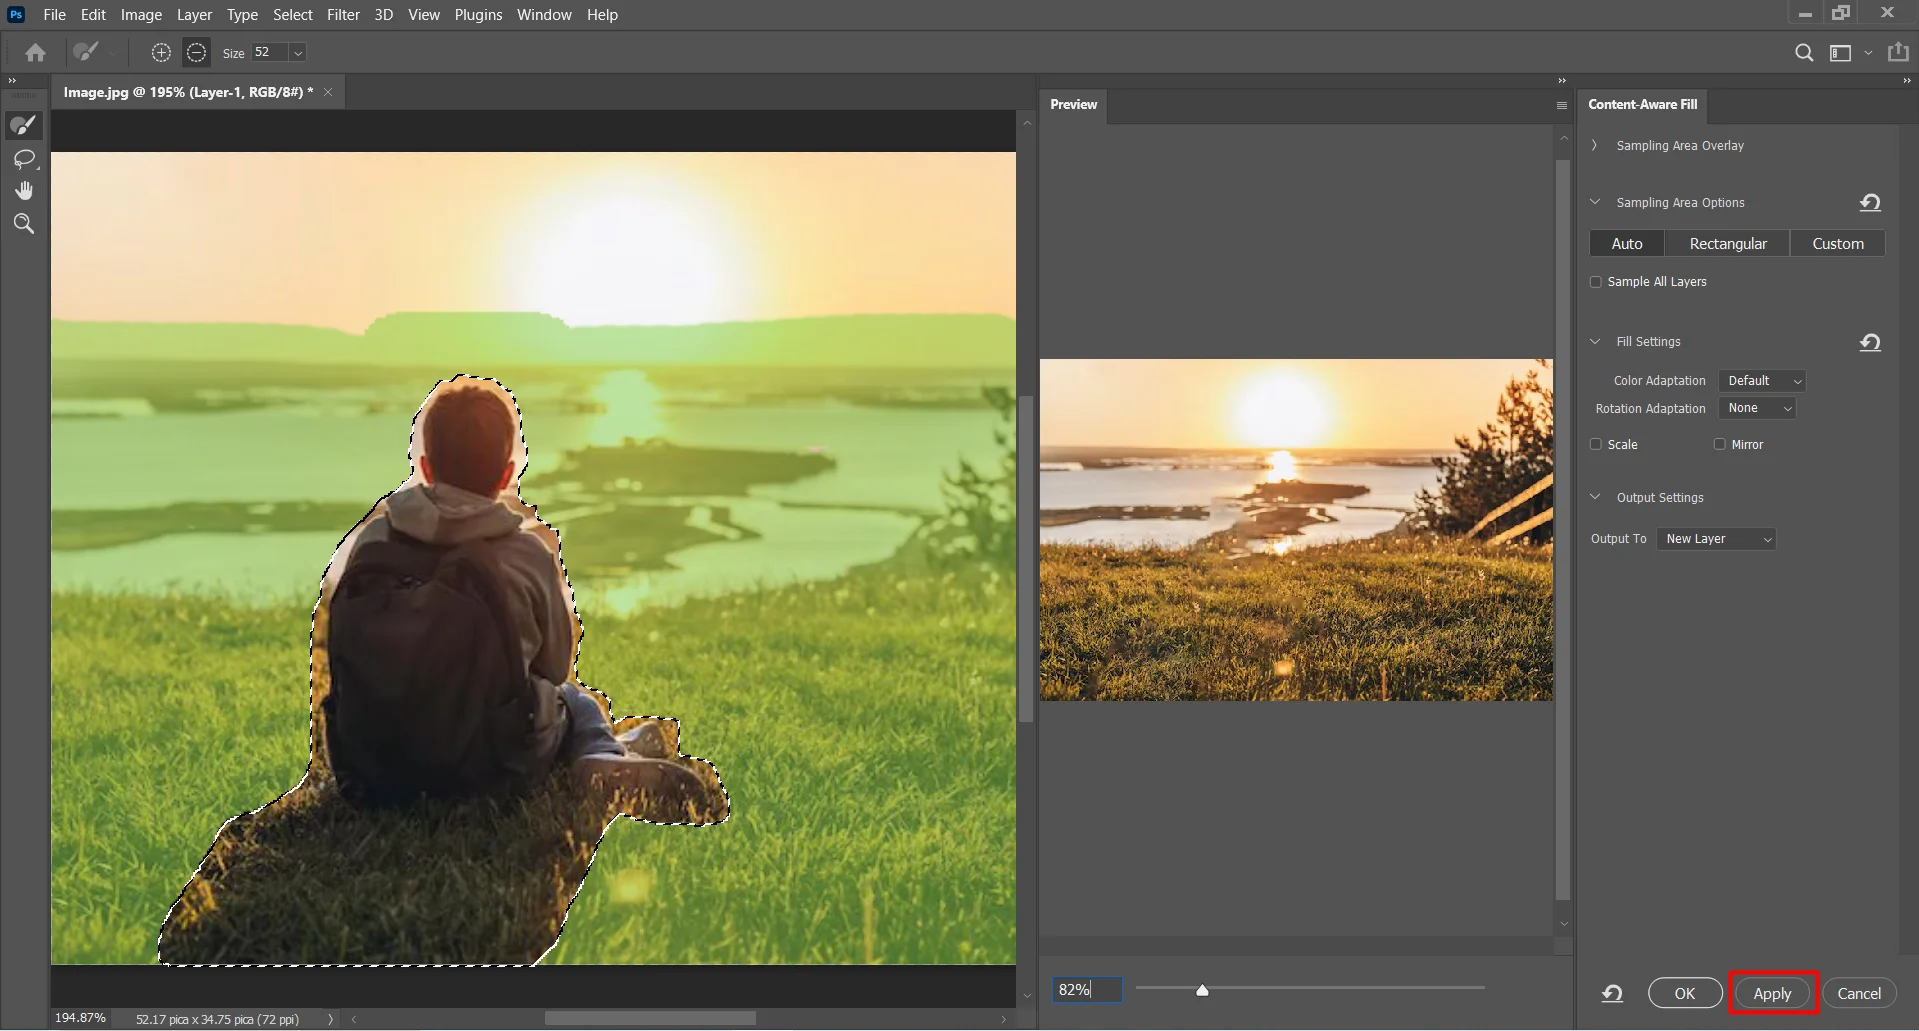
There is a ‘Preview’ panel where you can see live previews of how would your output result be.

Now if you are satisfied with the result that showing in the ‘preview’ Panel then click on the ‘Apply’
button in the ‘Right Bottom’. The object that you selected earlier will go and a related background will appear on the selected area. then click on the ‘OK’ button.
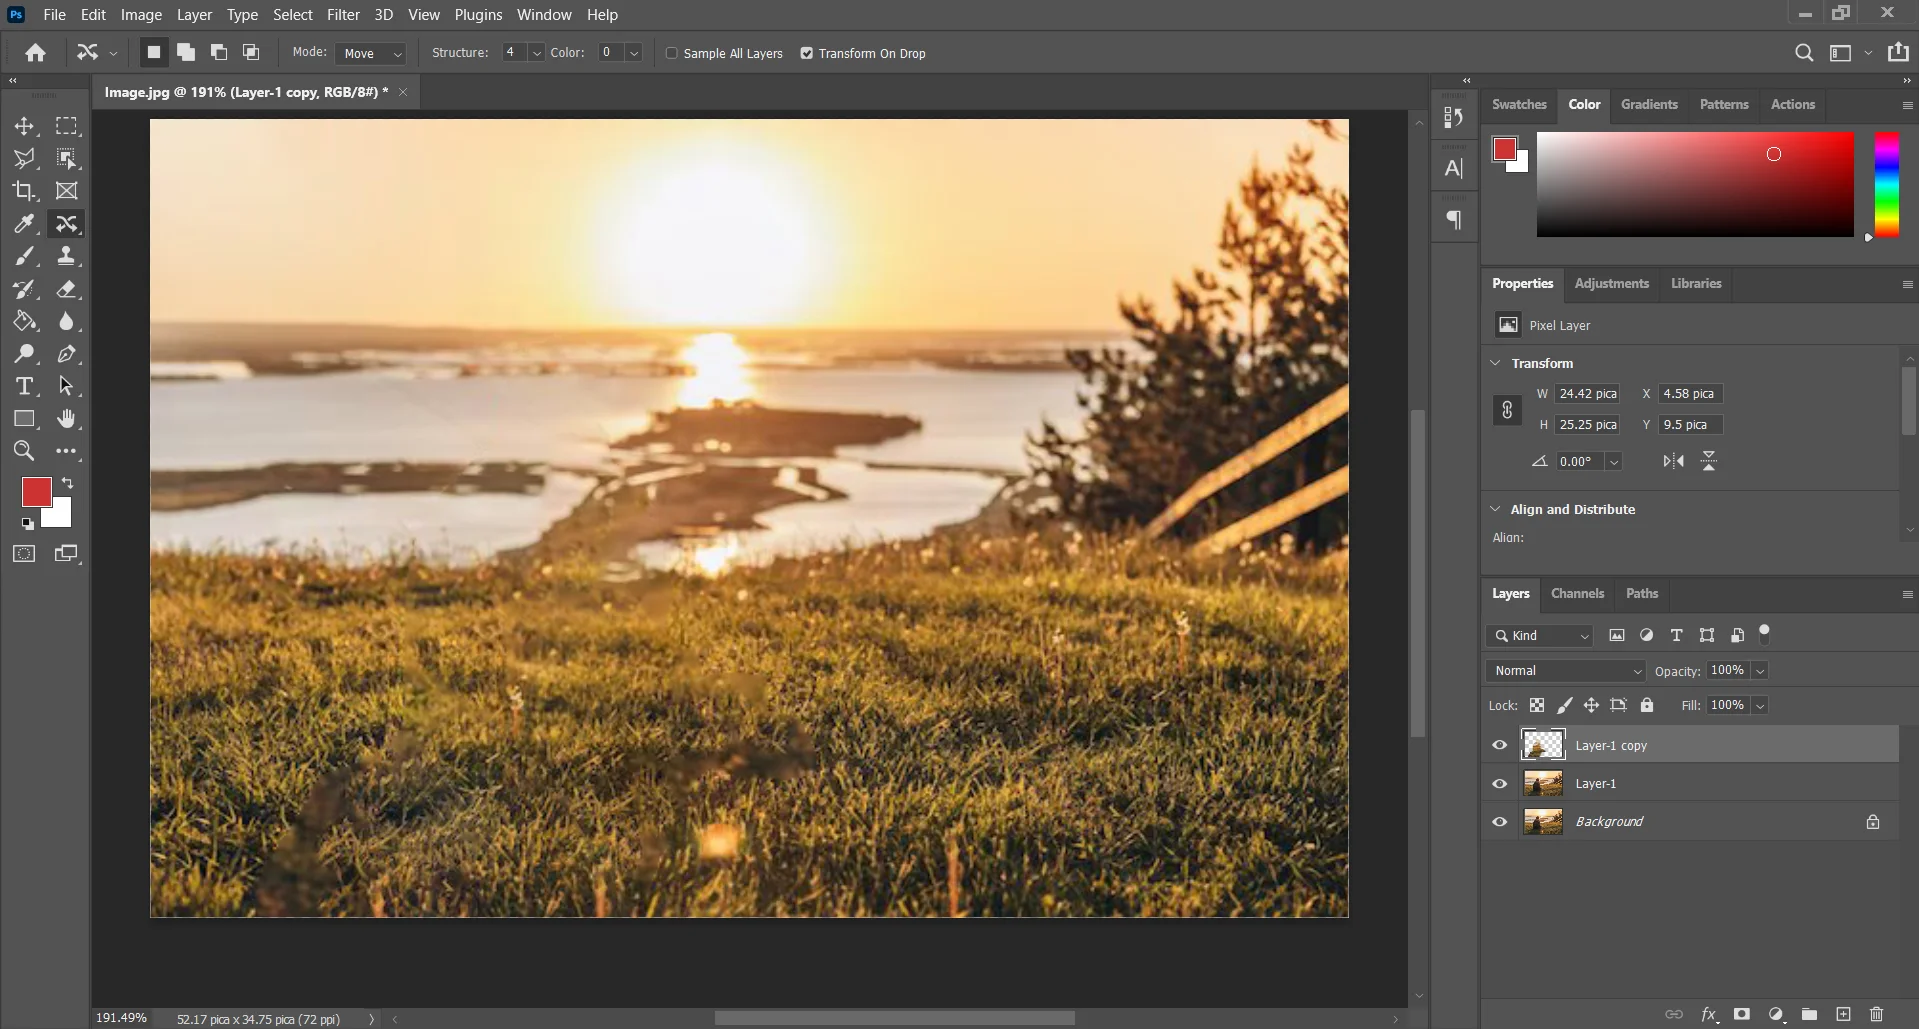
The object will disappear and the related background will created in a new layer.
Step 4: Marge And Save
Merge Shortcut: Ctrl + Shift + E
Save Shortcut: Ctrl + Shift + S
Margin
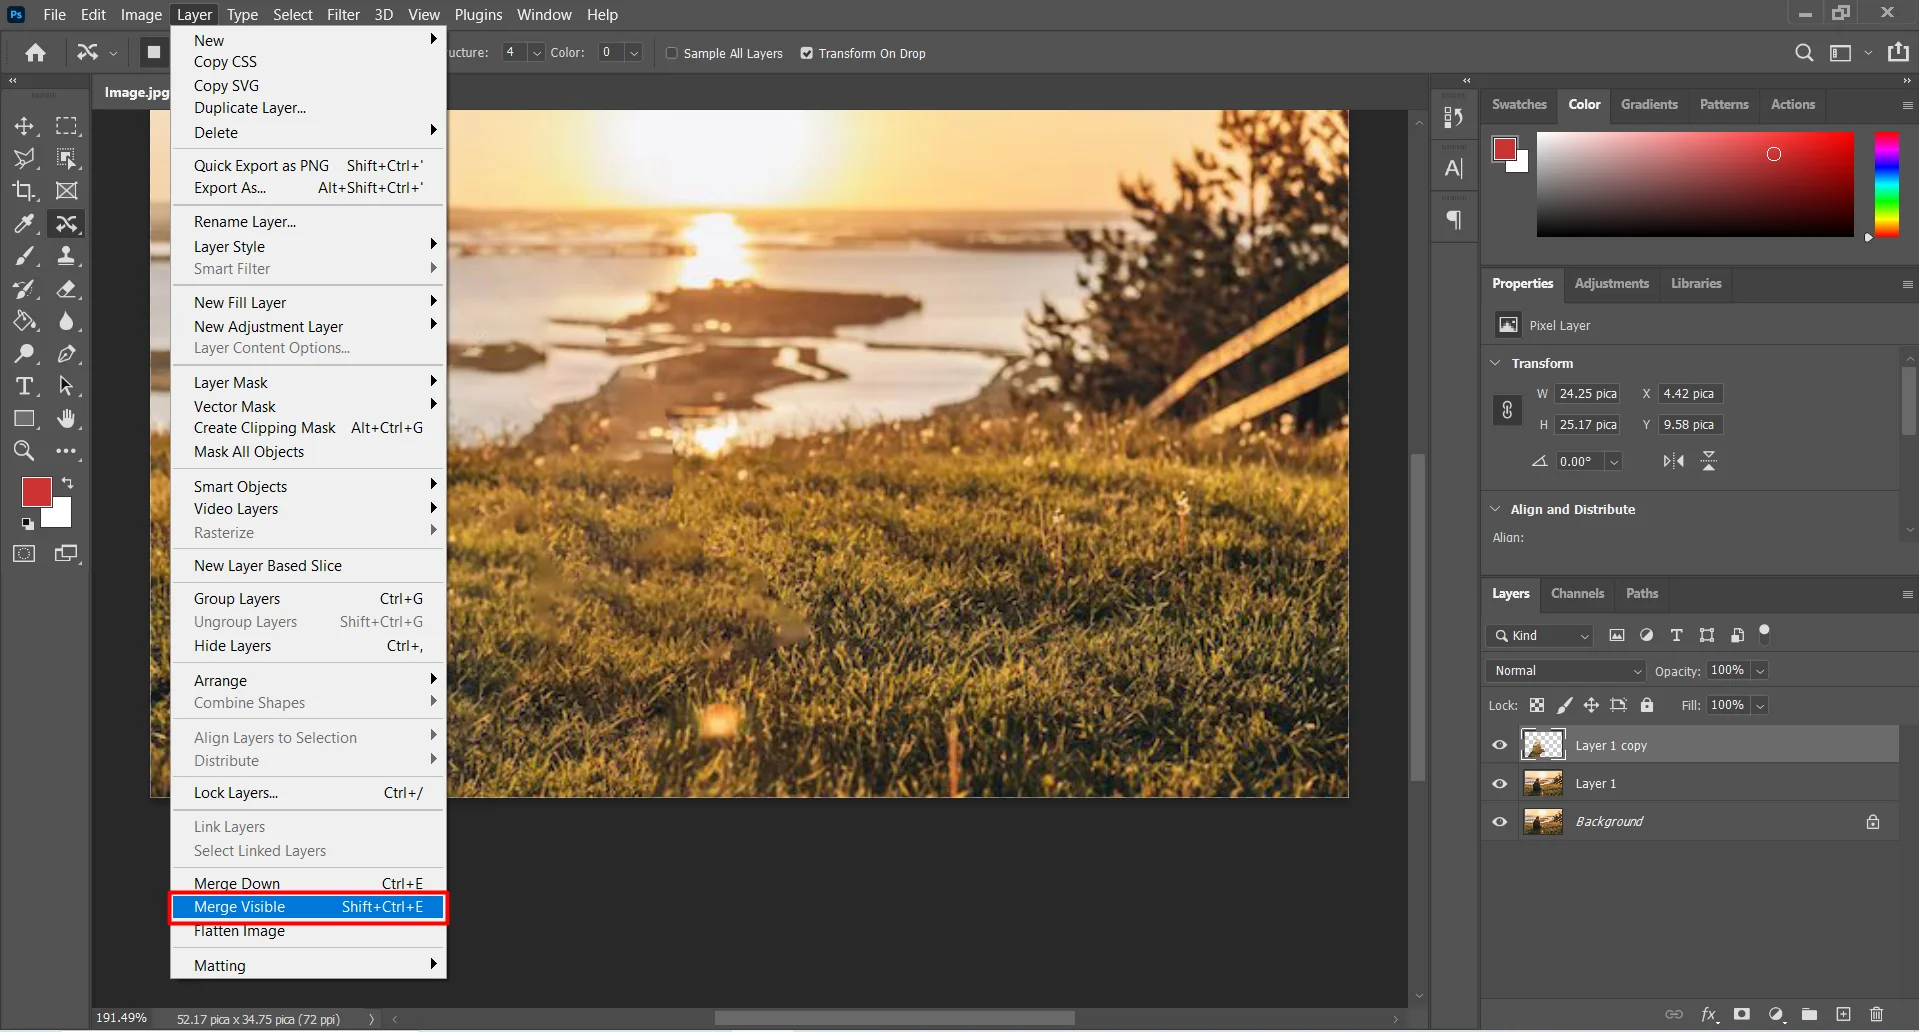
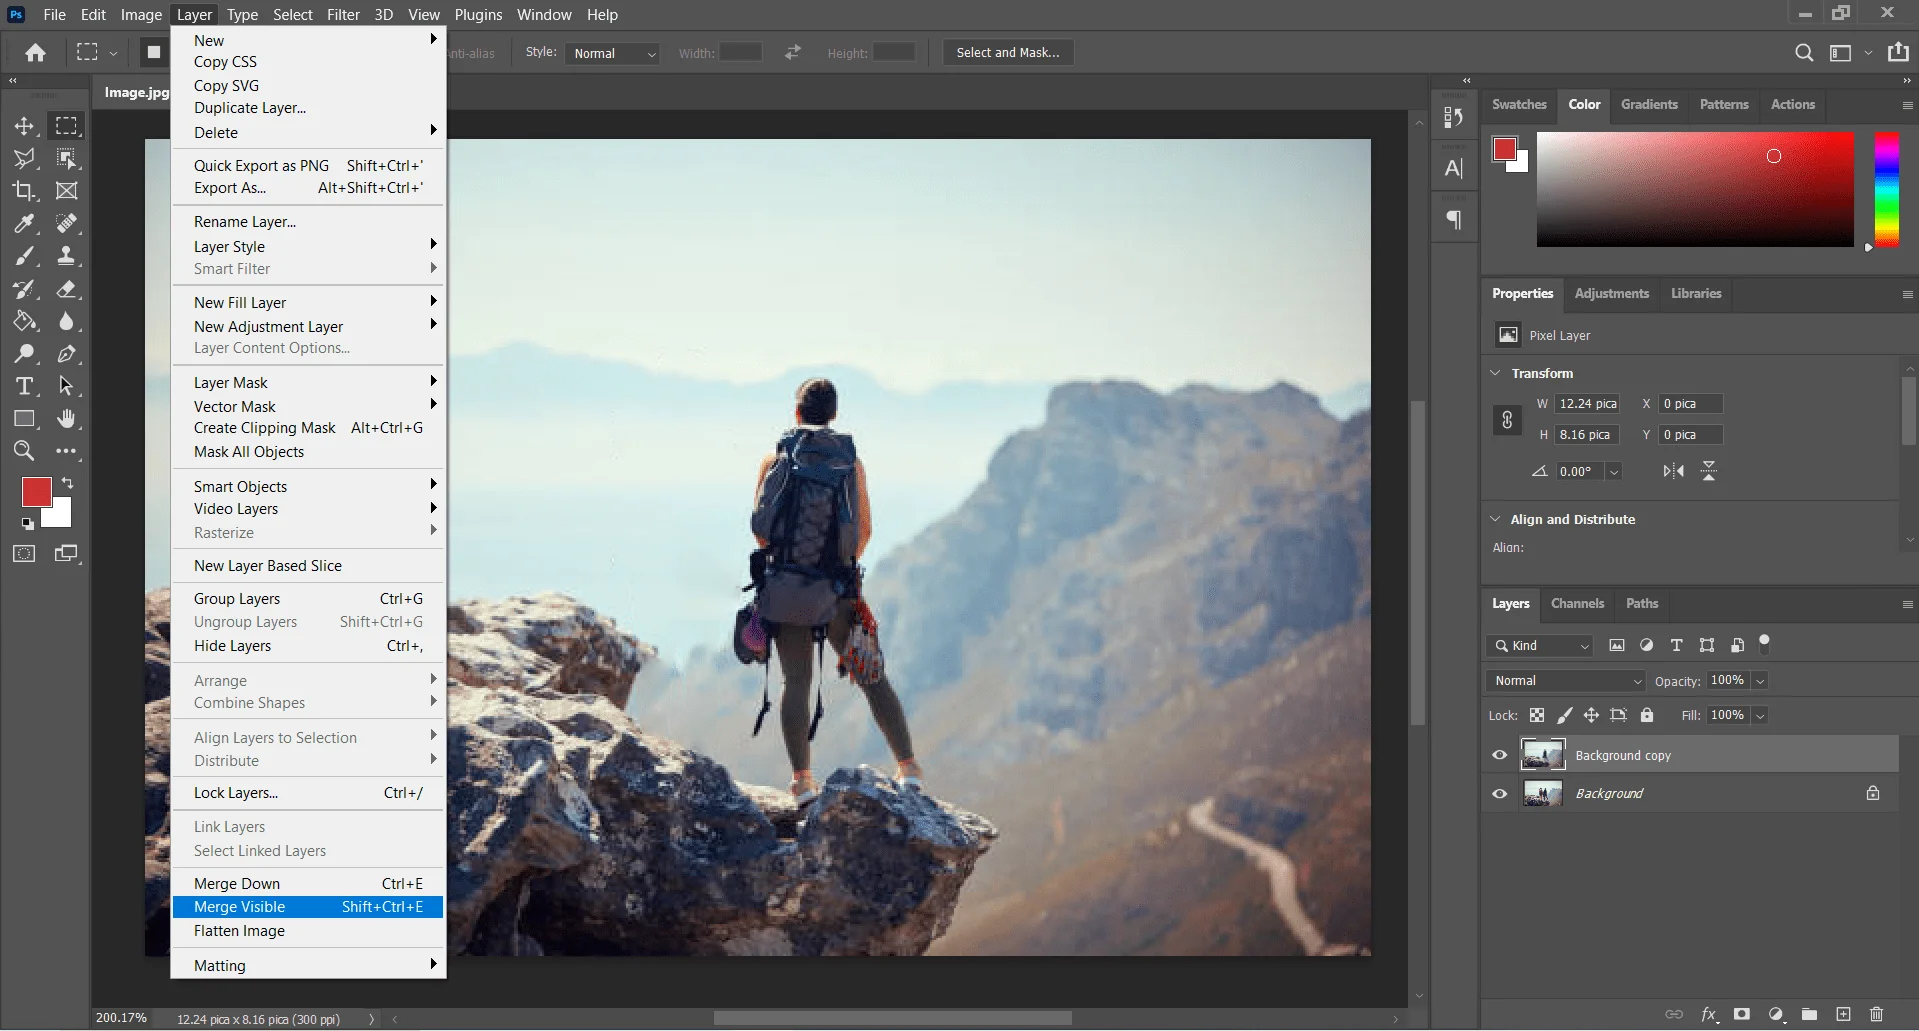
Margins image combines all layers and keeps the view of what is on the screen as it is. To merge the image go to ‘Layer’ in the main menu on the top. From the dropdown menu select Marge Visible. There is also a shortcut for the Merge layer. Pass ‘Shift’, ‘Ctrl’, and ‘E’ together. You also can skip merging if you want to save your photo in a ‘PSD’ format.
Saving
If you are all done then go to ‘File’ in the Main menu on the top.

Select the ‘Save As’ option. A dialog box will appear.
Set the name of your photo. Select the File type in which format you want to save your image. Then click on save.
Using Fill From Workspace
This is one of the easiest methods for the Content AwareScale. If your photo does not have a very complex background texture then it will be very suitable for Content Aware Fill in Photoshop. You can remove an unwanted object from your picture by using this method. Let’s learn this method with an example. Let’s take the picture as an example below,

When we are done Content-Aware Fill in Photoshop the result will be like this:

Method: Open Image > Duplicate the Layer > Select ‘Lasso Tool’ > Select The object > Right click and Select Fill > Opacity 100% and Contents: Content Aware> Pass Ok > Merge and Save
Step 1: Open Image in Photoshop
To open a photo in ‘Adobe Photoshop’ go to the folder where the photo is. Select the image and ‘Right Click’ on it. A dropdown menu will appear, and select the ‘Open With’ option. A second ‘dropdown’ menu will appear. From the second dropdown menu select ‘Adobe Photoshop’. Your photo will open in ‘Adobe Photoshop’ software.
Step 2: Duplicate layer and Rename
Shortcut: Ctrl + J
We always recommend making a duplicate layer first when you are working in Photoshop. In case, you need to start the pross of editing from the beginning then you don’t have to worry. This is very easy to make a duplicate layer. You just need to press ‘Ctrl’ and ‘J’. You also can make a duplicate layer manually.
Select the layer on the layer and ‘Right Click’ on it. A drop-down menu will appear and select the ‘Duplicate Layer’ option.
A dialog box will appear on the screen. Here you can rename the duplicate layer as you want. In this example, we name it ‘Layer-1’. And then pass the ‘OK’ button at the top right side.
Step 3: Use the ‘Lasso Tool’ and Fill in Option
Shortcut: L
Now you have to select the object or the part that you want to remove from the photo. Select the ‘Lasso Tool’ from the toolbar. You can also select ‘Lasso Tool’ by passing the ‘L’ key on your keyboard.
Now select the object, you don’t have to select the object edge pixel to pixel correct. Just make a selection around the object or part of the photo.

Now go to ‘Edit’ in the main menu on the top and select the ‘Fill’ option from the dropdown menu.
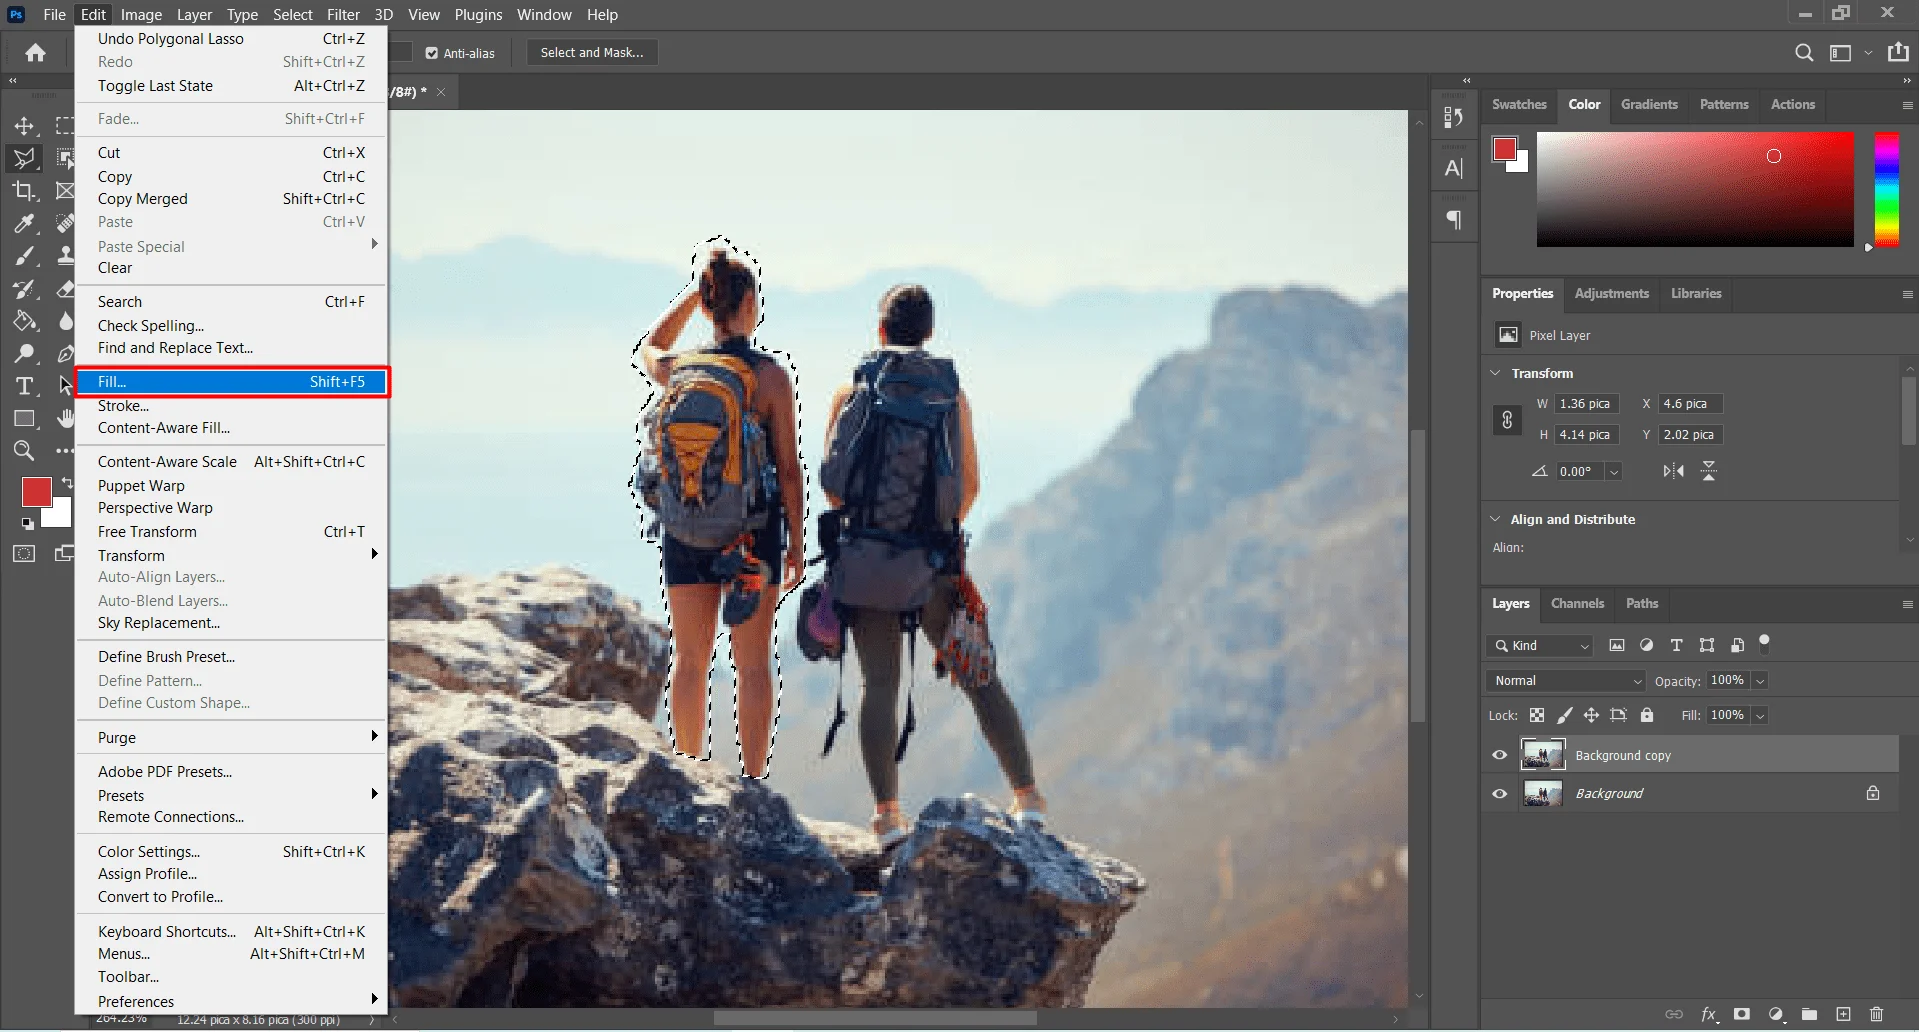
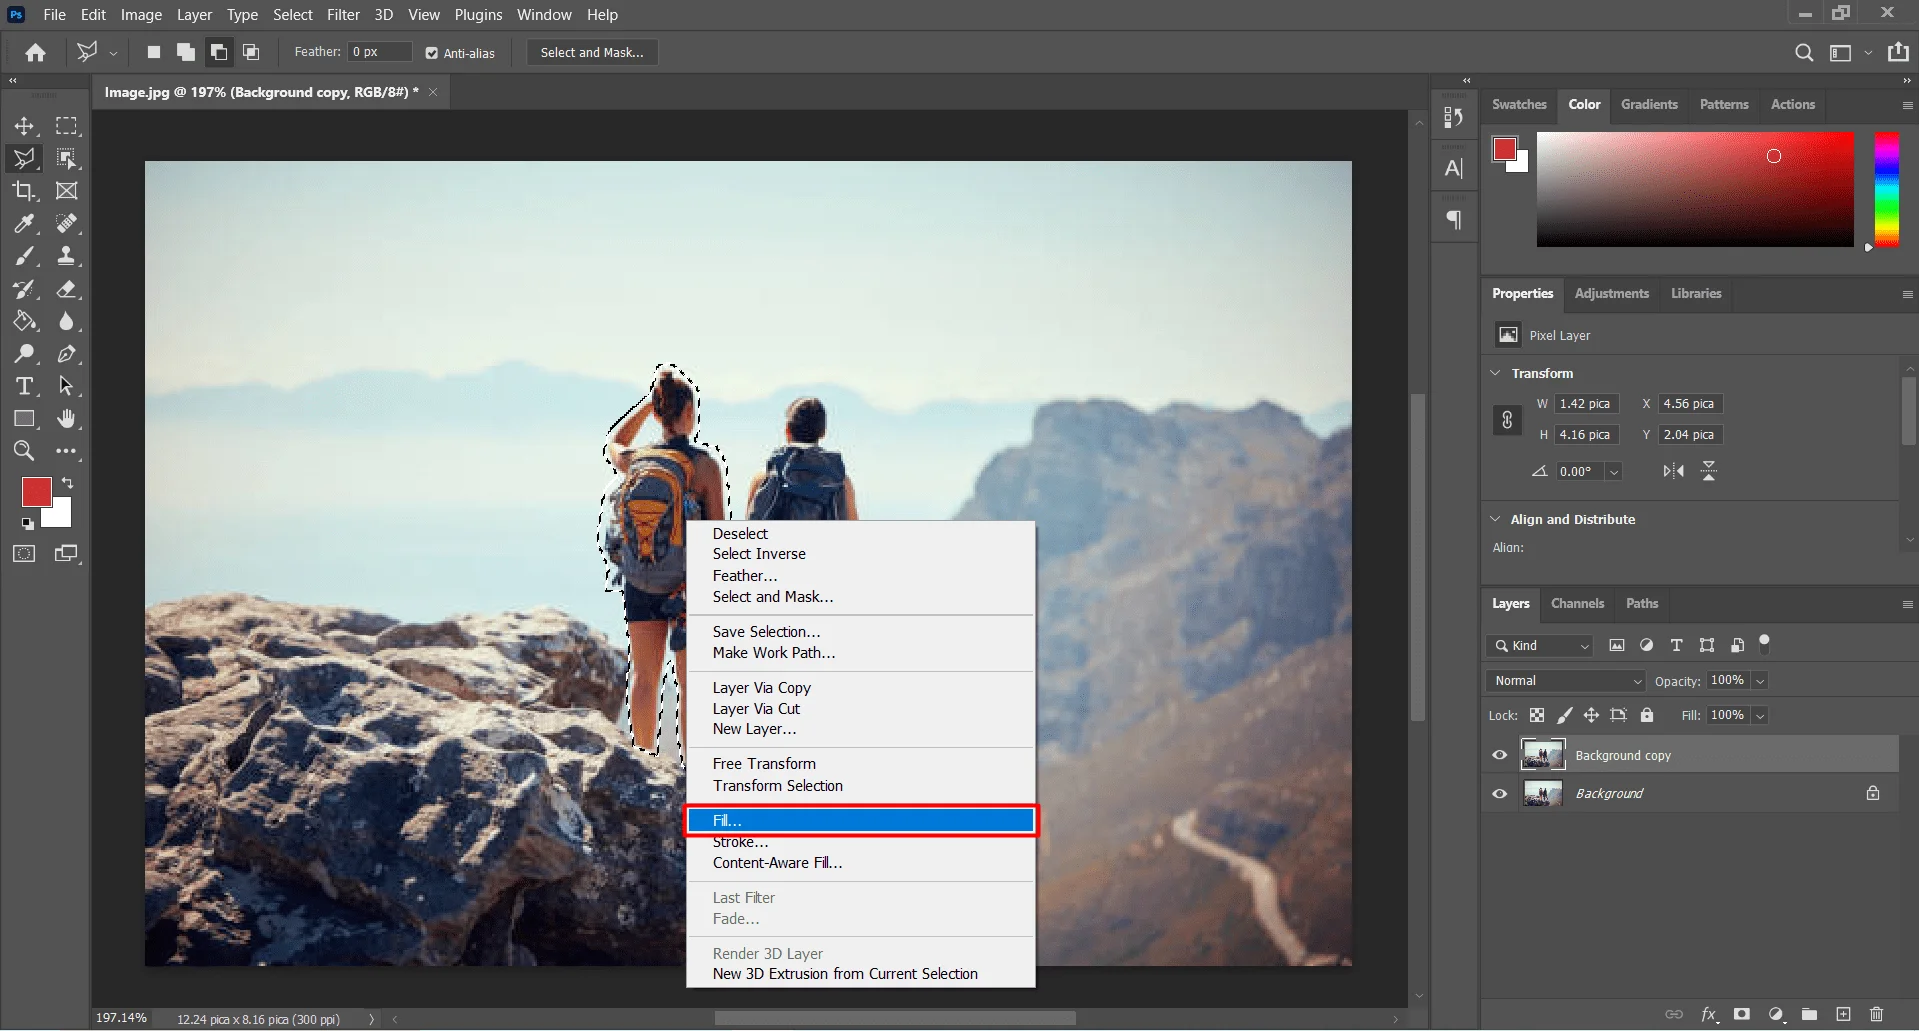
You can also do it in a shortcut way. Just ‘Right Click’ inside the selected area. A menu dialog box will appear. Then select the ‘Fill’ option.
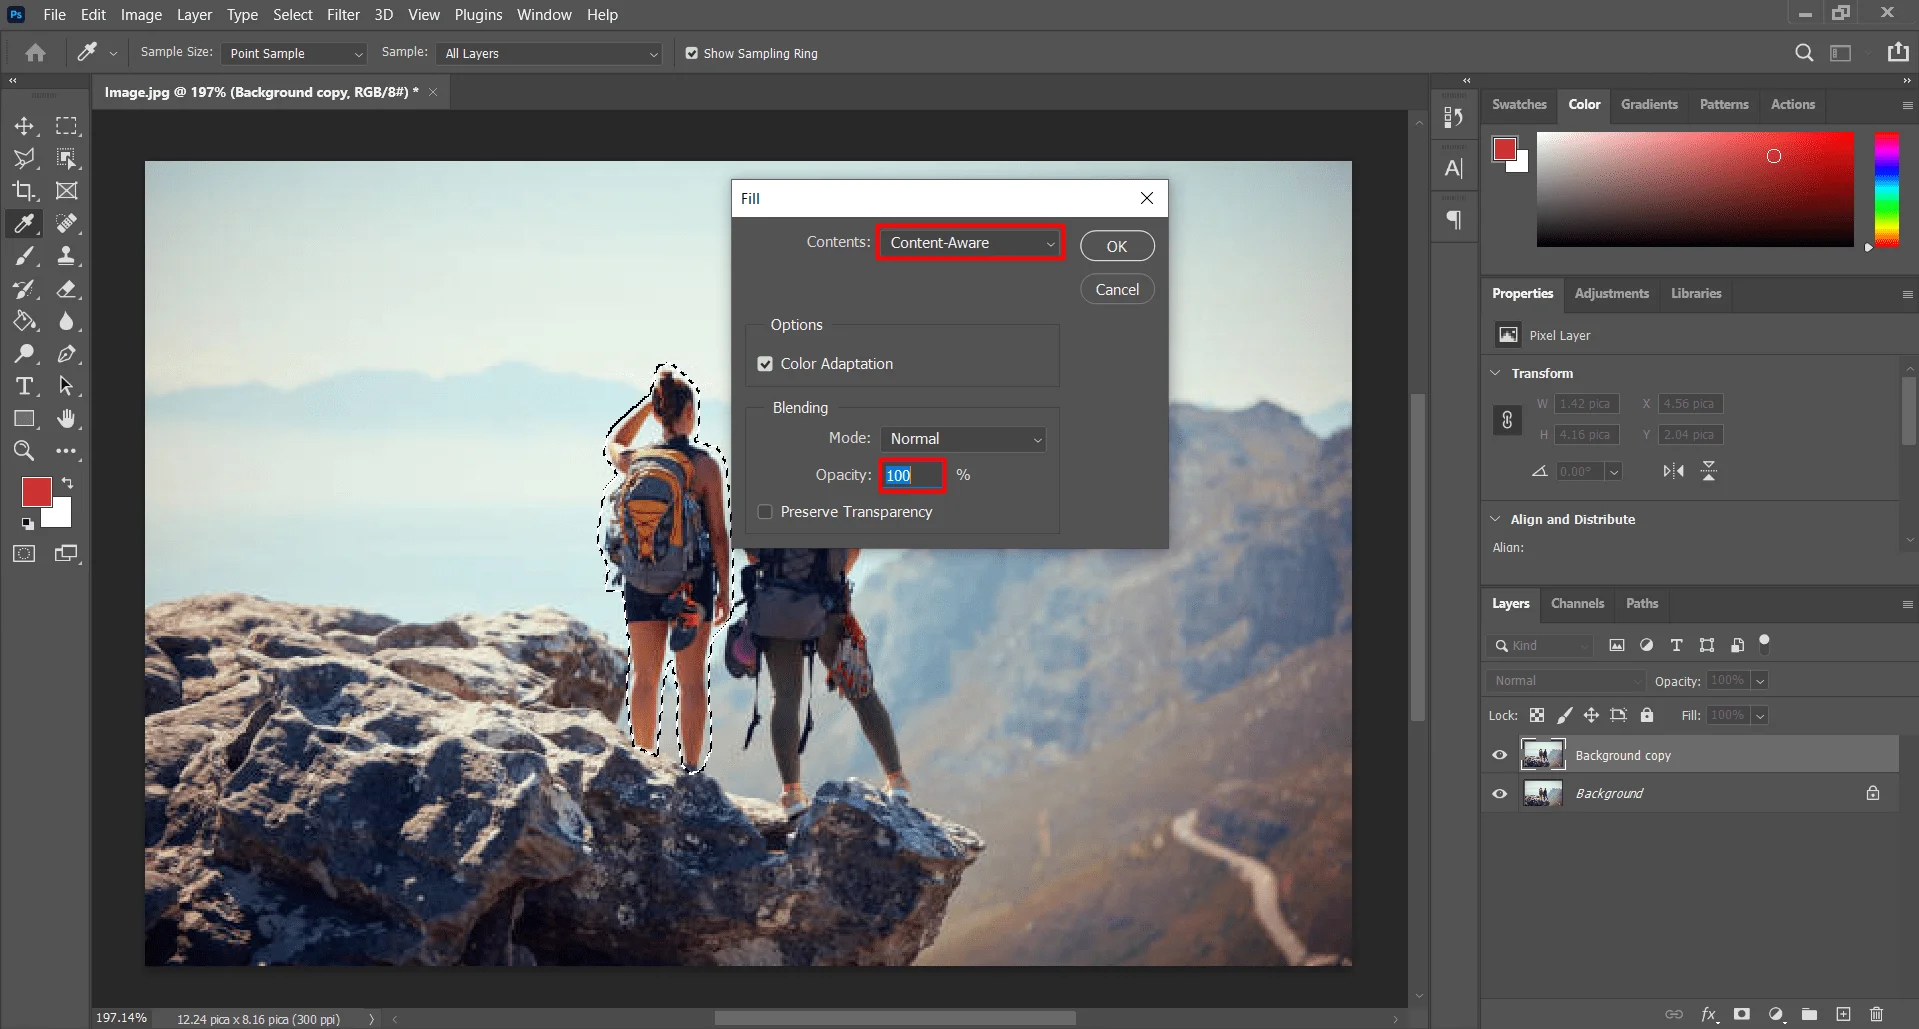
Now another Dialog-box will appear on the screen with the ‘Fill’ option. Make sure in the ‘Contents’ option ‘Content-Aware’ is selected. And the ‘Opacity’ is 100%. Now ‘Click’ on the ‘OK’ button.
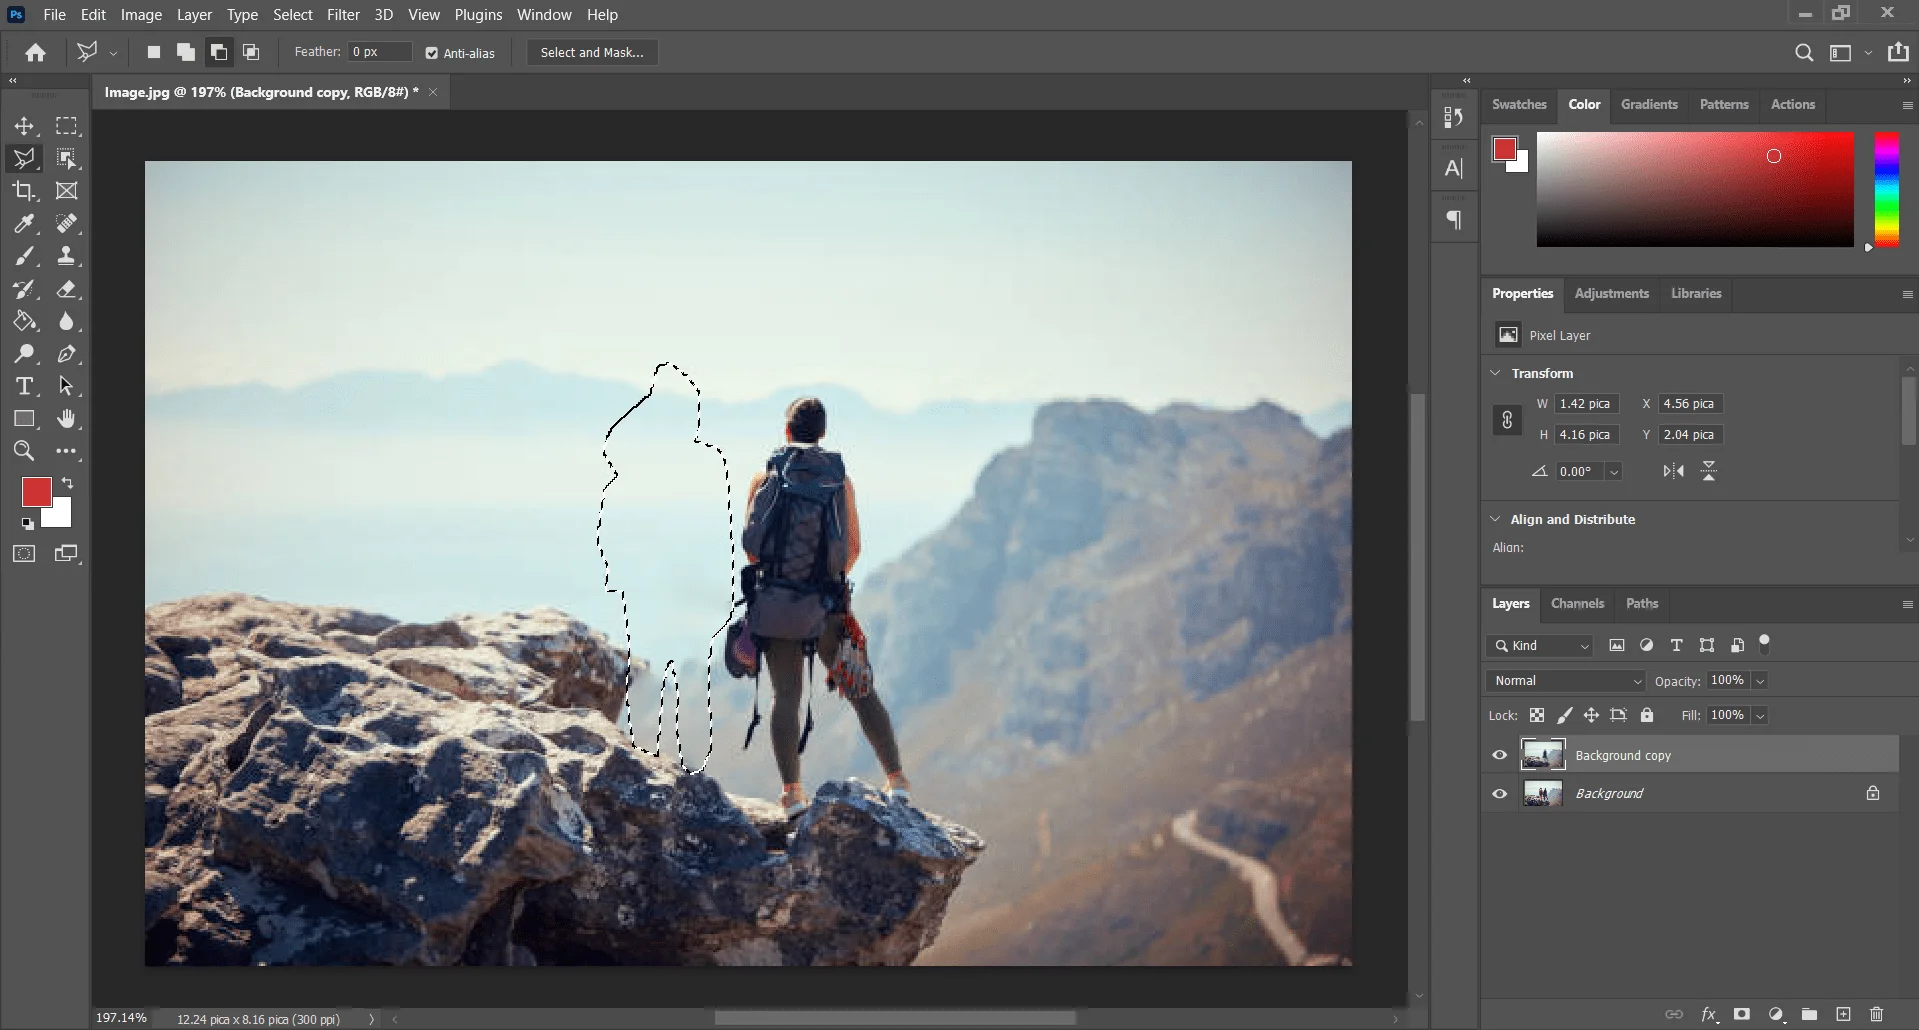
Now deselect the selection.
Step 4: Merge And save
Merge Shortcut: Ctrl + Shift + E
Save Shortcut: Ctrl + Shift + S
You can manage your photo by going to ‘Layer’ on top of our screen and then clicking on the ‘Marge Visible’ option from the dropdown menu. There is also a shortcut, pass ‘Ctrl’,’ Shift’, and ‘E’ on your keyboard. The photo will marge. Then you can save. If you want to save the photo in a ‘PSD’ format then you can skip the ‘Marge Process’.
To save the photo, click on the ‘File’ option in the main menu. A dropdown menu will appear, and select ‘Save As’ From the dropdown. After clicking on the ‘Save As’ option a dialog box will appear.
You can set the photo name and format of the photo from the ‘Save As’ dialog box. Then click on the ‘Save’ button.
Content Aware to Fill in Missing Parts
One of the most usable and interesting features of AI Conten-Awareing is Fill in the Fill-in-the-missing part. Repairing an image by recovering or recreating a missing part of an image now with AI Content-Aware Fill in Photoshop. Let's learn some Methods of Content Aware Fill Photoshop in Missin parts.
Using ‘Crop Tool’ for re-creating missing parts is very easy in Photoshop. You can recreate a missing part of your image with a couple of clicks. Let's take a picture as an example as follows,

And the output result will be like this:
Method: Open Image > Duplicate image > Select ‘Crop Tool’ > Adjust crop area > Check the ‘Content-Aware’ Checkbox > Pass Enter > Merge And Save
Our Other Tutorial: How to Pick a Lock With DIY & Tools
Step 1: Open Image in Photoshop
To open the image in Photoshop ‘Right Click’ on the photo, and a menu will appear on the screen. Then select the ‘Open With’ option. A sub-menu will appear, from the sub-menu select ‘Adobe Photoshop’.
Step 2: Make a Duplicate Layer and Rename
Shortcut: Ctrl + S
Making a duplicate layer is a good practice for photo editing. You can make a duplicate layer with a shortcut. To make a duplicate layer simply pass ‘Ctrl’ and ‘J’ on your keyboard together.
Or ‘Right Click’ on the layer in the layer panel a dropdown menu will appear select the ‘Duplicate Layer’ option. A dialog box will appear you can rename the layer here. Then pass the ‘OK’ button
Step 3: Adjust Crop Area
Shortcut: C
From the toolbar select ‘Crop Too’. you can also select the ‘Crop Tool’ bypassing ‘C’ on your keyboard. Now Adjust the Crop Area. Adjust the crop area according to the size you need to extend. Or our missing part.
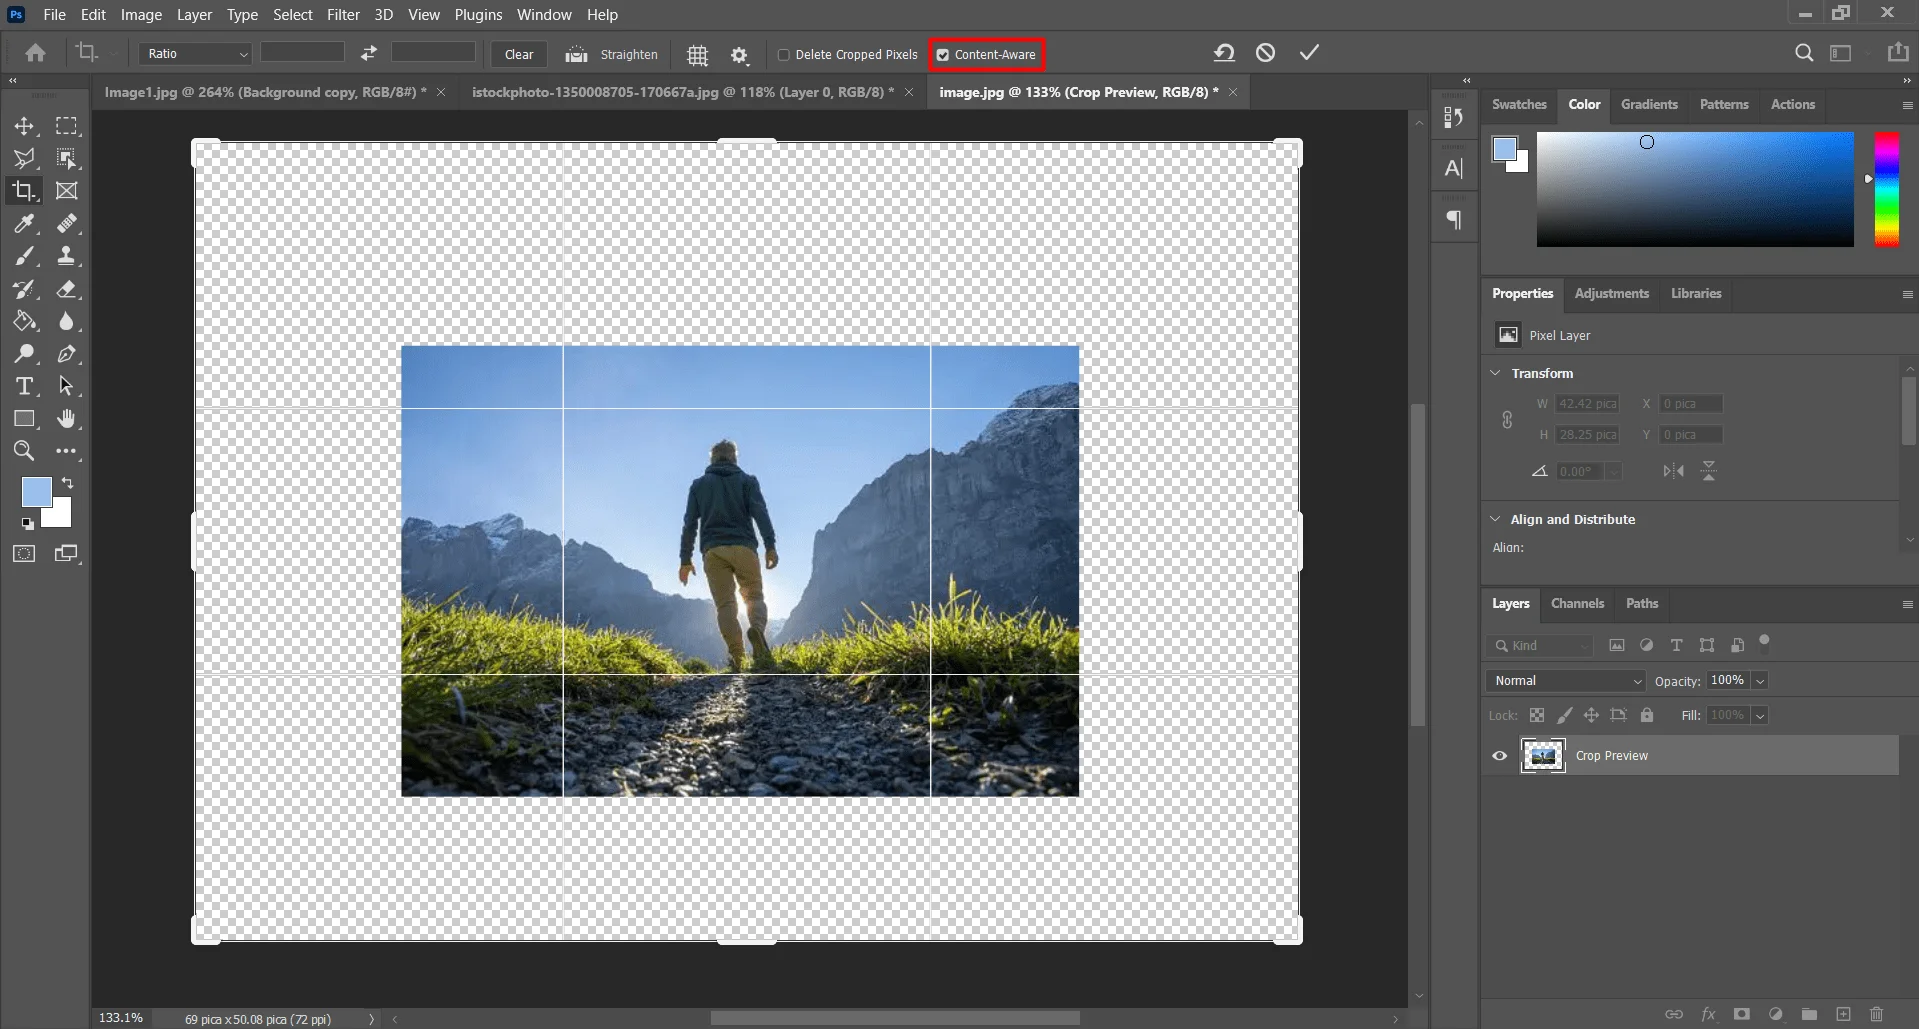
When you are satisfied with the crop area pass the ‘Enter’ key on your keyboard. It will take a while then your missing part will be created. If you are satisfied with the result the marge and save or you can use ‘Brush Tools’ for the finishing touch.
Step 4: Marge and Save
Merge Shortcut: Ctrl + Shift +E
Save Shortcut: Ctrl + Shift + S
You can merge your image by passing ‘Crtl’, ‘Shift’, and ‘E’ together. Or you can also merge images manually. Go to ‘Layer’ in the main menu at the top. A dropdown menu will appear then select ‘Merge Visible’. Your image will merge into one layer.
To save the image go to ‘Fil’ in the main menu at the top. Select ‘Save As’ a dialog box will appear. Set the name and format for the image then click on the ‘Save’ button.
Conclusions
If you want to learn how to use Content-Aware Fill in Photoshop it is an ideal tutorial for you. We are trying to represent the possible methods of Content-Aware Fill in Photoshop in simple words. After practicing our tutorial you will have good knowledge of Content-Aware Fill in Photoshop and a good Content-Aware scale in Photoshop. Keep in mind practice makes a man perfect. How much you practice, how much you will perfect in this scale.